Advertisement
Table of Contents
- 1 Table of Contents
- 2 Safety Precautions
- 3 Parts Names
- 4 Screen Configuration
- 5 Setting the Day of the Week and Time
- 6 Operation
- 7 Timer
- 8 Other Functions
- 9 Function Selection
- 10 Emergency Operation for Wireless Remote-Controller (Option)
- 11 Care and Cleaning
- 12 Trouble Shooting
- 13 Trouble Shooting
- Download this manual
See also:
Installation Manual
Advertisement
Table of Contents
Troubleshooting

Related Manuals for Mitsubishi Electric PEAD-RP71


Summary of Contents for Mitsubishi Electric PEAD-RP71
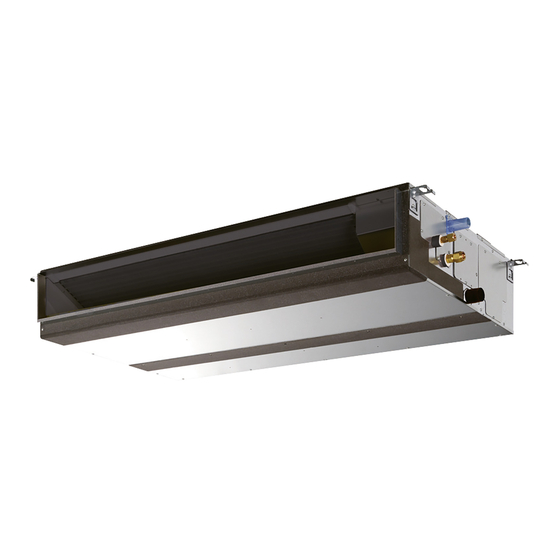
- Page 1 Air-Conditioners PEAD-RP71, 100, 125, 140JAA OPERATION MANUAL FOR USER English English For safe and correct use, please read this operation manual thoroughly before operating the air-conditioner unit.
-
Page 2: Table Of Contents
If the unit is installed im- higher rating than the one specified. properly, water leakage, electric shock or fire may result. • Use only accessories authorized by Mitsubishi Electric and ask 6) Grounding your dealer or an authorized company to install them. If accesso- Caution: ries are installed improperly, water leakage, electric shock or fire •... -
Page 3: Parts Names
1. Safety Precautions 1.2. During operation Caution: • Do not direct the airflow at plants or caged pets. Caution: • Ventilate the room frequently. If the unit is operated continu- • Do not use any sharp object to push the buttons, as this may ously in a closed room for a long period of time, the air will damage the remote controller. - Page 4 2. Parts Names I Wired Remote-Controller (PAR-21MAA option) “Sensor” indication Display Section Displayed when the remote controller sensor is used. Day-of-Week For purposes of this explanation, Shows the current day of the week. all parts of the display are shown as lit.
- Page 5 2. Parts Names I Wireless Remote-Controller (option) SET TEMPERATURE button SET TEMPERATURE button sets ON/OFF button CHECK TEST RUN and any desired room tempera- MODEL SELECT Pushing button starts operation. ture. Pushing again stops operation. NOT AVAILABLE FAN SPEED button AUTO STOP/AUTO START button TEMP ON/OFF...
-
Page 6: Screen Configuration
3. Screen Configuration <Screen Types> For details on setting the language for the remote controller display, refer Set Day/Time Function Selection of remote controller to section 8. Function Selection. TIME SUN The initial language setting is English. G Function Selection of remote controller: Set the functions and ranges available to the re- mote controller (timer functions, operating restric- tions, etc.) - Page 7 5. Operation I Because the room temperature is automatically adjusted in order to <To Stop Operation> I Press the ON/OFF button 1 again. maintain a fixed effective temperature, cooling operation is performed a • The ON lamp 1 and the display area go dark. few degrees warmer and heating operation is performed a few degrees cooler than the set room temperature once the temperature is reached Note:...
-
Page 8: Timer
5. Operation The display and the fan speed of the unit will differ in the following situa- 5.5. Ventillation tions: s s s s s For LOSSNAY combination • When STAND BY and DEFROST are displayed. 5.5.1. For Wired Remote-controller •... - Page 9 6. Timer 6.1.2. Simple Timer 7. Press the appropriate Set Temperature button 3 to set the desired I You can set the simple timer in any of three ways. temperature (at 7). • Start time only: * Each press changes the setting, in the following sequence: No display (no setting) ⇔...
- Page 10 6. Timer 7. After completing steps 3 to 6 above, press the Filter button 4 to lock Example 2: in the value. Start the timer, with OFF time is sooner than ON time ON Setting: 5 hours Note: Your new settings will be cancelled if you press the Mode (Return) button 2 OFF Setting: 2 hours before pressing the Filter...
-
Page 11: Other Functions
6. Timer 6.2. For wireless remote controller (option) <Checking the Current Auto Off Timer Setting> Timer Setting TIMER AFTER AUTO OFF 1. Be sure that the “Auto Off” is visible on the screen (at 1). TEMP ON/OFF 2. Hold down the Timer Menu button B for 3 seconds, so that “Monitor” is indicated on the screen (at 4). -
Page 12: Function Selection
7. Other Functions 7.2. Error Codes indication When the Check button is pressed: If you have entered contact number to be called in the event of a prob- CALL:XXXX lem, the screen displays this number. (You can set this up under Func- XXX:XXX ERROR CODE ˚C... - Page 13 8. Function Selection [Function selection flowchart] Normal display (Display when the air condition is not running) Setting language (English) Hold down the E button and press the D button for 2 seconds. E Press the operation mode button. Hold down the E button and press the D button for 2 seconds. G Press the TIMER MENU button.
- Page 14 8. Function Selection [Detailed setting] [4]–3. Mode selection setting (1) Remote controller main/sub setting [4]–1. CHANGE LANGUAGE setting ON/OFF] button D. • To switch the setting, press the [ The language that appears on the dot display can be selected. 1 Main: The controller will be the main controller.
- Page 15 8. Function Selection [Dot display table] Selecting language English Germany Spanish Russian Italy Chinese French Japanese Waiting for start-up Operation mode Cool Heat Auto Auto(Cool) Auto(Heat) Ventilation Stand by (Hot adjust) Defrost Set temperature Fan speed Not use button Check (Error) Test run Self check Unit function selection...
-
Page 16: Emergency Operation For Wireless Remote-Controller (Option)
8. Function Selection Selecting language English Germany Spanish Russian Italy Chinese French Japanese Room air temperature display setting Automatic cooling/heating display setting 9. Emergency Operation for Wireless Remote-controller (option) 1 ON/OFF lamp (lit when unit is operating; unlit when unit is not operat- ing) ON/OFF 2 Emergency operation... -
Page 17: Trouble Shooting
11. Trouble Shooting Having trouble? Here is the solution. (Unit is operating normally.) I Clean the filter. (Airflow is reduced when the filter is dirty or clogged.) Air conditioner does not heat or cool well. I Check the temperature adjustment and adjust the set temperature. I Make sure that there is plenty of space around the outdoor unit. -
Page 18: Trouble Shooting
11. Trouble Shooting Having trouble? Here is the solution. (Unit is operating normally.) I The indoor operation sound level is affected by the acoustics of the par- Noise is louder than specifications. ticular room as shown in the following table and will be higher than the noise specification, which was measured in an echo-free room. - Page 20 Please be sure to put the contact address/telephone number on this manual before handing it to the customer. HEAD OFFICE: TOKYO BLDG., 2-7-3, MARUNOUCHI, CHIYODA-KU, TOKYO 100-8310, JAPAN KD79D904H01...
Need help?
Do you have a question about the PEAD-RP71 and is the answer not in the manual?
Questions and answers