Table of Contents
Advertisement
Quick Links
Advertisement
Table of Contents

Related Manuals for Fisher Research Labs F4


Summary of Contents for Fisher Research Labs F4
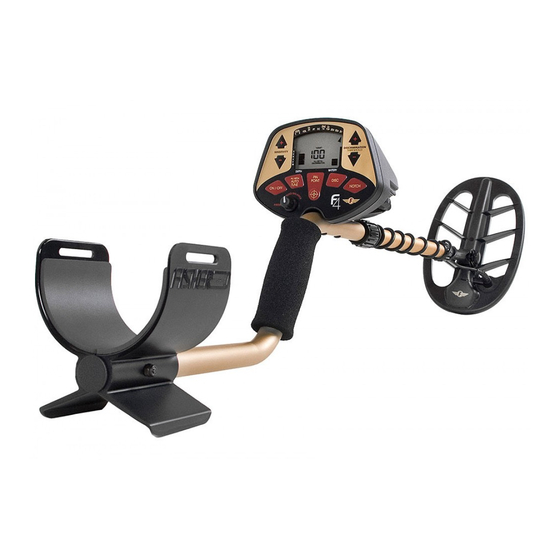
- Page 1 OPERATING MANUAL...
- Page 2 TABLE OF CONTENTS ........3 .
- Page 3 TERMINOLOGY The following terms are used throughout the manual, and are standard terminology among treasure hunters. Reference to a metal being "eliminated" means that the detector will not emit a tone, nor light up an indicator, when a specified object passes through the searchcoil’s detection field.
- Page 4 SETTING UP No tools required. Insert the lower stem (plastic tube) into the middle stem. Position the lower stem with the silver button toward the back. Using the bolt and wing nut, Wing nut attach the search coil to the lower stem.
- Page 5 BATTERIES The batteries have been inserted backwards in the compartment for storage during transportation. Please remove batteries, turn them around, and install correctly. Use A batteries only. To install the batteries: Remove the battery cover by disengaging the clip at the back.
- Page 6 QUICK-START DEMONSTRATION • A Nail • A Quarter • • A Pull-Tab from a beverage can • A Zinc Penny (dated after 1982) • A Nickel a. Place the detector on a table, with the search coil hanging over the edge.
- Page 7 QUICK-START DEMONSTRATION (continued) a. The Nail will not be detected. b. The Nail has been "Discriminated Out." ” “ ” “ Five “R”s are now displayed. The Nail and Pull-Tab will not be detected. The other objects will be detected with their own distinctive tones. A flashing “...
-
Page 8: Control Panel
CONTROL PANEL SENSITIVITY + AND – These controls change the detector’s sensitivity; higher settings enable detection of deeper targets. At power-up, the detector is pre-set to 75% of maximum sensitivity. At minimum, the sensitivity is 35% of maximum. With each press of the + or –... - Page 9 CONTROL PANEL (continued) – DISCRIMINATION (THRESHOLD) + AND The f you are in before you press these touch pads. AUTO TUNE – – will change the threshold sensitivity of the detector in this mode. This T control operates like a fine adjustment for setting the sensitivity level and the volume of the background audible hum.
- Page 10 CONTROL PANEL (continued) PINPOINT This is a static search and static pinpointing mode; no coil motion over the target is required to detect metal. This mode is most effective in pinpointing the exact location of small buried objects. The detection sensitivity of this mode is –...
- Page 11 CONTROL PANEL (continued) As you sweep the searchcoil over a metal object, a numeric target identification will appear in the center of the display. At the same time, the bar graph on the left of the display will indicate the target depth, in inches.
-
Page 12: Ground Balancing
GROUND BALANCING What is Ground Balancing? Why do I need to Ground Balance? All soils contain minerals. Signals from ground minerals are often tens or hundreds of times as strong as the signal from a buried metal object. The magnetism of iron minerals, found in nearly all soils, causes one type of interfering signal. - Page 13 GROUND BALANCING (continued) Notice that the position of the KNOB affects the sound relative to the coil’s direction: If you hear a louder sound as the searchcoil is lowered toward the ground, we call this positive response. If you hear a louder sound as the searchcoil is lifted away from the ground, we call this negative response.
-
Page 14: Tone Audio System
4-TONE AUDIO SYSTEM While the LCD (Liquid Crystal Display) is very accurate in identifying buried objects, the user in the field does not always maintain the display screen in his field of vision. Therefore, we have incorporated an audio feedback mechanism to alert the user to the nature of buried objects. -
Page 15: Depth And Target Display
DEPTH AND TARGET DISPLAY READING THE DISPLAY Iron or 5¢/PT. The Liquid Crystal Display (LCD) shows the will register PROBABLE identification of the targeted under PT or S-cap. metal, as well as the PROBABLE depth of will register under the target, in inches. S-cap or Zinc. - Page 16 Many other types of distance from the coil. metal can fall under any one of these categories. While the F4 will eliminate or indicate the presence of most common trash items, it is impossible to accurately...
- Page 17 DD COIL CHARACTERISTICS A DD coil is superior to a concentric coil, but sometimes requires a different sweep technique. Advantages are Better target separation Superior performance in highly mineralized ground Broader Sweep- cover more ground with each sweep If you experience multiple responses on a shallow target, you can raise the coil, or narrow the sweep over known targets to only intersect the center section of the coil.
-
Page 18: Sensitivity Adjustment
To manage chatter, which is most likely from electrical interference: until the chatter stops. Try sweeping it over the ground. If the F4 chatters while held still, or held up in the air, it may be much quieter when sweeping over the ground. Operate in AUTOTUNE mode Interference is much more tolerable in this mode, even at high sensitivity. - Page 19 SEARCH TECHNIQUES (in DISC mode) After detecting a target, do the following: WRONG Walk around the target in a circle. While circling target, continue sweeping searchcoil across the target. Sweep once every 30° or 40° of CORRECT the circle. If the tone does not change and the target ID value is consistent as you circle the target, you can be highly...
-
Page 20: Target Pinpointing
TARGET PINPOINTING (no-motion PINPOINT mode) After you have identified a target using a motion mode of detection, press the PINPOINT pad to identify the target’s exact location. This technique can yield more information about the target’s shape and size and also find its exact location to facilitate excavation. Position the searchcoil just barely off the ground, and to the side of the target. - Page 21 Fisher Labs. Shipping cost to Fisher Labs is the responsibility of the consumer. To return your detector for service, please first contact Fisher Labs for a Return Authorization (RA) Number. Reference the RA number on your package and return the detector within 15 days of calling to: 1465-H Henry Brennan Dr.
- Page 22 NOTES...
- Page 23 NOTES...
- Page 24 103693000C Fisher Stereo Headphones ..$ 40.00 Use with Fisher metal detectors. Lightweight and adjustable with true stereo sound, adjustable volume, 1/8 jack with 1/4 adaptor, 4’ cable. 9720950000 Fisher Pin Pointer ..
Need help?
Do you have a question about the F4 and is the answer not in the manual?
Questions and answers