Table of Contents
Advertisement
Quick Links
Download this manual
See also:
User Manual
Advertisement
Table of Contents

Subscribe to Our Youtube Channel
Summary of Contents for Cisco Explorer 8300
-
Page 1: Digital Video Recorder
User Guide Explorer 8300 Digital Video Recorder CH + GUIDE POWER VOL - VOL + INFO CH - SELECT EXIT LIST AUDIO VIDEO... -
Page 2: Front Panel Features
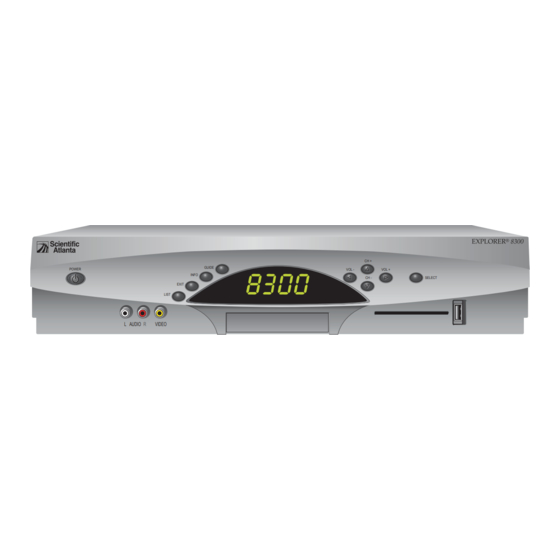
Front Panel Features CH + GUIDE POWER VOL - VOL + INFO CH - SELECT EXIT LIST AUDIO VIDEO 4 5 6 T13467 1 Power Turns the DVR on and off 2 Video and Connects to video and left/right (L/R) audio outputs of an external Audio Input* device to deliver the audio and video to a TV or other device 3 List Displays the list of recorded programs... -
Page 3: Back Panel Connectors
Back Panel Connectors CAUTION CABLE RISK OF ELECTRIC SHOCK DO NOT OPEN OUT 1 OUT 2 AVIS: RISQUE DE CHOC ELECTRIQUE NE PAS OUVRIR THIS DEVICE IS INTENDED TO BE ATTACHED TO A RECEIVER THAT IS NOT USED TO RECEIVE OVER-THE-AIR BROADCAST SIGNALS. -
Page 4: Connecting The Dvr
Connecting the DVR To connect your DVR to your entertainment devices, complete these steps. Connect the coaxial cable that carries the signal from your service provider to the CABLE IN connector on the back panel of the set-top. Connect your SDTV to the DVR. Refer to the Connections for a Standard-Defi... -
Page 5: Performance Tips
Performance Tips If the DVR does not perform as expected, the following tips may help. If you need further assistance, contact your service provider. No Picture • Verify that the power to your TV is turned on. • If the DVR is plugged into a wall switch, verify the wall switch is in the ON position. Note: You should avoid plugging the DVR into an outlet that is controlled by a wall switch. -
Page 6: Connecting To A Standard Tv And Standard Vcr
Connecting to a Standard TV WARNING: Electric shock hazard! Unplug all electronic devices before connecting or disconnecting any device cables to the DVR. Explorer 8300 DVR CABLE CAUTION RISK OF ELECTRIC SHOCK DO NOT OPEN OUT 1 OUT 2 AVIS:... -
Page 7: Connecting To A Home Theater Receiver And Stereo Tv
Connecting to a Home Theater Receiver and Stereo TV WARNING: Electric shock hazard! Unplug all electronic devices before connecting or disconnecting any device cables to the DVR. Explorer 8300 DVR CABLE CAUTION RISK OF ELECTRIC SHOCK DO NOT OPEN OUT 1... -
Page 8: Connecting An External Sata Hard Disk Drive (Optional)
• If it is a new eSATA drive or one used on another device, you will be asked to format it. • If the drive is formatted and will work with this DVR, you will get a confi rmation that the drive is working. Explorer 8300 DVR CABLE CAUTION RISK OF ELECTRIC SHOCK...


Need help?
Do you have a question about the Explorer 8300 and is the answer not in the manual?
Questions and answers