Table of Contents
Advertisement
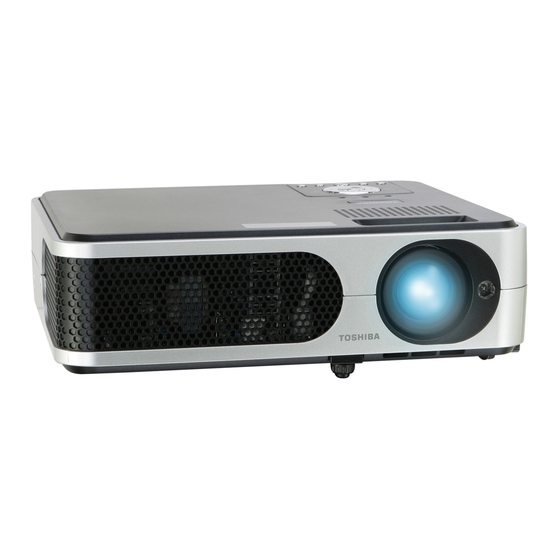
SERVICE MANUAL
3LCD DATA PROJECTOR
TLP-X2000E/B/U/C
TLP-X2500E/B/U/C
TLP-X3000E/B/U/C
The above models are classified as green product (s) (*1), as indicated by the underlined serial number (s).
This Service Manual describes replacement parts for green product (s). When repairing any green product (s), use
the parts described in this manual and lead-free solder (*2).
For (*1) and (*2) , see the next page.
© TOSHIBA CORPORATION
FILE NO. 330-200711GR
Published in Japan, July 2007 GREEN
Advertisement
Table of Contents
Troubleshooting


Need help?
Do you have a question about the TLP-X2000B and is the answer not in the manual?
Questions and answers