Table of Contents
Advertisement
Available languages
Available languages
Advertisement
Table of Contents

Summary of Contents for Fusion Encounter EN-1502
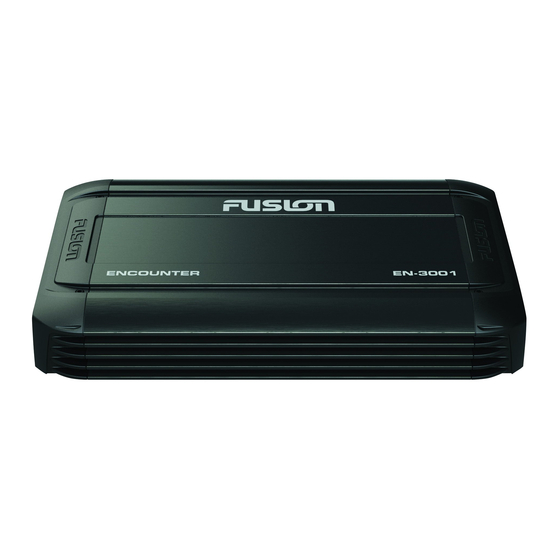
- Page 1 E NC O U N T E R ENCOUNTER AMPLIFIER MANUAL EN-1502 EN-3001 EN-3004...
- Page 2 ENGLISH AMPLIFIER SPECIFICATIONS EN-3004 (4 Channel) EN-1502 (2 Channel) Class Class-AB Class-AB Power 1800 Watts 1000 Watts Frequency Response 20Hz - 20kHz 20Hz - 20kHz Dimensions 336mm (13-1/4”) x 200mm (7- 256mm (10-1/16”) x 200mm (7- 7/8”) x 51mm (2”) 7/8”) x 51mm (2”)
-
Page 3: Amplifier Installation
AMPLIFIER INSTALLATION INSTALLATION WARNINGS Ensure the +12V lead is disconnected from the battery before you connect any new equipment. Ensure that the amplifier mounting location and holes will not interfere with the gas tank, brake lines or electrical wiring. Ensure the amplifier is securely fastened to the vehicle to prevent the amplifier moving and causing damage in the event of an accident. -
Page 4: Remote Turn On
12v battery terminal using the appropriate gauge cable. Start at the vehicles battery and run the cable through to the amplifier. FUSION recommends the use of rubber EN-1502 EN-3004 EN-3001 grommets when passing any cable through metal panels to avoid sharp corners or panels that could cut through the insulation of the cable. - Page 5 For a standard single EN-3001 coil subwoofer connect to either positive and either negative terminal. 4C. BRIDGED CONNECTION (EN-1502 AND EN-3004) By connecting a speaker or subwoofer to the positive terminal of one channel and the negative of the other channel, you are combining the output of two channels into one.
-
Page 6: Amplifier Controls
AMPLIFIER CONTROLS EN-1502 EN-3004 EN-3001 5. LOW LEVEL RCA INPUTS FRONT-REAR-SUBWOOFER Choose the correct length RCA cables to connect the RCA outputs of the source/head unit, to the input connectors of the amplifier. Run the RCA cables on the opposite side of the vehicle to the power cable and vehicle wiring loom. - Page 7 7. GAIN/LEVEL CONTROL (FRONT-REAR) This control is used to match the input level of the amplifier to the output level of your head unit. We recommend the method below, as failure to follow these steps may damage the audio system. 1.
-
Page 8: Input Select
Level connection via RCA interconnects. It is optional when using High level inputs. Auto turn on switch = AUDIO This feature is available with the High Level input only and the (FUSION CA-HIC13 sold separately). The amplifier will turn on when the source (head) unit is powered on and Audio signal is supplied via the speaker wires to the amplifier. -
Page 9: Troubleshooting
• Check speakers for wire shorts PUBLISHED BY FUSION ELECTRONICS LIMITED: YOU CAN HELP PROTECT THE ENVIRONMENT! © Copyright 2013 by FUSION Electronics Limited. Please remember to respect the local regulations: All rights reserved. Specifications and design are Hand in the non-working electrical equipment subject to change without notice. - Page 10 FRANÇAIS CARACTÉRISTIQUES DE L'AMPLIFICATEUR EN-3004 (4 voies) EN-1502 (2 voies) Classe Class AB Class AB Puissance 1 800 watts 1 000 watts Réponse en fréquence de 20 Hz à 20 kHz de 20 Hz à 20 kHz Dimensions 336 mm (13-1/4”) x 200 mm 256 mm (10-1/16”) x 200 mm...
-
Page 11: Installation De L'amplificateur
INSTALLATION DE L'AMPLIFICATEUR AVERTISSEMENTS LIÉS À L'INSTALLATION Assurez-vous que le fil +12 V soit déconnecté de la batterie avant de connecter tout nouvel équipement. Assurez-vous que l'emplacement et les orifices de montage de l'amplificateur n'entrent pas en conflit avec le réservoir d'essence, les durits de freinage ou le faisceau électrique. Assurez-vous que l'amplificateur soit solidement fixé... - Page 12 Assurez-vous que TOUTES les autres connexions de câbles soient effectuées avant de connecter ce câble à la batterie. Les amplificateurs FUSION doivent être connectés directement à la borne 12 V de la batterie à l'aide d'un câble de section appropriée. Commencez par la batterie du véhicule puis faites courir le câble...
- Page 13 à bobine simple, branchez celle-ci sur une borne positive ou négative. 4C. BRANCHEMENT AVEC PONTAGE (EN-1502 ET EN-3004) En connectant un haut-parleur ou un subwoofer à la borne positive d'une voie et à la borne négative de l'autre voie, vous combinez les sorties de deux voies en une seule.
- Page 14 COMMANDES DE L'AMPLIFICATEUR EN-1502 EN-3004 EN-3001 5. ENTRÉES RCA AVANT-ARRIÈRE-SUBWOOFER DE BASSE PUISSANCE Choisissez des câbles RCA de longueur adaptée au branchement des sorties RCA de la source audio ou de l'unité principale sur les connecteurs d'entrée de l'amplificateur. Faites courir les câbles RCA du côté...
-
Page 15: Filtre Passe-Bas
7. COMMANDE DU GAIN/NIVEAU (AVANT-ARRIÈRE) Cette commande est utilisée pour faire correspondre le niveau d'entrée de l'amplificateur au niveau de sortie de votre unité principale. Nous recommandons la méthode ci-dessous, car le non-respect de ces étapes peut endommager le système audio. 1. -
Page 16: Commande À Distance
Le fil d'allumage à distance n'est pas nécessaire dans cette installation. FUSION recommande d'utiliser la sortie du fil de commande à distance depuis la source principale lorsque celle-ci est disponible. -
Page 17: Dépannage
• Vérifiez que les haut-parleurs sont correctement branchés. • Vérifiez l'absence de court-circuit au niveau des haut-parleurs. PUBLIÉ PAR FUSION ELECTRONICS LIMITED : VOUS POUVEZ CONTRIBUER À PRÉSERVER L'ENVIRONNEMENT ! © Copyright 2013 FUSION Electronics Limited. Rappelez-vous de respecter les règlementations locales : Tous droits réservés. - Page 18 NOTES ..........................................................................................................................................................................................................................................................................................................................................................................................................................................................................................................................................................................................................................................................................................................................................................................................................................................................................................................................................................................................................................................................................................................................
- Page 19 NOTES ..........................................................................................................................................................................................................................................................................................................................................................................................................................................................................................................................................................................................................................................................................................................................................................................................................................................................................................................................................................................................................................................................................................................................
- Page 20 Specifications and design are subject to change without notice...


Need help?
Do you have a question about the Encounter EN-1502 and is the answer not in the manual?
Questions and answers