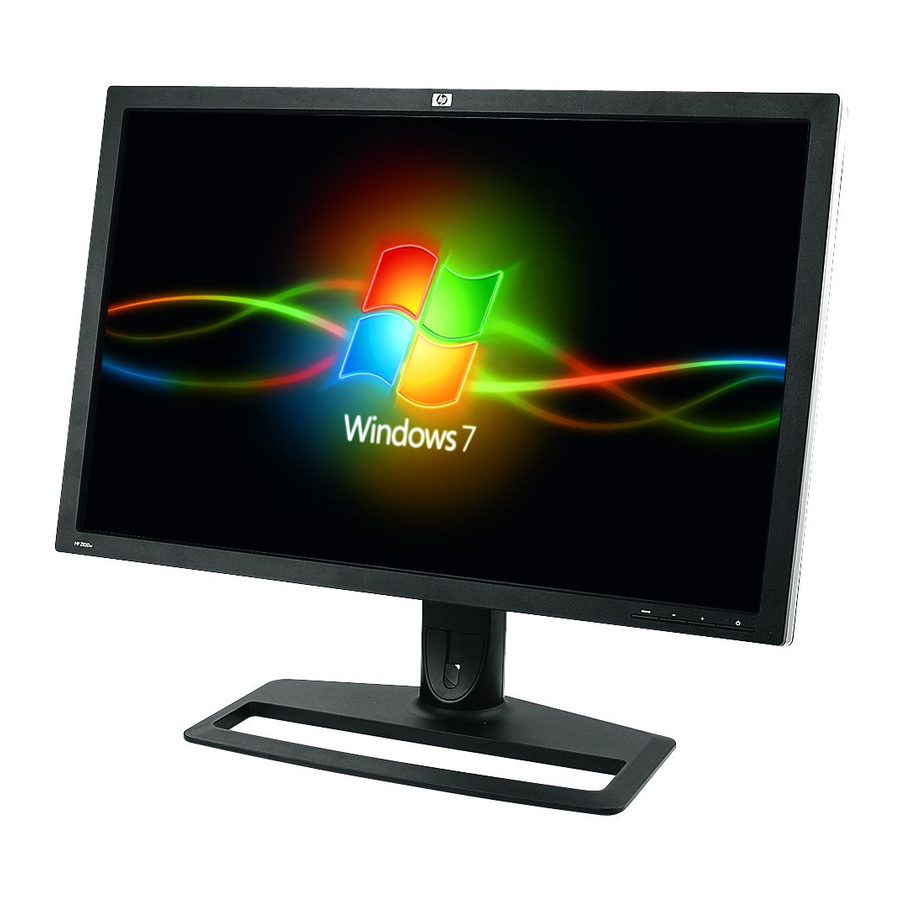
HP ZR30w User Manual
Hewlett-packard computer monitor user manual
Hide thumbs
Also See for ZR30w:
- Specifications (2 pages) ,
- Quick setup (2 pages) ,
- Technical specifications (7 pages)
Table of Contents
Advertisement
Advertisement
Table of Contents

Related Manuals for HP ZR30w


Summary of Contents for HP ZR30w
- Page 1 HP ZR30w LCD Monitor User Guide...
- Page 2 . Nothing herein should be construed as constituting an additional warranty. HP shall not be liable for technical or editorial errors or omissions contained herein. This document contains proprietary information that is protected by copyright.
-
Page 3: About This Guide
About This Guide This guide provides information on setting up the monitor, installing drivers, using the on-screen display menu, troubleshooting and technical specifications. WARNING! Text set off in this manner indicates that failure to follow directions could result in bodily harm or loss of life. - Page 4 About This Guide ENWW...
-
Page 5: Table Of Contents
Removing the Monitor Pedestal Base ... 11 Mounting the Monitor ... 12 Locating the Rating Labels ... 14 Installing an HP/Kensington MicroSaver Security Cable Lock ... 14 4 Operating the Monitor ... 15 Software and Utilities ... 15 The Information File ... 15 The Image Color Matching File ... - Page 6 Online Technical Support ... 19 Preparing to Call Technical Support ... 19 Appendix B Technical Specifications ... 21 ZR30w Model ... 21 Energy Saver Feature ... 22 Appendix C Agency Regulatory Notices ... 23 Federal Communications Commission Notice ... 23 Modifications ...
-
Page 7: Product Features
Wide viewing angle to allow viewing from a sitting or standing position, or moving side-to-side ● Tilt, swivel, and height adjustment capabilities ● Removable stand for flexible mounting solutions with HP Quick Release and VESA 100 mm mounting holes ● Video signal input to support DVI digital with DVI-D signal cable provided ●... -
Page 8: Safety And Maintenance Guidelines
Damage Replacement Policy so you can replace the equipment, if surge protection fails. Use the appropriate and correctly sized furniture designed to properly support your HP LCD monitor. WARNING! LCD monitors that are inappropriately situated on dressers, bookcases, shelves, desks, speakers, chests, or carts may fall over and cause personal injury. -
Page 9: Maintenance Guidelines
Do not open the monitor cabinet or attempt to service this product yourself. Adjust only those controls that are covered in the operating instructions. If the monitor is not operating properly or has been dropped or damaged, contact an authorized HP dealer, reseller, or service provider. ●... -
Page 10: Setting Up The Monitor
Setting Up the Monitor To set up the monitor, ensure that the power is turned off to the monitor, computer system, and other attached devices, then follow the instructions below. NOTE: Be sure the master power switch, located on the rear panel of the monitor, is in the off position. The master power switch turns off all power to the monitor. -
Page 11: Rear Components
Rear Components HP ZR30w Model Figure 3-2 Rear Components Table 3-1 Rear Components Component Cable Lock Provision Master Power Switch AC Power Connector DisplayPort Connector DVI-D Connector USB Upstream Connector USB Downstream Connectors USB Downstream Connectors (side panel) ENWW Function Provides slot for use with cable security locks. -
Page 12: Routing And Connecting The Cables
Routing and Connecting the Cables Place the monitor in a convenient, well-ventilated location near the computer. Remove the cable routing cover by pulling it straight off the front of the column. Figure 3-3 Removing the Cable Routing Cover Before connecting the cables, route them through the cable routing hole in the column (1) and replace the cable routing cover (2). - Page 13 NOTE: The video source is determined by the video cable used. The monitor will automatically determine which inputs have valid video signals. The inputs can be selected by pressing the Source button on the front panel . ● For DVI digital operation, use the DVI-D signal cable provided. Connect the DVI-D signal cable to the DVI connector on the rear of the monitor and the other end to the DVI connector on the computer.
-
Page 14: Connecting Usb Devices
Connecting USB Devices The monitor provides USB connectors on the side panel and on the rear panel that can be used to connect devices such as a digital camera, USB keyboard, or USB mouse. NOTE: You must connect the USB hub cable from the monitor to the computer to enable the USB 2.0 ports on the monitor. - Page 15 Swivel the monitor to the left or right for the best viewing angle. Figure 3-8 Swiveling the Monitor Adjust the monitor's height so that it is parallel to your eye height for a comfortable viewing position. A lock-down/release button on the back of the column prevents the display head from sliding up when the monitor is lifted.
-
Page 16: Turning On The Monitor
Image retention is a condition that may occur on all LCD screens. Monitors with a “burned-in image” are not covered under the HP warranty. * A prolonged period of time is 12 consecutive hours of non-use. -
Page 17: Removing The Monitor Pedestal Base
Removing the Monitor Pedestal Base You can remove the monitor panel from the pedestal base to mount the panel on a wall, a swing arm, or other mounting fixture (purchased separately). This monitor has a Quick Release mechanism that allows you to easily remove and replace the monitor panel to the pedestal base. -
Page 18: Mounting The Monitor
This apparatus is intended to be supported by UL or CSA Listed wall mount bracket. The HP Quick Release can be removed from the pedestal base and installed to a mounting fixture. It allows you to quickly and securely attach the monitor panel to the mounting fixture. - Page 19 The Quick Release can also be installed directly to a wall to mount the monitor panel. It is designed to support a maximum of up to 10.9 kg (24 lbs). If you are mounting to a wall, HP recommends that you consult with a qualified engineering, architectural, or construction professional to determine the appropriate type and quantity of mounting fasteners required for your application and to ensure that the mounting solution is properly installed to support applied loads.
-
Page 20: Locating The Rating Labels
Figure 3-14 Locating the Rating Labels Installing an HP/Kensington MicroSaver Security Cable Lock You can secure the monitor to a fixed object with an optional cable lock available from HP. Chapter 3 Setting Up the Monitor ENWW... -
Page 21: Operating The Monitor
● additional software for the monitor model NOTE: If the monitor does not include a CD, the .INF and .ICM files can be downloaded from the HP monitors support Web site. See The Information File The .INF file defines monitor resources used by Microsoft Windows operating systems to ensure monitor compatibility with the computer’s graphics adapter. -
Page 22: Installing The .Inf And .Icm Files
Refer to the Monitor Driver Software Readme file on the CD. Downloading from the Worldwide Web To download the latest version of .INF and .ICM files from the HP monitors support Web site: Refer to http://www.hp.com/support... -
Page 23: Front Panel Controls
Front Panel Controls Table 4-1 Monitor Front Panel Controls Control Function Source Selects the video input (DisplayPort or DVI-D) – (Minus) Reduces the brightness setting. + (Plus) Increases the brightness setting. NOTE: Pressing the + (Plus) and – (Minus) buttons at the same time enables or disables the Dynamic Contrast Ratio (DCR) function. -
Page 24: Dynamic Contrast Ratio (Dcr)
Dynamic Contrast Ratio (DCR) Contrast ratio is the ratio between the brightest white and the darkest black produced by a monitor display. DCR increases contrast ratio by automatically adjusting the backlight based on image content. The higher contrast ratio is achieved dynamically over several frames. NOTE: DCR should only be enabled when viewing video full screen. -
Page 25: Appendix A Troubleshooting
For the online access to technical support information, self-solve tools, online assistance, community forums of IT experts, broad mutlivendor knowledge base, monitoring and diagnostic tools, go to http://www.hp.com/support. Preparing to Call Technical Support If you cannot solve a problem using the troubleshooting tips in this section, you may need to call technical support. - Page 26 ● Hardware configuration ● Name and version of the hardware and software you are using Appendix A Troubleshooting ENWW...
-
Page 27: Appendix B Technical Specifications
Technical Specifications NOTE: All performance specifications are provided by the component manufacturers. Performance specifications represent the highest specification of all HP's component manufacturers' typical level specifications for performance and actual performance may vary either higher or lower. ZR30w Model Table B-1... -
Page 28: Energy Saver Feature
Table B-1 ZR30w Specifications (continued) Power Source Altitude: Operating Storage Measured Power Consumption: Full Power Typical Settings Sleep Bezel Switch Off Input Terminal Energy Saver Feature When the monitor is in its normal operating mode, the monitor uses less than 130 watts and the Power light is blue. -
Page 29: Appendix C Agency Regulatory Notices
Agency Regulatory Notices Federal Communications Commission Notice This equipment has been tested and found to comply with the limits for a Class B digital device, pursuant to Part 15 of the FCC Rules. These limits are designed to provide reasonable protection against harmful interference in a residential installation. -
Page 30: Canadian Notice
Hewlett Packard Company P. O. Box 692000, Mail Stop 530113 Houston, Texas 77269-2000 Or, call 1-800-HP-INVENT (1-800 474-6836) For questions regarding this FCC declaration, contact: Hewlett Packard Company P. O. Box 692000, Mail Stop 510101 Houston, Texas 77269-2000 Or, call (281) 514-3333 To identify this product, refer to the Part, Series, or Model number found on the product. -
Page 31: German Ergonomics Notice
0.75 mm² or 18 AWG, and the length of the cord must be between 6 feet (1.8 m) and 12 feet (3.6 m). If you have questions about the type of power cord to use, contact an authorized HP service provider. -
Page 32: Japanese Power Cord Requirements
Do not use the power cord received with this product on any other products. Product Environmental Notices Materials Disposal This HP product contains mercury in the fluorescent lamp in the display LCD that might require special handling at end-of-life. Disposal of this material can be regulated because of environmental considerations. For disposal or recycling information, contact the local authorities or the Electronic Industries Alliance (EIA) http://www.eiae.org. -
Page 33: Turkey Eee Regulation
11363-2006 11363-2006 Turkey EEE Regulation In Conformity with the EEE Regulation EEE Yönetmeliğine Uygundur ENWW Product Environmental Notices... -
Page 34: Appendix D Lcd Monitor Quality And Pixel Policy
This is common to all LCD displays used in products supplied by all vendors and is not specific to the HP LCD. These imperfections are caused by one or more defective pixels or sub-pixels.
Need help?
Do you have a question about the ZR30w and is the answer not in the manual?
Questions and answers