Table of Contents
Advertisement
Available languages
Available languages
Advertisement
Table of Contents

Related Manuals for Hitachi DH 40SA


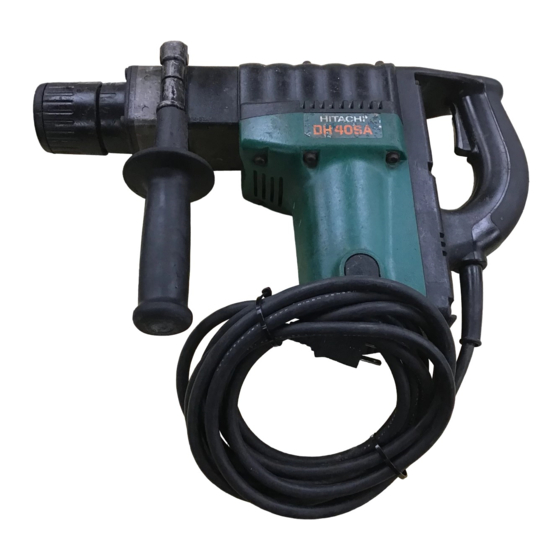
Summary of Contents for Hitachi DH 40SA
- Page 3 7 mm 17 mm...
-
Page 5: General Operational Precautions
The bit becomes very hot during operation and could cause serious burns. Before starting to break, chip or drill into a wall, floor or ceiling, thoroughly confirm that such items as electric cables or conduits are not buried inside. -
Page 6: Specifications
(No. 2) 21.5 mm Taper shank adapter formed A- A-taper taper or B-taper is provided as optional accessory, but drill bit for B-taper it is not provided. (110V, 115V, 120V, 127V, 220V, 230V, 240V) Large dia. hole boring (Rotation + Striking) -
Page 7: Prior To Operation
(1) Insert the dust cup into the drill bit. (Fig. 3) (2) Fix the drill bit to the tool holder. (Fig. 4) (3) Insert the drill bit until it hits the end of the hole, and make sure that the dust cup is not in contact with the tool holder. -
Page 8: How To Replace Grease
(1) Install drill bit with taper shank in the taper shank adapter. (2) Turn the power on and drill a base hole to the depth sounded by indicating groove on the drill bit. (3) After cleaning out dust with a syringe, attach the plug to the anchor tip and drive in the anchor with a manual hammer. - Page 9 PRECAUCION ES GENERAL ES PARA OPERACIÓN ¡ADVERTENCIA! Cuando utilice herramientas eléctricas, tome las medidas de seguridad básicas para reducir el riesgo de incendios, descargas eléctricas, y lesiones, incluyendo lo siguiente. Lea todas todas estas instrucciones antes de utilizar este producto y guárdelas. Para realiza roperaciones seguras: Mantener el área de trabajo limpia, áreas y bancos de trabajo desordenados son causa de da ños...
-
Page 10: Especificaciones
Español PRECAUCIONES AL USAR EL MARTILLO ROTO-PERCUTOR Usar protectores de oídos durante el trabajo. No tocar la broca durante ni inmdiatamente después de trabajar, puesto que se pone ardiente y puede causar quemaduras serias. Antes de empezar a romper, picar o perforar en una pared, suelo o techo, comprobar cuidadosamente ESPECIFICACIONES Voltaje (por áreas)*... -
Page 11: Antes De La Puesta En Marcha
(1) Adaptador de anclaje (para rotación + percusión) Tamaño de anclaje: W1/4, W5/16, W3/8, W1/2, W5/8 (N°. 20) (N°. 25) (N°. 30) (N°. 40) (N°. 50) (2) Cuña sacabarrenas Romper (Percusión) (1) Puntero Largo total: 280 450 mm Excavar, ranurado y rebordes (percusión) (1) Cortafrio Largo total: 280 450 mm Corte de asfalto (percusión) - Page 12 Español Coloque el extremo de la broca de forma que entre en contacto con el hormigón, ponga en ON el interruptor de alimentación principal de la unidad, y realice la operación de calentamiento. Cerciórese de que se produzca un sonido de martilleo, y después utilice la unidad.
-
Page 13: Mantenimiento E Inspeccion
(2) Aplicar 20g de grasa para martillo eléctrico Hitachi tipo A (accesorio normales, contenida en tubo) en el cárter. Como el tubo contiene 30g de grasa, proveer 2/3 de la grasa contenida. (3) Luego de cambiar la grasa, instalar la cubierta del cigüeñal firmemente. - Page 20 The exploded assembly drawing should be used only for authorized service center.
- Page 21 Item Part Name C-Type Spring Steel Ball Front Cap Retaining Ring Front Washer (A) Damper Ring Front Washer (B) Grip Saddle Key Saddle Key Holder Retaining Ring For D38 Shaft Rubber Ring Nylock High Tension Bolt Front Sleeve Front Cover O-Ring (1AS-60) O-Ring (C) Second Hammer...
- Page 22 Code No. C99075332 N Printed in Japan...
Need help?
Do you have a question about the DH 40SA and is the answer not in the manual?
Questions and answers