Table of Contents
Advertisement
Quick Links
Advertisement
Table of Contents

Related Manuals for DigiTech HARDWIRE TR-7


Summary of Contents for DigiTech HARDWIRE TR-7
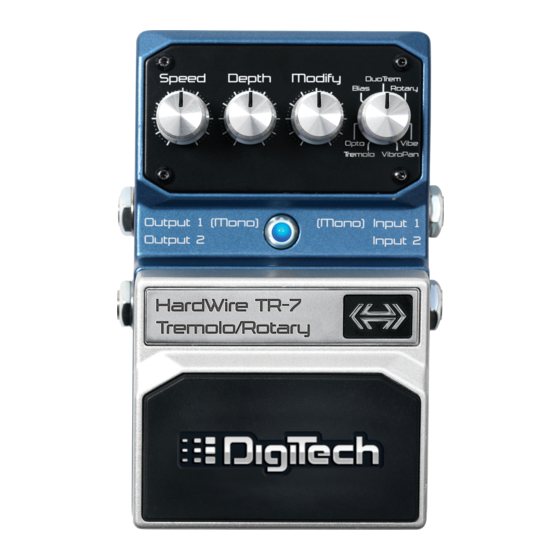
- Page 1 HARDWIRE TR-7 TREMOLO/ROTARY OWNER’S MANUAL...
-
Page 2: Declaration Of Conformity
Sandy, Utah 84070, USA Safety: IEC 60065 -01+Amd 1 Date: July 26, 2010 EMC: EN 55022:2006 European Contact: Your local DigiTech Sales and Service EN 55024:1998 Office or FCC Part 15 Harman Signal Processing Supplementary Information: 8760 South Sandy Parkway... -
Page 3: Electromagnetic Compatibility
WARNING If you want to dispose of this product, do not mix it with general household waste. There is a separate collection system for used electronic products in accordance with legislation that requires proper treatment, recovery, and recycling. For your protection, read the following: Private households in the 25 member states of the EU, in Switzerland and Norway may return their used electronic product free of charge to designated collection facilities or to a retailer (if you Important Safety Instructions... - Page 4 7. The foregoing is in lieu of all other warranties, expressed or implied, and DigiTech neither assumes nor authorizes any person to assume any obligation or liability in connection with the sale of this product. In no event shall DigiTech or its dealers be liable for special or consequential damages or from any delay in the performance of this warranty due to causes beyond their control.
- Page 5 If you notice a change in the LED’s brightness, or the pedal will not switch from Bypass to Effect, replace the battery with a new 9-Volt alkaline battery or visit your local DigiTech dealer to obtain a power adapter and unleash the pedal’s full potential with unlimited power.
-
Page 7: Included Items
Introduction More than a remarkable achievement, DigiTech’s HardWire series represents ® a collection of significant improvements in guitar effects pedals. The HardWire series pedals provide a suite of well-known effects, each with superior tone and control. But these pedals go above and beyond their peers to provide such... - Page 8 Pedal Interface...
- Page 9 What Does This Do? 1. Speed Knob - Controls the LFO speed of the Tremolo/Rotary effect. Turning the knob clockwise increases the speed and turning it counter- clockwise decreases the speed. 2. DC Adapter Jack - Connect the optional Harman power supply to this jack.
- Page 10 6. Input 1 (Mono) - Connect your instrument, the output of a pedal, or an amp effects send to this jack. When only a single input is needed, this jack must be used. Signals will still be heard at both outputs when only the Input 1 (Mono) jack is connected.
- Page 11 8. Foot Switch Release Pins - These two pins are spring-loaded hinges that hold the pedal in place. Push these pins in with the tip of a 1/4” guitar cable to release the pedal from the pedal chassis exposing the battery compartment. (See battery replacement diagram).
- Page 12 Tremolo/Rotary Types Tremolo Basic amplitude modulation effect with a variable waveform selector. Opto Tremolo Tremolo based on an opto isolated tremolo circuit found in vintage Fender amps. ® Bias Tremolo Tremolo based on varying the power tube bias used in vintage Vox amps.
- Page 13 Modify Knob Controls Type Speed Depth Modify Tremolo Speed Depth Waveform Opto Tremolo Speed Depth Tone Bias Tremolo Speed Intensity Tone Duo Trem Speed Depth Speed 2* Rotary Speed Depth (Pitch) Dry Level UltraVibe Speed Intensity Chorus/Vibrato** VibroPan Speed Depth (Pitch) Phase*** * The Speed 2 control affects the second tremolo speed.
-
Page 14: Amplifier Setup
Amplifier Setup Harman Power Supply (optional) - Page 15 Effects Loop Setup AMP RETURN Harman Power AMP SEND Supply (optional) Note: If the amp effects loop has a mix control, set the mix to 100% full wet.
-
Page 16: Battery Operation
Battery Operation In the event that battery power is completely depleted, HardWire pedals automatically switch into bypass. This eliminates the need to remove the pedal from your pedal chain if the battery is dead. To replace the battery, do the following: 1. - Page 17 into place over the depressed pin. Release the pin. When the Foot Switch is properly fastened, both release pins are flush with the outer side of Foot Switch the pedal. Pedal Switch 9VDC Battery Foot Switch Release Pin Battery Compartment Foot Switch Spring Release Pin...
-
Page 18: Tap Tempo
Tap Tempo The TR-7’s Foot Switch can be used as a Tap Tempo switch for setting the tremolo effect’s modulation speed time during a live performance. To access Tap Tempo, do the following: 1. Press and hold the Pedal Switch for 3 seconds. The effect first will turn on and the Indicator LED lights solid BLUE (NOTE: If the effect was already on, it will first turn off and then back on after 3 seconds). - Page 19 3. Tap the Foot Switch at least two times to set a new modulation speed. The last two pedal tap intervals set the modulation speed. If a tap hasn’t been initiated after 4 seconds, two taps will be required again to set the tempo.
- Page 20 Below is a table showing the ratio of tapped tempo and the speed at which the effect should modulate. Type Tap Rate Modulation Rate Tremolo 1 second 4 Hz (4 beats per second) Opto Tremolo 1 second 4 Hz (4 beats per second) Bias Tremolo 1 second 4 Hz (4 beats per second)
- Page 21 Performance Accessories The performance accessories make integrating a HardWire pedal into any pedal board a snap. The following accessories are included: • Hook-and-loop Pedalboard Pad (designed to attach to the surfaces found on most commercial pedalboards) • Foot Switch Glow Sticker (easily visible on dark stages) •...
- Page 22 Hook-and-loop Pedalboard Pad To attach the Pedalboard Pad, do the following: 1. Peel off the existing rubber skid pad from the bottom of the pedal. 2. Peel the adhesive protector from the back of the Pedalboard Pad. 3. Apply the Pedalboard Pad to the bottom of the pedal.
- Page 23 Foot Switch Glow Sticker To attach the Foot Switch Glow Sticker, do the following: 1. Peel the adhesive backing from the Foot Switch Glow Sticker. 2. Apply the Glow Sticker to the top of the Foot Switch.
- Page 24 StompLock To place the StompLock over the pedal knobs, do the following: 1. Set the knobs to your preferred setting. 2. Gently push the StompLock over the top of the knobs. 3. To remove the StompLock, gently lift one side and then the other.
-
Page 25: Specifications
Specifications Controls: Speed, Depth, Modify, Type, On/Off Pedal Jacks: Input 1 (Mono), Input 2, Output 1 (Mono), Output 2 Input Impedance: >1 MΩ (stereo), >500 kΩ (mono) - effect on Output Impedance: 1 kΩ - effect on Input Impedance: True hardwire bypass - effect off Output Impedance: True hardwire bypass - effect off Power Supply:... - Page 28 8760 South Sandy Parkway Sandy, Utah 84070 PH (801) 566-8800 FAX (801) 566-7005 DigiTech and HardWire ® ® registered trademarks of Harman Designed in the USA Copyright - Harman Printed in China HardWire TR-7 Owner’s Manual 5024343-B Please visit our website at: www.digitech.com...
Need help?
Do you have a question about the HARDWIRE TR-7 and is the answer not in the manual?
Questions and answers