Advertisement
Table of Contents
- 1 Removing Extension Table
- 2 Free-Arm Sewing
- 3 Winding Bobbin
- 4 Removing Bobbin Case and Bobbin
- 5 Inserting BOBBIN into BOBBIN CASE
- 6 Inserting BOBBIN CASE into SHUTTLE RACE
- 7 Threading Upper Thread
- 8 Regulating the Presser Foot Pressure
- 9 FABRIC Thread NEEDLE TABLE
- 10 To Start Sewing
- 11 To Finish Seam
- 12 Button Sewing
- 13 Zipper Sewing
- 14 Maintenance (Cleaning and Oiling)
- Download this manual
Advertisement
Table of Contents

Subscribe to Our Youtube Channel
Related Manuals for White 212


Summary of Contents for White 212
- Page 3 When using an electrical aoptiance, basic safety precautions should always be followed, including the followirg: To reduce the risk of electric shock: An appliance should never he left unattended when plugged in. Always unplug this appilance from the electric outlet immediately after using and before cleaning. Always unplug before relamping, Replace bulb with same type rated 15 watts.
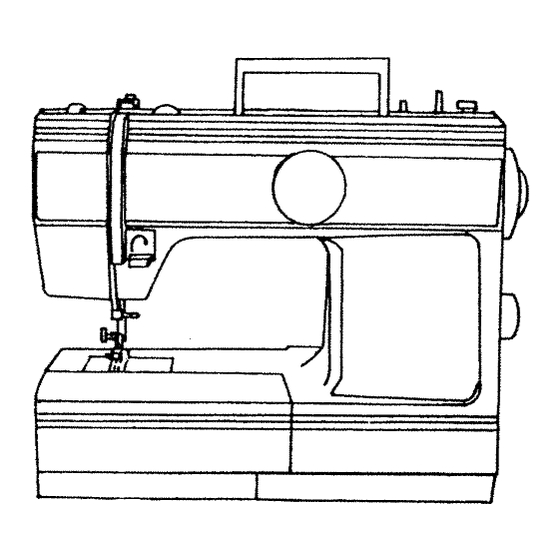
- Page 6 (REAR VIEW) Upper thread guide Stop clamp motion • Face cover Hand wheel Thumb screw plate —2—...
- Page 7 ACcESSORIES — Bobbin Spoo’ Zpzag tcc* (On machine) Screw driver Machine o Button sew on foot Buttonhole cutter...
-
Page 9: Removing Extension Table
REMOVING EXTENSION TABLE I .Hold the left end o table and pull out in direction or arrow. FREE-ARM SEWING sewing 1. This machine be used as a fiat bed machine but easily converts to free arm machine by removing the extension table. 2. -
Page 10: Winding Bobbin
WINDING THE BOBBIN 1 ,Release stop motion knob. 2.Thread as shown. 3. When the bobbin is full, the stop motion knob must be tightened. 5cm thread Push bobbin winder spindle in Winder ciLtectiot’ ct aow. When bobbin winding is com spindle return pleted... -
Page 11: Removing Bobbin Case And Bobbin
REMOVING BOBBIN CASE AND BOBBIN Hinged latch 1.Ralse needle to Its highest 2.Open hinged latch of bobbin position open case and pull bobbin case shuttle race cover. out of machine. 3,Reiease the latch and bob bin will fall out easily. INSERTiNG BOBBIN INTO BOBBIN CASE SLOT I .Pull off 5cm of thread from... -
Page 12: Inserting Bobbin Case Into Shuttle Race
iNSERTiNG BOBBIN CASE INTO SHUTTLE RACE Hinged latch 1 .Raise needle to its highest position, pulling thread to the front, open the latch of bobbin case and hold it. Insert 2Holding latch open, place bobbin case onto centre pin in shuttle and release latch —8—... -
Page 13: Threading Upper Thread
THREADING UPPER THREAD need’e threading Twin —9—... - Page 15 3NIHOVW oNrn3,’31 NMOC dfl% — —...
-
Page 17: Regulating The Presser Foot Pressure
REGULATING THE PRESSER FOOT PRESSURE 1. Ph down lever for desired pressure, for light fabrics set lever at 1, set at 2 for medium fabrics and 3 for heavy fabrics. 2. Insufficient pressure may cause poor feeding, skipped stitches, or difficulty in guiding the fabric. -
Page 19: Fabric Thread Needle Table
FABRIC ThREAD NEEDLE TABLE Please note that the following list guide when sewing different fabrics. is a Length of stitches lndaca Pressure of lion of Fabric Needle Thread Presser foot tension Pressu!o Stitch length regulation dial \4>s ‘ Nylon 80 Cotton Light Tricot 0 S.Fibre... -
Page 20: To Start Sewing
TO START SEWING ints 1. Raise the take-up lever to rts highest position betore slartrng tid after stopping sewing. 2. Hold both Threads about 10 cms to the rear of machine for the first two or three stitches. Sufficient fabric should be placed under needle before lowenng presser foot 4.Depress foot and start to sew. -
Page 21: To Finish Seam
TO FINISH SEAM 1 .Sew to the edge of seam. 2.Push the reverse button and sew in reverse for about 34 cms. 3.Raise need’e to its highest position. 4.Litt presser foot and puW the fabric rear of machine. 5Cut threads as shown on the thread cutter. —17—... - Page 22 — —...
-
Page 23: Button Sewing
BUTTON SEWING 1 .Lower drop teed. 2. Place button attaching presser toot in position. 3. Place button between presser loot and fabric and lower presser foot. 4.Manua(Iy turn hand wheel towards you ensuring that the needle enters into both holes of button without obstruction. (Increase or width setting). -
Page 24: Zipper Sewing
ZIPPER SEWING Select stitch. straight 1. ZIpper foot is designed sew close to a raised edge preventing sewing on zipper 2. Place position zipper toot In firmly and attach 3. Fold the fabric about 2 and place fabric under foot left 1. - Page 25 Note Hemmer foot can be purchased separately. HEMMING 1. Raise the foot and the needle to its highest position. Replace the foot with the hemmer foot. 2. Fold over the fabric edge by about 3mm and place it under the foot. Secure the Take out the workpiece and draw the hem folded edge with a few stitches.
- Page 27 — —...
- Page 28 — ‘-...
-
Page 29: Maintenance (Cleaning And Oiling)
MAINTENANCE (CLEANING AND OILING) 1. Raise needle to its highest position. 2. Take out bobbin case. 3. Turn latch knob A as illustrated. 4. Take off shuttle race cover. 5. Take out shuttle hook. 6, Clean and oil shuttle race and hook, then replace in the reverse order.
Need help?
Do you have a question about the 212 and is the answer not in the manual?
Questions and answers