Vivotek VS8801 Quick Installation Manual
Video server ip serveillance
Hide thumbs
Also See for VS8801:
- User manual (251 pages) ,
- Specification (6 pages) ,
- User manual (158 pages)
Table of Contents
Advertisement
Quick Links
Download this manual
See also:
User Manual
Advertisement
Table of Contents

Related Manuals for Vivotek VS8801


Summary of Contents for Vivotek VS8801
- Page 2 Warning Before Installation Power off the Video Server as soon Keep the Video Server away from as smoke or unusual odors are water. If the Network Camera detected. becomes wet, power off immediately. Contact your distributor in the event of Contact your distributor in the event of occurrence.
- Page 3 Do not place the Video Server on Do not touch the Video Server unsteady surfaces. during a lightning storm. Do not disassemble the Video Server. Do not drop the Video Server. Do not insert sharp or tiny objects into the Video Server.
-
Page 4: Package Contents
Package Contents VS8401 (4CH) or VS8801 (8CH) Power Adapter Software CD Warranty Card Quick Installation Guide General I/O Terminal Blocks VS8401: 10 pins x 3 pcs VS8801: 16 pins x 3 pcs... -
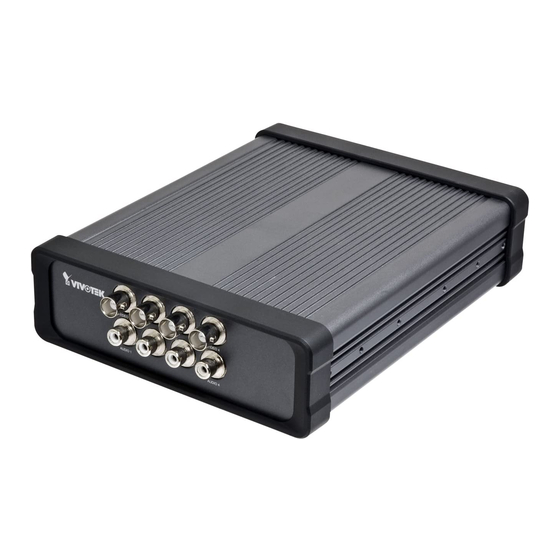
Page 5: Physical Description
Physical Description VS8801 BNC Video Input RCA Audio Input Click this button before removing the flash drive Ethernet 10/100/1000 Status LEDs RJ45 Socket USB Socket General I/O Power Cord Terminal Block Socket SD/SDHC Card Slot Recessed Reset Button Click this button before removing the SD/SDHC card... -
Page 6: Network Deployment
Network Deployment 1. Make video connection from the camera to the BNC video input. 2. Make audio connection from the Line-Out audio source to the RCA audio input. CAMERA NO. POWER 1 2 3 VIDEO 3. Connect the Video Server to a switch via Ethernet cable. 4. - Page 7 Pin Definitions of the General I/O Terminal Blocks VS8801 CH 8 CH 8 CH 7 CH 7 CH 6 CH 6 CH 5 CH 5 CH 4 CH 4 CH 3 CH 3 CH 2 CH 2 CH 1 CH 1...
-
Page 8: Assigning An Ip Address
"Next" button to continue the program. Installation Wizard 2 3. The program will search for VIVOTEK Video Receivers, Video Servers, and Network Cameras on the same LAN. 4. After searching, the main installer window will pop up. Click on the MAC that matches the one labeled on the bottom of your device to connect to the Video Server via Internet Explorer. -
Page 9: Ready To Use
Ready to Use 1. Access the Video Server from the LAN. 2. Retrieve live video through a web browser or recording software. For further setup, please refer to the user’s manual on the software CD.
Need help?
Do you have a question about the VS8801 and is the answer not in the manual?
Questions and answers