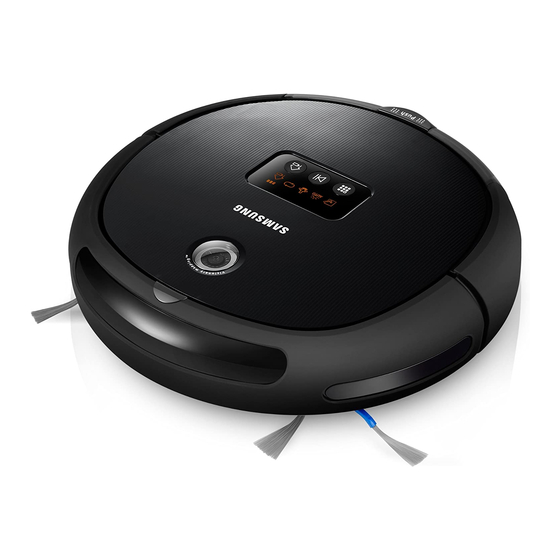
Samsung SR8730 User Manual
Vacuum cleaning robot
Hide thumbs
Also See for SR8730:
- User manual (208 pages) ,
- User manual (168 pages) ,
- User manual (168 pages)
Table of Contents
Advertisement
Quick Links
Vacuum Cleaning Robot
This manual is made with 100 % recycled paper.
✻ Before operating this unit, please read the instructions carefully.
✻ For indoor use only.
user manual
imagine
the possibilities
Thank you for purchasing a Samsung product.
To receive a more complete service,
please register your product at
www.samsung.com/register
SR8730
SR8750
SR8751
English
Advertisement
Table of Contents


Need help?
Do you have a question about the SR8730 and is the answer not in the manual?
Questions and answers