Makita 1902 Instruction Manual
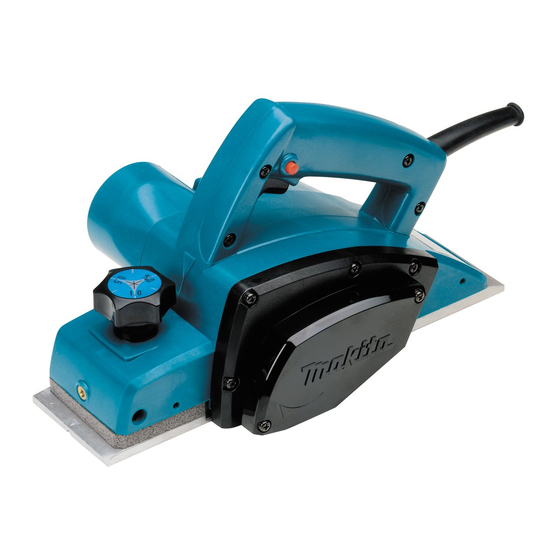
Power planer
Hide thumbs
Also See for 1902:
- Instruction manual (60 pages) ,
- Parts breakdown (2 pages) ,
- Quick manual (12 pages)

Related Manuals for Makita 1902


Summary of Contents for Makita 1902
- Page 1 Power Planer MODEL 1902 002543 DOUBLE INSULATION I N S T R U C T I O N M A N U A L WARNING: For your personal safety, READ and UNDERSTAND before using. SAVE THESE INSTRUCTIONS FOR FUTURE REFERENCE.
-
Page 2: Specifications
Power supply Responsible manufacturer: The tool should be connected only to a power supply of Makita Corporation Anjo Aichi Japan the same voltage as indicated on the nameplate, and can only be operated on single-phase AC supply. They are double-insulated in accordance with European Standard and can, therefore, also be used from sockets without earth wire. -
Page 3: General Safety Rules
GENERAL SAFETY RULES GEA001-3 WARNING: Read all instructions. Failure to follow all instructions listed below may result in electric shock, fire and/or serious injury. The term “power tool” in all of the warnings listed below refers to your mains-operated (corded) power tool or battery- operated (cordless) power tool. -
Page 4: Specific Safety Rules
Use of the cause vibration and shorten tool life. power tool for operations different from those 16. Use only Makita blades specified in this man- intended could result in a hazardous situation. ual. -
Page 5: Functional Description
FUNCTIONAL CAUTION: DESCRIPTION • Always be sure that the tool is switched off and unplugged before adjusting or checking function on the tool. Adjusting depth of cut 002549 Depth of cut may be adjusted by simply turning the knob on the front of the tool. -
Page 6: Removing Or Installing Planer Blades
• Use only the Makita wrench provided to remove or install the blades. Failure to do so may result in overtightening or insufficient tightening of the installation bolts. This could cause an injury. - Page 7 002556 1. Inside edge of gauge plate 2. Blade edge 3. Planer blade 4. Adjusting plate 5. Screws 6. Heel 7. Back side of gauge base 8. Gauge plate 9. Gauge base For tool with mini planer blades Remove the existing blade, if the tool has been in use, carefully clean the 002564 drum surfaces and the drum cover.
-
Page 8: Correct Setting
Slip the heel of the adjusting plate into the groove of the drum. 002566 Set the drum cover over the adjusting plate/set plate and screw in the three hex flange head bolts so that a gap exists between the drum and the set plate to slide the mini planer blade into position. - Page 9 004889 For tools with European type (round) chip cover 1. European type (round) chip cover When you wish to perform clean planing operation, connect a Makita vacuum 004951 cleaner to your tool as shown in the figure. 1. Vacuum cleaner...
-
Page 10: Operation
The nozzle assembly may be attached after the chip cover on the tool body is 002571 removed. When slipping on the assembly, fit the pin on it into the rear cover hole. Use the chip cover screws to fasten it in place. 1. - Page 11 Adjust the edge fence until it comes in contact with the side of the workpiece, 002583 then secure it by tightening the screw. When planing, move the tool with the edge fence flush with the side of the workpiece. Otherwise uneven planing may result. Maximum shiplapping (rabbeting) depth is 9 mm.
-
Page 12: Maintenance
MAINTENANCE CAUTION: • Always be sure that the tool is switched off and unplugged before attempting to perform inspection or maintenance. Sharpening the planer blades For standard blades only Always keep your blades sharp for the best performance possible. Use the 002588 sharpening holder to remove nicks and produce a fine edge. - Page 13 CAUTION: • These accessories or attachments are recommended for use with your Makita tool specified in this manual. The use of any other accessories or attachments might present a risk of injury to persons. Only use accessory or attachment for its stated purpose.
- Page 14 Memo...
- Page 15 Memo...
- Page 16 Makita Corporation Anjo, Aichi, Japan 884128D226...
Need help?
Do you have a question about the 1902 and is the answer not in the manual?
Questions and answers