Advertisement
Quick Links
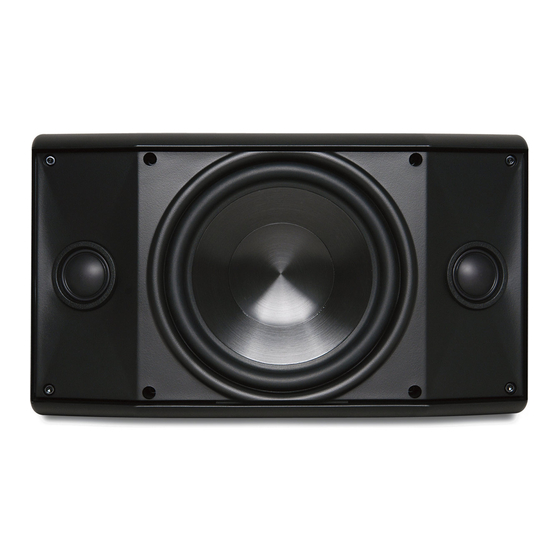
INDOOR / OUTDOOR SPEAKERS
WIRING
Please use Diagram 1 below to familiarize yourself with the rear panel of your outdoor speaker.
AW400blk/wht • AW525blk/wht • AW650blk/wht: Attach
the speaker cable to the speaker cable terminals, observing
the proper polarity with your amplifier, + to + (red) and – to
– (black). Make sure to connect the right channel to the right
speaker and the left channel to the left speaker.
Diagram 1:
Speaker Cable Terminals
Speaker Cable Terminal
(Red = +, Black = –)
AW400blk/wht
AW525blk/wht
PLACEMENT
Placement Under Eaves and Outdoors
When mounting your speakers outdoors, the eaves of the roof
provide an ideal location. They reduce the exposure of constant
direct sunlight, salt spray, and precipitation. If installing speak-
ers on a boat, the wheelhouse provides the best location for the
same reasons. Following these suggestions will help to ensure
that your speakers will last a lifetime.
Placement on a Wall or Bookshelf
When placing your speakers on a wall or bookshelf, optimal
sound will be achieved if they are mounted at ear level or slightly
higher. The usual listening area should be no closer to the speak-
ers than the distance between the speakers themselves.
ADJUSTING THE PIVOTING TWEETER(S)
Depending upon your listening area, you may find the sound
more pleasing by pointing the tweeters in a particular direction.
If additional treble is desired, simply point the tweeter(s) towards
that area; if less treble is required, point the tweeter(s) away.
Audio Systems
OWNER'S MANUAL
AW500TTblk/wht • AW600TTblk/wht • AW800TTblk/wht
AW400blk/wht • AW525blk/wht • AW650blk/wht
AW650blk/wht
AW500TTblk/wht • AW600TTblk/wht • AW800TTblk/wht:
Attach the speaker cable, observing the proper polarity with
your amplifier, + to + (red) and – to – (black). Either channel
may be attached to either terminal set, however, be sure that
polarity (+ and –) is correct on each channel or the perfor-
mance of the speaker will be seriously affected as one channel
will cancel out the other.
Speaker Cable
Terminal
AW500TTblk/wht
AW600TTblk/wht
AW800TTblk/wht
Diagram 2:
Installing Mounting Bracket
Diagram 3:
Pivoting Tweeter
Push gently at the edge
of the tweeter to point
the tweeter in the desired
direction. Do not touch
tweeter dome.
Connect left channel to
one terminal set; connect
right channel to the other
Screw mounting bracket to wall
either horizontally or vertically
Secure speaker to mounting
bracket by tightening knobs
Advertisement

Related Manuals for Proficient Audio Systems AW500TTblk/wht


Summary of Contents for Proficient Audio Systems AW500TTblk/wht
- Page 1 Audio Systems OWNER’S MANUAL INDOOR / OUTDOOR SPEAKERS AW500TTblk/wht • AW600TTblk/wht • AW800TTblk/wht AW400blk/wht • AW525blk/wht • AW650blk/wht WIRING Please use Diagram 1 below to familiarize yourself with the rear panel of your outdoor speaker. AW400blk/wht • AW525blk/wht • AW650blk/wht: Attach AW500TTblk/wht •...
-
Page 2: Speaker Specifications
Features and specifications are subject to change without notice. Should you have any questions regarding this, or any other Proficient Audio Systems product, please call our service hotline at 877.888.9004. We are available to assist you every weekday, except holidays, between the hours of 7:00 a.m. and 5:00 p.m. PST.
Need help?
Do you have a question about the AW500TTblk/wht and is the answer not in the manual?
Questions and answers