Maytag LSE7806ACQ Installation Instructions Manual

Maytag LSE7806ACQ Installation Instructions Manual

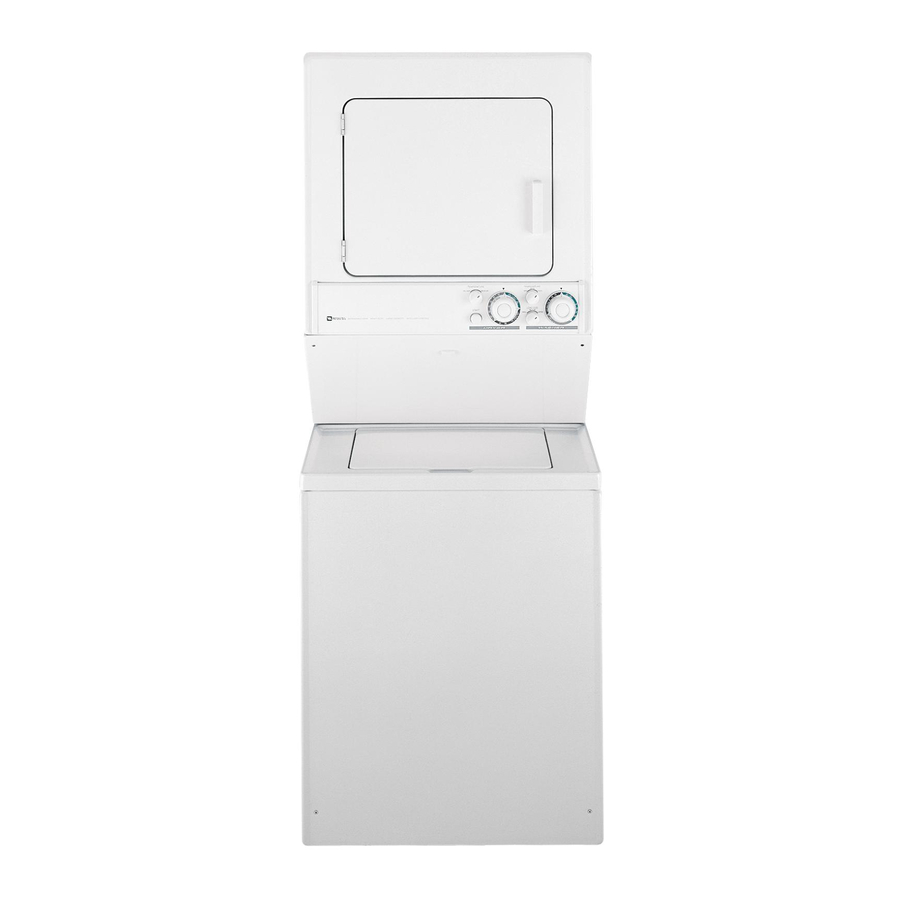
Stacked washer-dryer
Hide thumbs Also See for LSE7806ACQ:

Advertisement

LEAVE THESE INSTRUCTIONS
WITH THE OWNER
iMPORTANT
TO iNSTALLER
REMOVE
THE DOOR FROIVl ALL DISCARDED
APPLIANCES
SUCH
AS
DRYERS
AND
COMBINATION
WASHER/DRYERS
TO AVOID
THE
DANGER
OF
A CHILD
SUFFOCATING
SHOULD
HE/SHE
CRAWL
INSIDE
AND THE
DOOR
BE SHUT.
THE APPLIANCE
MUST
NOT BE INSTALLED
OR STORED
IN AN AREA WHERE
IT WILL BE
EXPOSED
TO WATER
AND/OR
WEATHER.
U.S. MODELS
PLEASE
READ THE
FOLLOWING
INSTRUC-
TIONS
CAREFULLY
BEFORE
STARTING
TO
INSTALL
THE
DRYER.
FOR
GAS
DRYERS,
THE
INSTALLATION
MUST
CONFORM
WITH
THE
NATIONAL
FUEL
GAS
CODE
ANSI
Z223.1,
LATEST REVISION.
ANY QUESTIONS
CONCERNING
THIS SHOULD
BE REFERRED
TO THE LOCAL
GAS UTILITY.
CANADIAN
MODELS
PLEASE
READ
THE
FOLLOWING
INSTRUC-
TIONS
CAREFULLY
BEFORE
STARTING
TO
INSTALL
THE
DRYER.
FOR
GAS
DRYER
INSTALLATION,
REFER
TO
STANDARD
CAN/CGA
B149
(.1
OR
.2)
INSTALLATION
CODE.
ANY
QUESTIONS
SHOULD
BE
REFERRED
TO THE LOCAL
GAS UTILITY.
This folder contains
information
of interest
to the
owner.
After
the appliance
has been properly
instafled,
LEAVE
THESE
INSTRUCTIONS
WITH THE OWNER.
SERVICE CALLS PERFORMED
AS A RESULT OF POOR
INSTALLATION
ARE THE
RESPONSIBILITY
OF THE
INSTALLER.
printed in U,S,A,
6 3717020

Advertisement

Table of Contents
loading

Summary of Contents for Maytag LSE7806ACQ

  • Page 1 LEAVE THESE INSTRUCTIONS WITH THE OWNER iMPORTANT TO iNSTALLER CANADIAN MODELS REMOVE THE DOOR FROIVl ALL DISCARDED PLEASE READ FOLLOWING INSTRUC- APPLIANCES SUCH DRYERS TIONS CAREFULLY BEFORE STARTING COMBINATION WASHER/DRYERS TO AVOID INSTALL DRYER. DRYER DANGER A CHILD SUFFOCATING INSTALLATION, REFER STANDARD SHOULD...
  • Page 2 Retain these instructions for future reference. Leave block in place until installation This new Maytag appliance is designed to serve complete. Be sure to remove block after dependably many years. However,...
  • Page 3 PREJNSTALLATJON CONSiDERATiONS Location: The stacked washer/dryer is approved enough to prevent excessive vibration in spin for zero clearance installation on the sides and cycles. A floor which adequate standard washer is sufficient for the stacked the back (depending on venting used). The Ioca= tion selected...
  • Page 4: Make=Up Air

    Sq: In. obstruct the flow of combustion or ventilating air. When installing a Maytag Stacked Washer/ Dryer following minimum clearances combustible surfaces must maintained. Clearance to wall, sides - 0 inches, top - 6 inches, 0"--...
  • Page 5 DIRECT EXHAUST LINT. NEVER iNSTALL A SCREEN OVER EXHAUST OUTLET. NEVER USE PLASTIC An exhaust hood positioned to line up with the OTHER COMBUSTIBLE DUCTWORK. dryer exhaust pipe installed directly LEAST ONCE AYEAR, INSPECT AND CLEAN through an outside wall. This would be the...
  • Page 6: Grounding Instructions

    RiGiD DUCTWORK ELECTF{JCAL REQUJF{EMENTS iMPORTANT SAFETY PRECAUTIONS Rigid metal ductwork should not exceed 54 feet WARNING: To prevent unnecessary risk of fire, of straight 4 inch duct. Each 90 ° elbow and the electrical shock or personal injury, all wiring exhaust hood should be considered...
  • Page 7 modify plug provided with Electric models are shipped with a ground strap appliance. If it will not fit the outlet, have connected from the neutral (P2) terminal block proper outlet installed by a qualified electrician. post to the frame of the dryer. The use of this strap is permitted by the national...
  • Page 8: Wire System

    4-WIRE RECEPTACLE 4. Connect the other two wires of the cord to the outer terminals of the terminal block. For a 4-wire hook-up, the frame of a 120/240 volt machine must be connected neutral 5. Replace the terminal block cover. terminals.
  • Page 9: Gas Connection

    LPG, or LPG to NATURAL are available through gas supply piping system at test pressures equal your local Maytag dealer, if other conversions to or less than 1/2 RS.J.G. required, check with IocaJ gas utility...
  • Page 10 See DETAILED Installation Instructions ELECTRICAL REQUIREMENTS iNSTALL DRYER UNIT AND STAND GROUNDING (pages 6°7). The dryer and stand are installed first. With the Make exhaust connections prepared exhausting, electric connections. power and gas (if gas stacked washer/dryer, Exhaust connection page 9), the dryer and stand are moved to the is lined up as the...
  • Page 11: Dryer Installation

    DRYER iNSTALLATiON Remove the crate ,_"---_%\ base wires from orate b ase. Use Vent Kit - standard - 4" (10.16cm) pliers or screw- _-'f kit includes two elbows, three pipes and driver to pry from "_F-- _1-![_ ..one vent hood wood.
  • Page 12 Attach the inlet hoses LAUNDRY to the HOT and COLD faucets. Being sure STANDPIPE the hose marked " "HOT" is attached the HOT water faucet. Tighten by hand until snug and then 2/3 of a turn with pliers. not overtighten. Attach the 90 °...
  • Page 13 Connect the dryer power cord to 120 volt DRYER (NSTALLAT(ON CHECK AC outlet for gas models. 240 volt outlet Dryer is plugged into electrical outlet and for electric models. is properly grounded. Make appropriate external ground Exhaust duct work is hooked up and connection.
  • Page 14 ADDiTiONAL iNFORMATiON WATER DAMAGE FROM ODD CYCLE OPERATION FLOODING This Maytag stacked washer/dryer is manufac- tured for operation on 60 Hz approved electrical event stacked washer/dryer service. It is not designed for use on 50 Hz AC exposed to water from flooding,...

Table of Contents