Advertisement
Quick Links
Advertisement

Related Manuals for LifeSize Phone


Summary of Contents for LifeSize Phone
- Page 1 ® ™ LifeSize Phone User Guide...
- Page 2 ©2005 - 2007 LifeSize Communications Inc, and its licensors. All rights reserved. LifeSize Communications has made every effort to ensure that the information contained in this document is accurate and reliable, but assumes no responsibility for errors or omissions. Information in this document is subject to change without notice.
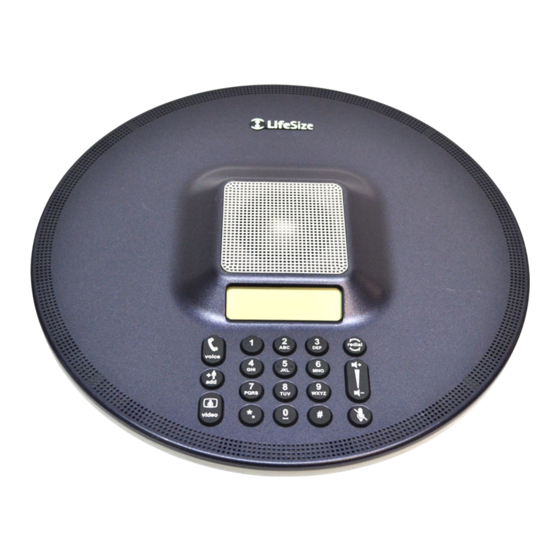
- Page 3 Its elegant, non-intrusive design provides flexible connectivity. You can use LifeSize Phone as a standalone audio conferencing device or fully integrated with LifeSize video communications systems. LifeSize Phone is simple to use and provides full function, multi-participant conferencing capabilities.
- Page 4 Refer to the quick reference card included in your product package for a visual depiction of the proper setup. 1. Insert the Ethernet cable into the port on the underside of the phone closest to the center; this port is marked with the LAN symbol .
- Page 5 1. Press sequentially when the phone is idle. 2. Enter the default administrator password (1 2 3 4 by default) and press If you enter an incorrect password, the Login Failed message displays. After six seconds you return to the main screen.
- Page 6 Configuration from a Web Browser You can also configure your LifeSize Phone from a web browser by navigating to the URL displayed at the bottom of the administrator configuration Main Menu on your LifeSize Phone.
- Page 7 6. From the Communications : SIP : General menu, enter the username, SIP server authorization name, and password for the device, if required. The authorization name and password are the values LifeSize Phone uses for authentication; these values are only required if the registrar or proxy require authentication.
- Page 8 You can configure the phone to communicate through your firewall with or without static NAT by setting preferences in Communications : NAT/Firewall. If you configure your phone to...
- Page 9 Using the Keypad The following table describes the keys on the phone keypad; some of these keys have dual functions depending on when you invoke them. Description Answers an incoming call, initiates a call, obtains a dial tone, or ends the current call.
- Page 10 Verify that power is supplied correctly to the unit through PoE adapter. The LEDs illuminate and the display becomes active with sufficient power. If connecting your phone with PoE and your network connection does not support PoE, you must use a PoE adapter between the network connection and the phone to supply power.
- Page 11 (from the Preferences : Appearance menu). The default setting is recommended. Display Failures If data does not appear on the phone display, ensure the unit is properly plugged into a PoE connection. Ensure that the Ethernet connector is fully engaged into the RJ-45 jack on the underside of the phone.
- Page 12 Also ensure the loudspeaker is not obscured or damaged at either end of the call. Do not stack items on top of the phone. Do not use any kind of liquid or aerosol cleaner on the phone. A soft, slightly damp cloth should be sufficient to clean the top surface of the phone if necessary.
- Page 13 11. A system upgrade status message displays when the upgrade is complete. Close the status window and close the administrator configuration window. 12. Your LifeSize Phone is ready to use. If you selected the Reset to Default State checkbox in step 8, you must first reconfigure your LifeSize Phone.
- Page 14 Code Problem Description Read failed Reading incoming data failed during the upload of the image. This typically occurs if the connection is broken during the upload. Upgrade script failed After the image has been successfully uploaded the system runs an upgrade script for final processing. This error indicates a failure in that script.
Need help?
Do you have a question about the Phone and is the answer not in the manual?
Questions and answers