Maytag BUILT-IN DISHWASHER Installation Insrtuctions
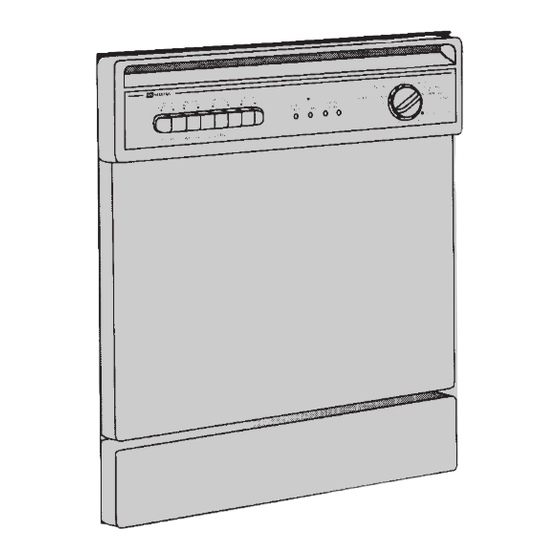
Built-in dishwasher
Hide thumbs
Also See for BUILT-IN DISHWASHER:
- User manual (17 pages) ,
- Use & care manual (40 pages) ,
- Installation instructions manual (6 pages)
Table of Contents
Advertisement
Quick Links
BUILT-IN DISHWASHER
BUILT-IN DISHWASHER
INSTALLATION INSTRUCTIONS
INSTALLATION INSTRUCTIONS
PLEASE READ COMPLETE INSTRUCTIONS BEFORE YOU BEGIN
LEAVE INSTALLATION INSTRUCTIONS AND
USER'S GUIDE WITH OWNER
ALL ELECTRIC WIRING AND PLUMBING MUST BE DONE
IN ACCORDANCE WITH NATIONAL AND LOCAL CODES.
PRINTED IN USA
6 915126 B
© 1999 - Maytag Corporation
Advertisement
Table of Contents

Related Manuals for Maytag BUILT-IN DISHWASHER


Summary of Contents for Maytag BUILT-IN DISHWASHER
- Page 1 PLEASE READ COMPLETE INSTRUCTIONS BEFORE YOU BEGIN LEAVE INSTALLATION INSTRUCTIONS AND USER'S GUIDE WITH OWNER ALL ELECTRIC WIRING AND PLUMBING MUST BE DONE IN ACCORDANCE WITH NATIONAL AND LOCAL CODES. PRINTED IN USA 6 915126 B © 1999 - Maytag Corporation...
-
Page 2: Cabinet Preparation
5’ Copper Part #19950152 the cabinet opening). going to step 2. Available through an authorized Maytag Parts Retailer UNCRATING UNCRATING Remove access and toe panels before beginning installation. Remove bolts from the crate base brackets, using 5/16" socket with ratchet. Remove crate base and discard base and packaging. - Page 3 WATER VALVE PREPARATION WATER VALVE PREPARATION Remove shipping plug from water inlet valve. Water Install a 90 elbow (3/8" N.P.T) fitting into the water valve using Teflon™ tape Valve or pipe thread compound. The opposite end of the fitting should fit in-coming hot water supply line.
-
Page 4: Securing The Dishwasher
POSITIONING THE DISHWASHER (continued) POSITIONING THE DISHWASHER (continued) Tip: Check to be sure there is no interference with water line and wiring. Verify that power is turned off at source. Tip: When installing dishwasher near a corner, allow enough room for the door to open without interferring with any cabinets, drawers, or hardware. - Page 5 MAKING THE ELECTRICAL CONNECTIONS MAKING THE ELECTRICAL CONNECTIONS SEE THE ELECTRICAL REQUIREMENTS SECTION CAUTION: Verif y power to dishwasher is off at source. Remove terminal box cover. In order to secure the power supply cable, a UL listed strain relief must be used to secure the power supply to the back of terminal box.
- Page 6 CAUTION: To prevent accidental contact with electrical connections, amp) or comparable circuit breaker. Two wire with ground built-in dishwasher models must not be connected to a power source ser vice to the dishwasher unless the dishwasher is completely enclosed, with front panels in place.
Need help?
Do you have a question about the BUILT-IN DISHWASHER and is the answer not in the manual?
Questions and answers