
Related Manuals for Haier WDNS116BBS


Summary of Contents for Haier WDNS116BBS
-
Page 1: Water Dispenser
Water Dispenser Dispensor de agua User Manual WDNS116BBS Manual de Usuario Quality Innovation Style... -
Page 2: Safety Precautions
See the grounding instructions in the installation section. 4. Never unplug your water dispenser by pulling on the power cord. Always grasp the plug firmly and pull straight out from the outlet. 5. Repair or replace immediately, all electric service cords that have become frayed or otherwise damaged. -
Page 3: Table Of Contents
Grounding Instructions ... 5 Wiring Requirements ... 5 Extension Cords ... 5 Power Interruptions ... 5 OPERATING YOUR WATER DISPENSER ... 6 Cold/Hot Water Release ... 6 Cold/Hot Water Indicator Lights ... 6 Using the Refrigerator Compartment ... 6 Removable Drip Tray ... 6 PROPER CARE AND CLEANING ... -
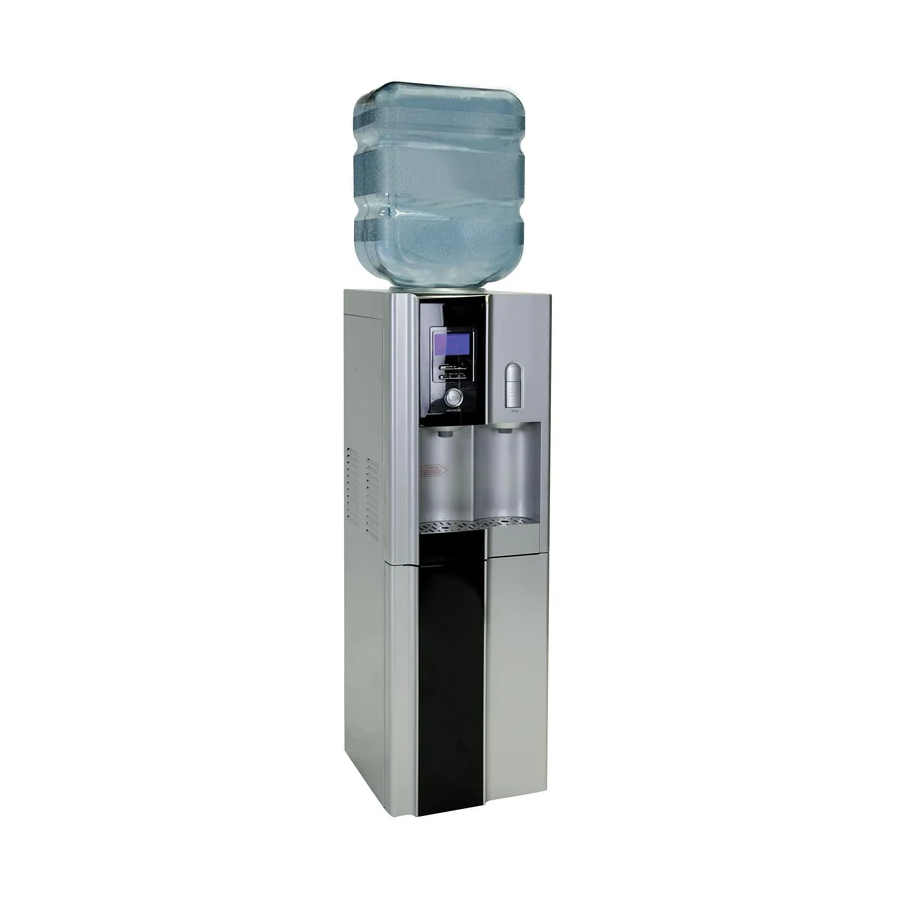
Page 4: Parts And Features
English PARTS AND FEATURES 1. Water Receptacle 2. Cold Water Buttons 3. Storage Compartment 4. Removable Shelf 5. Removable Drip Tray 6. Hot Water Button 7. Child Safety Lock 8. LCD 9. Drain (not shown/back of unit) -
Page 5: Installation Instructions
The water dispenser is pre-cleaned at the factory but the reservoir and water lines should be flushed with fresh water before use as follows: 1. Do NOT plug in the water dispenser. 2. Check and make sure the drain cap on the back of the water dispenser is firmly closed. English... -
Page 6: Start-Up Instructions
1. Remove the cap from the water bottle first. Lift up the water bottle and quickly place it into the water receptacle. (The water bottle is not included.) 2. DO NOT plug in the water dispenser until you have checked that water flows out of both faucets when the hot and cold water release levers are pressed. -
Page 7: Electrical Connections
When power has been restored, re-plug the power cord into wall outlet. OPERATING YOUR WATER DISPENSER This water dispenser maintains instant hot and cold water for your cooking and drinking needs. It accepts 3 or 5-gallon water bottles. Cold / Hot Water Release Levers Press the button to release the water flow. -
Page 8: Electronic Control
(decreasing temperature) from 50°F (Min) to 43°F (Max). The default cooling temperature is 44.6°F. 6. Anti-Overheat Indicator: When water dispenser is heating, if the hot water tank is out of water, the water dispenser will stop heating and the Anti-Overheating indicator and left 2 bars on the Heating Level and right 2 bars Cooling Level displays will flash. -
Page 9: Operating Instructions
- Press and hold the SET button to enter SET Mode - Press a 2nd time to set Clock Hours (Hours flashing) - Press a 3rd time to set Clock Minutes (Minutes flashing) - Press a 4th time to set Hot Water Temperature (Heating Level flashing) - Press a 5th time to set Cold Water Temperature (Cooling Level flashing) - If nothing is pressed for 8 seconds the display will automatically exit the Set Function... -
Page 10: Proper Care And Cleaning
English 3. Use the HOT/+ or COLD/- buttons to adjust the heating temperature. 4. When setting the heating temperature, additional bars will be added as you increase the heating from 190°F (Min) to 203°F (Max). 5. Press the Set button 1 time, the Cooling Level will be flashing 6. -
Page 11: Cleaning The Condenser Coils
• The spilled water in the drip tray must be removed regularly and cleaned properly to avoid any bacteria and residue build-up. • We recommend that you clean the water dispenser at least twice a year. When cleaning, you do not need to take anything apart. Simply pour the baking soda/water solution through the water guard. -
Page 12: Troubleshooting Guide
• Make sure the power cord is plugged in properly • If the water dispenser is brought indoors in the winter, give it a few hours to warm up to room temperature before plugging it in. Cold bottled water or the temperature of the water dispenser itself may affect the thermostat setting. -
Page 13: Warranty
This warranty gives you specific legal rights, and you may have other rights, which vary, from state to state. Haier America New York, NY 10018 English... -
Page 14: Precauciones De Seguridad
GUARDE ESTAS INSTRUCCIONES Gracias por utilizar nuestro producto Haier. Este manual de fácil uso lo guiará para obtener los mejoresresultados de este producto. Recuerde de tomar nota del modelo y número de serie. - Page 15 Español CONTENIDOS PAGE PRECAUCIONES DE SEGURIDAD ... 1 PIEZAS Y FUNCIONES ... 3 INSTRUCCIONES DE INSTALACIÓN ... 4 INSTRUCCIONES PARA LA PUESTA EN MARCHA ... 6 CONExIONES ELÉCTRICAS... 6 Instrucciones para la descarga a tierra ... 6 Requisitos para la instalación eléctrica ... 6 Cables de prolongación ...
-
Page 16: Piezas Y Funciones
Español PIEZAS Y FUNCIONES 1. Receptáculo para agua 2. Botones para el agua fría 3. Compartimiento para el guardado 4. Bandeja extraíble 5. Bandeja de goteo extraíble 6. Botón para el agua caliente 7. Dispositivo de seguridad para niños 8. LCD 9. -
Page 17: Instrucciones De Instalación
INSTRUCCIONES DE INSTALACIÓN 1. Quite todos los materiales de empaque. Esto incluye la base de espuma y toda la cinta adhesiva que sostiene los accesorios por dentro y por fuera. 2. Revise y quite los restos de embalaje, cinta o materiales impresos antes de encender el surtidor de agua. - Page 18 Español PREPARATIVOS ANTES DE LA PRIMERA PUESTA EN MARCHA Antes de conectar la unidad con la fuente de energía, déjela en posición vertical durante aproximadamente 12 horas. De esta manera se reduce la posibilidad de mal funcionamiento del sistema de enfriamiento provocado por la manipulación de la unidad durante su transporte.
-
Page 19: Instrucciones Para La Puesta En Marcha
INSTRUCCIONES PARA LA PUESTA EN MARCHA Lea detenidamente e interprete todas las instrucciones antes de instalar el surtidor de agua. 1. Primero, retire la tapa del botellón de agua. Levante el botellón de agua y colóquelo rápidamente en el receptáculo para el agua. (El botellón de agua no está... -
Page 20: Cables De Prolongación
Español CABLES DE PROLONGACIÓN No recomendamos el uso de cables de prolongación con esta unidad. CORTES DE ENERGÍA Ocasionalmente, puede haber cortes de energía debido a tormentas eléctricas u otras causas. Desenchufe el cable de alimentación del tomacorriente de la pared cuando haya un corte de energía. -
Page 21: Instrcciones Para Los Botones
4. Función de enfriamiento: El indicador de enfriamiento destellará en el visor, hasta que la temperatura llegue a la temperatura configurada, entonces el indicador dejará de destellar. 5. Nivel de enfriamiento: Cuando se configura la temperatura de enfriamiento, se agregan barras adicionales a medida que aumenta el enfriamiento de 50ºF (Mín) a 43ºF (Máx). -
Page 22: Instructciones De Funcionamiento
Español 3. Luz nocturna: Presione el botón Night Light (Luz nocturna) para que se encienda la luz, presiónelo una vez más para que se apague. 4. Hot/+: - Cuando esté en el modo en espera (#1 más arriba), presione Hot/+ (Caliente/+) para que arranque el calentador del agua. -
Page 23: Configuracion De Temperatura Caliente Y Fria
CONFIGURACIÓN DE TEMPERATURA CALIENTE Y FRÍA 1. Presione y mantenga presionado SET (CONFIGURAR) durante 2 segundos para iniciar el modo de configuración. 2. Presione el botón Set (Configurar) 3 veces, hasta que destelle Heating Level (Nivel de calentamiento). 3. Use HOT/+ (CALIENTE/+) o COLD/- (FRÍO/-) para ajustar la temperatura de calentamiento. -
Page 24: Cuidado Y Limpieza Adecuados
Español CUIDADO Y LIMPIEZA ADECUADOS Precaución: Antes de utilizar productos de limpieza, lea y siga siempre las instrucciones del fabricante, así como también las advertencias, para evitar lesiones personales y daños al producto. Nota: Se recomienda limpiar el surtidor y el área que lo rodea cuando se reemplaza el botellón de agua con uno nuevo. -
Page 25: Vacaciones O Ausencias Prolongadas / Mudanza
VACACIONES O AUSENCIAS PROLONGADAS / MUDANZA • Apague el surtidor de agua. • Desenchufe la unidad. • Si el botellón aún contiene agua, retírela rápidamente y con cuidado para evitar que se derrame. • Coloque un recipiente o balde en el piso debajo del desagüe en la parte de atrás de la unidad para que caiga el agua del tubo de desagüe. - Page 26 Si el condensador se calienta demasiado: • Cuando el compresor está funcionando, es normal que el condensador esté caliente. Si le preocupa que la temperatura sea demasiado elevada, verifique que haya suficiente espacio alrededor del surtidor de agua para que la ventilación sea adecuada. Si el grifo de agua fría no funciona y el tanque de agua fría se congela •...
-
Page 27: Garantia Limitada
La labor debe ser abonada por el cliente. 3. Contacte a su centro de servicios autorizado por HAIER más cercano. Para obtener el nombre del Centro de Servicios más cercano llame al: 1-877-337-3639 o visite nuestro sitio web www.haieramerica.com... - Page 28 No regrese este producto a la tienda Si tiene algún problema con este producto, por favor contacte el “Centro de Servicio al Consumidor de Haier” al 1-877-337-3639 (Válido solo en E.U.A). NECESITA UNA PRUEBA DE COMPRA FECHADA PARA EL SERVICIO DE LA GARANTIA...
Need help?
Do you have a question about the WDNS116BBS and is the answer not in the manual?
Questions and answers