Table of Contents
Advertisement
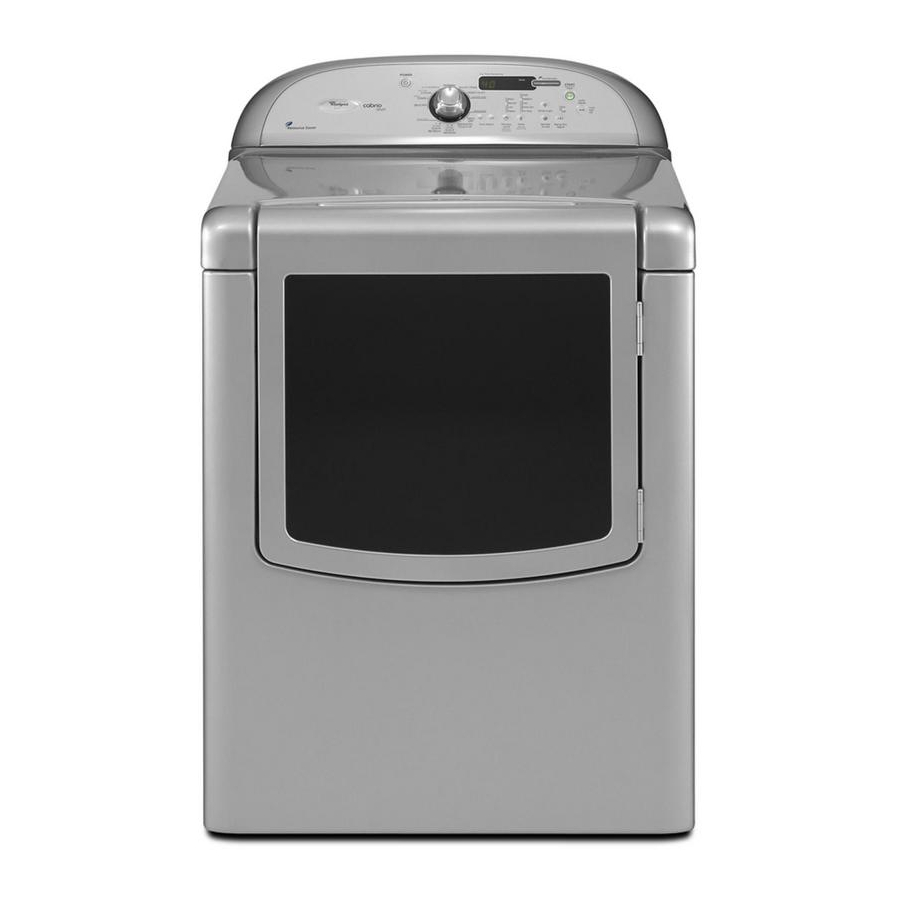
ELECTRIC DRYER INSTALLATION INSTRUCTIONS
U.S.A. ONLY
Para una version de estas instrucciones en espahol, visite www.Whirlpool.com
TABLE OF CONTENTS
TABLE OF CONTENTS ..................................................................
1
DRYER SAFETY ..............................................................................
1
................................................
2
Tools and Parts ............................................................................
2
Optional Equipment .....................................................................
2
Location Requirements ................................................................
3
ELECTRIC DRYER POWER HOOKUP ......................................... 4
Electrical Requirements ...............................................................
4
Electrical Connection ...................................................................
5
VENTING ........................................................................................
10
Venting Requirements ................................................................
10
Plan Vent System .......................................................................
11
Install Vent System .....................................................................
12
INSTALL LEVELING LEGS ...........................................................
12
CONNECT VENT ...........................................................................
12
CONNECT INLET HOSE (STEAM MODELS) .............................. 13
LEVEL DRYER ..............................................................................
13
COMPLETE INSTALLATION .......................................................
13
Reverse Door Swing ...................................................................
14
.................................................................
15
Dryer Operation ..........................................................................
15
Dryer Results ..............................................................................
16
DRYER SAFETY
Your safety
and the safety
of others
are very important.
We have provided many important safety messages in this manual and on your appliance. Always read and obey all safety
messages.
This is the safety alert symbol.
This symbol alerts you to potential hazards that can kill or hurt you and others.
All safety messages will follow the safety alert symbol and either the word "DANGER" or "WARNING."
These words mean:
You can be killed or seriously
injured if you don't immediately_
follow
instructions.
You can be killed or seriously
injured if you don't follow
instructions.
All safety messages will tell you what the potential hazard is, tell you how to reduce the chance of injury, and tell you what can
happen if the instructions
are not followed.
W10267633A
Advertisement
Table of Contents


Need help?
Do you have a question about the WED7800XB0 and is the answer not in the manual?
Questions and answers