Daikin FTXS15LVJU Operation Manual
Room air conditioner
Hide thumbs
Also See for FTXS15LVJU:
- Installation manual (14 pages) ,
- Engineering data (661 pages) ,
- Service manual (414 pages)

Related Manuals for Daikin FTXS15LVJU


Summary of Contents for Daikin FTXS15LVJU
-
Page 1: Operation Manual
DAIKIN ROOM AIR CONDITIONER OPERATION MANUAL MODELS FTXS15LVJU FTXS18LVJU FTXS24LVJU... -
Page 2: Intelligent Eye
Feature For your comfort and energy For your comfort and energy saving saving INTELLIGENT EYE The INTELLIGENT EYE sensor detects the human movement in a room. If no one is room for more than 20 minutes, the operation automatically changes to energy saving operation. Page 15 WEEKLY TIMER Up to 4 timer settings can be saved for each day of the week... -
Page 3: Table Of Contents
Contents Read before Operatio n Safety Precautions ..........Names of Parts ............ Preparation before Operation ......Operatio n AUTO · DRY · COOL · HEAT · FAN Operation ..........Adjusting the Airfl ow Direction and Rate ..........COMFORT AIRFLOW / INTELLIGENT EYE Operation .... -
Page 4: Safety Precautions
Do not attempt to repair, relocate, modify or reinstall the air conditioner by yourself. Incorrect work or modifi cations could cause electric shocks, fi re or other damage. For repairs and reinstallation, consult your Daikin dealer for advice and information. •... - Page 5 Arrange the drain hose to ensure smooth drainage. Improper drainage may cause water damage to the building, or its furnishing. • Depending on the usage environment, water may leak from the air conditioner. If this happens, contact your Daikin Dealer. •...
-
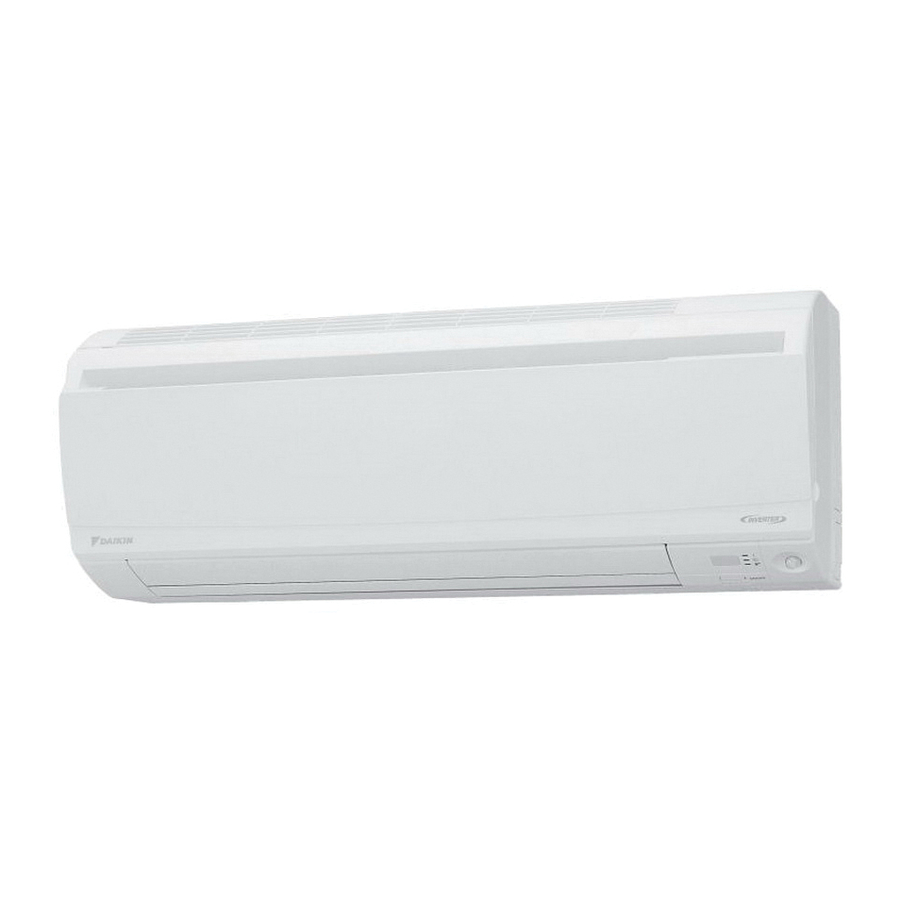
Page 6: Names Of Parts
Names of Parts Indoor Unit Front panel Air inlet Panel tab INTELLIGENT EYE sensor • It detects the movements of people and automatically switches between normal operation and energy saving Model name operation. Page 15 plate Air outlet Fins (vertical blades) •... - Page 7 Open the front panel Air fi lter Titanium apatite photocatalytic Outdoor Unit air-purifying fi lter • Appearance of the outdoor unit may differ from some models. Outdoor temperature Air inlet sensor (back) (back and side) Drain hose Ground terminal • Inside this cover.
-
Page 8: Front Cover
Names of Parts Remote Controller Signal transmitter Display (LCD) • Displays the current settings. Receiver (In this illustration, each section is shown with all its displays on for the • To use the remote controller, aim the purpose of explanation.) transmitter at the indoor unit. -
Page 9: Quiet Button
Open the front cover MODE selector button ECONO button • Selects the operation mode. • ECONO operation. Page 19 (AUTO/DRY/COOL/HEAT/ FAN) Page 11 SWING button • Adjusting the airfl ow direction. Page 13 COMFORT/SENSOR QUIET button button • OUTDOOR UNIT QUIET operation. -
Page 10: Preparation Before Operation
Preparation before Operation To set the batteries Position – Slide the front cover to take it off. correctly! Set two dry batteries AAA.LR03 (alkaline). Set the front cover as before. To fi x the remote controller holder on the wall Choose a place from where the signals reach Remote controller the unit. - Page 11 Turn the breaker on • After the power is turned on, the louvers of the indoor unit open and close once to set the reference position. To set the clock Press “ ” is displayed. “ ” and “ ” blink. Press to set the current day of the week.
-
Page 12: Auto · Dry · Cool · Heat · Fan Operation
AUTO · DRY · COOL · HEAT · FAN Operation The air conditioner operates with the operation mode of your choice. From the next time on, the air conditioner will operate with the same operation mode. To start operation Press and select an operation mode. -
Page 13: Operating Conditions
To change the temperature setting Press • The displayed items on the LCD will change whenever either one of the buttons is pressed. COOL operation HEAT operation AUTO operation DRY or FAN operation 64-90°F 50-86°F 64-86°F (18-32°C) (10-30°C) (18-30°C) The temperature setting is not variable. -
Page 14: Adjusting The Airfl Ow Direction And Rate
Adjusting the Airfl ow Direction and Rate You can adjust the airfl ow direction to increase your comfort. To start auto swing Upper and lower airfl ow direction Press • “ ” is displayed on the LCD. • The louvers (horizontal blades) will begin to swing. Right and left airfl... - Page 15 To adjust the airfl ow rate setting Press • Each pressing of advances the airfl ow rate setting in sequence. Auto Indoor unit quiet Middle low High Middle high Middle • When the airfl ow is set to “ ”, indoor unit quiet operation will start and the noise from the unit will become quieter.
-
Page 16: Comfort Airflow / Intelligent Eye Operation
COMFORT AIRFLOW / INTELLIGENT EYE Operation COMFORT AIRFLOW operation The fl ow of air will be in the upward direction while in COOL operation and in the downward direction while in HEAT operation, which will provide a comfortable wind that will not come in direct contact with people. COOL operation HEAT operation INTELLIGENT EYE operation... - Page 17 To start operation Press and select the desired mode. • Each time the is pressed a different setting option is displayed on the LCD. • The INTELLIGENT EYE lamp lights green. Display • By selecting “ ” from the following icons, the air conditioner will be in COMFORT AIRFLOW operation combined with INTELLIGENT EYE operation.
-
Page 18: Powerful Operation
POWERFUL Operation POWERFUL operation quickly maximizes the cooling (heating) effect in any operation mode. You can get the maximum capacity. To start POWERFUL operation Press during operation. • POWERFUL operation ends in 20 minutes. Then the system automatically operates again with the previous settings which were used before POWERFUL operation. •... -
Page 19: Outdoor Unit Quiet Operation
OUTDOOR UNIT QUIET Operation OUTDOOR UNIT QUIET operation lowers the noise level of the outdoor unit by changing the frequency and fan speed on the outdoor unit. This function is convenient during the night. To start OUTDOOR UNIT QUIET operation Press •... -
Page 20: Econo Operation
ECONO Operation ECONO operation is a function which enables effi cient operation by limiting the maximum power consumption value. This function is useful for cases in which attention should be paid to ensure a circuit breaker will not trip when the product runs alongside other appliances. To start ECONO operation Press during operation. -
Page 21: Off Timer Operation
OFF TIMER Operation Timer functions are useful for automatically switching the air conditioner on or off at night or in the morning. You can also use OFF TIMER and ON TIMER in combination. To use OFF TIMER operation • Check that the clock is correct. If not, set the clock to the present time. -
Page 22: On Timer Operation
ON TIMER Operation To use ON TIMER operation • Check that the clock is correct. If not, set the clock to the present time. Page 10 Press “ ” is displayed on the LCD. “ ” blinks. • “ ” and day of the week are no longer displayed on the LCD. Press until the time setting reaches the point you like. -
Page 23: Weekly Timer Operation
WEEKLY TIMER Operation Up to 4 timer settings can be saved for each day of the week. It is convenient if the WEEKLY TIMER is set according to the family’s life style. Using in these cases of WEEKLY TIMER Example: The same timer settings are made for the week from Monday through Friday while different timer settings are made for the weekend. - Page 24 WEEKLY TIMER Operation To use WEEKLY TIMER operation Setting mode • Make sure the day of the week and time are set. If not, set the day of the week and time. Page 10 Program 1 Program 2 Program 3 Program 4 [Monday] 77°F (25°C)
- Page 25 Press to select the desired time. • The time can be set between 0:00 and 23:50 in 10 minute intervals. • To return to the ON/OFF TIMER mode setting, press • Go to STEP when setting the OFF TIMER. Press •...
- Page 26 WEEKLY TIMER Operation Copy mode • A reservation made once can be copied to another day of the week. The whole reservation of the selected day of the week will be copied. Program 1 Program 2 Program 3 Program 4 [Monday] 77°F (25°C) 81°F (27°C)
- Page 27 Confi rming a reservation • The reservation can be confi rmed. Setting Displays Normal display Confi rmation display Press • The day of the week and the reservation number of current day will be displayed. Press to select the day of the week and the reservation number to be confi...
- Page 28 WEEKLY TIMER Operation To delete reservations The individual reservation Press • The day of the week and the reservation number will be displayed. Press to select the day of the week and the reservation number to be deleted. Press • “...
-
Page 29: Note For Multi System
Note for Multi System Multi system has one outdoor unit connected to multiple indoor units. Selecting the operation mode With the priority room setting present but A room B room inactive or not present. When more than one indoor unit is operating, priority is given to the fi... - Page 30 Note for Multi System COOL / HEAT mode lock The COOL / HEAT mode lock requires initial programming during installation. Please consult your authorized dealer for assistance. The COOL / HEAT mode lock sets the unit forcibly to either COOL or HEAT operation. This function is convenient when you wish to set all indoor units connected to the multi system to the same operation mode.
-
Page 31: Care And Cleaning
Care and Cleaning Quick reference How to open / close the front panel • Hold the front panel by the panel tabs on the both sides and open it. • Press the front panel at both sides and the center to close it. Panel tab Cleaning parts Front panel... -
Page 32: Front Panel
Care and Cleaning Front panel Remove the front panel. Clean the front panel. • Open the front panel. • Wipe it with a soft cloth soaked in water. • Slide the front panel to either the left or right and •... - Page 33 Air fi lter Pull out the air fi lters. If the dust does not come off easily • Open the front panel. • Wash the air fi lters with neutral detergent thinned with • Push the fi lter tab at the center of each air fi lter lukewarm water, then allow to dry in the shade.
- Page 34 Care and Cleaning Titanium apatite photocatalytic air-purifying fi lter Take off the titanium apatite [Replacement] photocatalytic air-purifying Remove the tabs on the fi lter frame and replace with a new fi lter. fi lter. • Open the front panel and pull out the air fi lters. •...
-
Page 35: Before A Long Idle Period
Check the units Check that the base, stand and other fi ttings of the outdoor unit are not decayed or corroded. Check that nothing blocks the air inlets and the outlets of the indoor unit and the outdoor unit. Check that the drain comes smoothly out of the drain hose during COOL or DRY operation. •... -
Page 36: Troubleshooting
Troubleshooting These incidents are not malfunctions. • The following incidents do not indicate a malfunctioning air conditioner and have explanations. The air conditioner can continue to operate. Indoor unit The louvers do not immediately swing. Possible sounds. The louvers move soon after startup. Flowing water •... - Page 37 • Troubleshooting measures are classifi ed into the following two types on a remedial basis. Take an appropriate measure according to the symptom. Not malfunction • The following conditions do not indicate a problem with the system. Check • Please check again before calling a repair person. The air conditioner does not operate.
-
Page 38: During Operation
Troubleshooting Cooling (Heating) effect is poor. The ON/OFF TIMER does not operate according to the settings. • Are the air fi lters clean? • Is there anything to block the air inlet or the outlet of the • Check if the ON/OFF TIMER and the WEEKLY TIMER indoor and the outdoor units? are set to the same time. -
Page 39: Call The Service Shop Immediately
Call the service shop immediately WARNING When an abnormality (such as a burning smell) occurs, stop operation and turn the breaker off. • Continued operation in an abnormal condition may result in malfunctioning, electric shocks or fi re. • Consult the service shop where you purchased the air conditioner. Do not attempt to repair or modify the air conditioner by yourself. -
Page 40: Fault Diagnosis By Remote Controller
Troubleshooting Fault diagnosis by remote controller • The remote controller can receive a corresponding error code from the indoor unit. When is held down for 5 seconds, a “ ” indication blinks on the temperature display section. Press repeatedly until a continuous beep is produced. - Page 41 MEMO...
- Page 42 Quick Reference Two-dimensional bar code is a code for manufacturing. 3P297290-2 M11B117 (1111) HT...
Need help?
Do you have a question about the FTXS15LVJU and is the answer not in the manual?
Questions and answers
Why my wall units turn off automatically as they all4 r attached with one outside unit
Daikin FTXS15LVJU wall units may turn off automatically when connected to one outside unit due to system operations in a multi-unit setup. In such systems, certain functions like OUTDOOR UNIT QUIET operation require all connected indoor units to be set the same way. If this condition is not met or if priority room settings are enabled, the system may stop or override operations, causing some units to turn off.
This answer is automatically generated
where is the temperature sensor located?
The temperature sensor is located in the remote controller near the position of the user and also in the body of the indoor unit. The system switches between these sensors depending on the suction temperature range.
This answer is automatically generated
Powerful mode does not work. Also, when we increase temperature and fan settings ( example 24 degrees Celsius and fan to 5) the fan does not respond accordingly. The unit seems to be working when set to intelligent eye
The POWERFUL mode on the Daikin FTXS15LVJU may not be working because it does not operate during INTELLIGENT EYE operation. Additionally, POWERFUL operation automatically ends after 20 minutes.
The fan may not respond when increasing temperature and fan settings because the system is in energy-saving mode under INTELLIGENT EYE operation. When no presence is detected for 20 minutes, the system shifts the temperature and decreases the airflow rate slightly in FAN mode.
This answer is automatically generated