
Subscribe to Our Youtube Channel
Related Manuals for AEG 8360 D


Summary of Contents for AEG 8360 D
-
Page 1: Safety Warnings
8360 D/8390 D 8391 D 8160 D Köksfläkt Ventilator Liesituuletin Emhætte Cooker Hood Instruktionsbok Bruksanvisning Käyttöohje Brugsvejledning Operating and Installation Instructions... -
Page 2: Table Of Contents
Introduction ..................58 Using the cooker hood - 8160 D ............59 Using the cooker hood - 8360 D - 8390 D - 8391 D ......60 Maintenance and cleaning ..............61 If the cooker hood will not operate ............. 64 Technical specifications .............. -
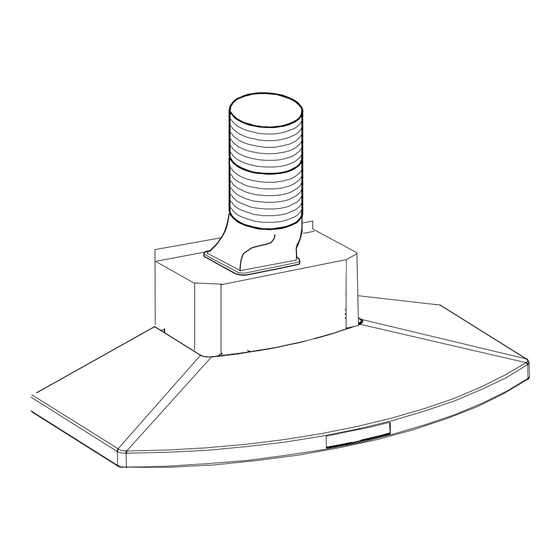
Page 3: Description Of The Cooker Hood
Use of cooker hood • This appliance is for domestic use only in a normal household. • Never leave any deep-frying, melting fat, paraffin or any other inflammable liquid unattended on the hob. In the event of fire: Immediately switch off the cooker hood and the cooker. Note! Cover the fire. -
Page 4: Introduction
• The air is filtered through an charcoal filter and returned to the kitchen through the top grill of the outlet pipe. • You will need an original AEG KF8 charcoal filter for the filtering function. (See Special Accessories). • Fix the deflector using 2 screw Ø 2,9x13 mm. Fig. 2. -
Page 5: Using The Cooker Hood - 8160 D
Using the cooker hood The control panel - 8160 D • The hood is fitted with one motor having several speed. Best results are obtained by using a low speed for normal conditions and high speed when odours are more concentrated. Turn the hood on a few minutes before you start cooking then you will get an underpressure in the kitchen. -
Page 6: Using The Cooker Hood - 8360 D - 8390 D - 8391 D
Control Panel 8360 D - 8390 D - 8391 D • Best results are obtained by using a low speed for normal conditions and a high speed when odours are more concentrated. Turn the hood on a few minutes before you start cooking, you will then get an under pressure in the kitchen. -
Page 7: Maintenance And Cleaning
Maintenance and cleaning Disconnect the cooker hood from the power supply prior to cleaning the appliance, either by removing the plug from the mains or removing the fuse. Clean the filter regularly. The grease deposits in the filter and discharge tube are fire hazards where a hotplate (or another heat source) is left on by error. - Page 8 After approximately three years of use, the charcoal filter should be replaced with a new, as the odour reduction capacity will be reduced. • Mounting Put the charcoal filter frame in place and fix it with 5 screws. Fig. 4. Fig.
- Page 9 Fig. 6a Changing the light bulb - Fig. 6b 8360 D - 8390 D - 8391 D • Press (1) the lamp cover (2) and open it. Fig. 6. • Replace the old bulb with a new one of the same type (3).
-
Page 10: If The Cooker Hood Will Not Operate
Guarantee conditions Guarantee Conditions AEG offer the following guarantee to the first purchaser of this appliance. 1. The guarantee is valid for 12 months commencing when the appliance is handed over to the first retail purchaser, which must be verified by purchase invoice or similar documentation.The guarantee does not... -
Page 11: Technical Specifications
Pordenone +39 (0) 800 117 511 Sweden Stockholm +46 (0) 8 672 5360 Slough +44 (0) 1753 219899 Technical specifications Models 8160 D 8360 D 8390 D 8391 D Size Height 80-135 cm 80-135 cm 80-137 cm Width 59,8 cm... -
Page 12: Installation
Please, keep to the provisions of official directives regarding fume discharge. Electrical connection The hood has a power cable with earth connection and the rated voltage is 220/240V (8160 D), 230 V (8360 D - 8390 D - 8391 D). -
Page 13: Mounting The Chimney
Mounting the cooker hood - Fig. 7-8-9 • Position the template on the wall and mark the position, and drill the holes (2 x Ø 8 mm). • Mount the two rawl plugs with the hooks (3). • Hang the hood on the hooks and level it with the adjustment screws (4). - Page 14 Fig. 9...
- Page 15 Exhaust tube Power outlet Electric hob 500 mm Gas hob 650 mm chimney holder 8390 D 8391 D 8160 D 8360 D Electric hob 500 mm Gas hob 650 mm...
- Page 16 AEG Hausgeräte GmbH Postfach 1036 D-90327 Nürnberg http://www.aeg.hausgeraete.de © Copyright by AEG LI1WKD ed. 02/03...
Need help?
Do you have a question about the 8360 D and is the answer not in the manual?
Questions and answers