Table of Contents
Advertisement
Quick Links
CP 2...
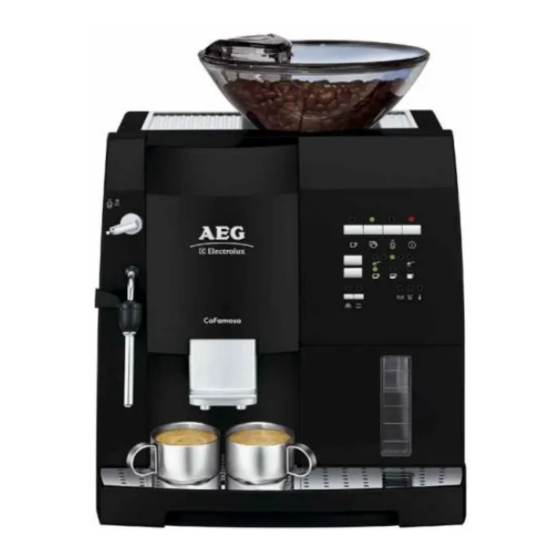
Kaffee-Espresso-Vollautomat
Fully Automatic Espresso-Maker
Volautomatische koffie- en espressomachine
Máquina automática para Café Expresso
Máquina de café Espresso- totalmente automática
Machine à café/expresso entièrement automatique
Gebrauchsanweisung
Operating instructions
Gebruiksaanwijzing
Instrucciones de uso
Instruções de serviço
Mode d'emploi
Advertisement
Table of Contents

Subscribe to Our Youtube Channel
Related Manuals for AEG Electrolux CP 2


Summary of Contents for AEG Electrolux CP 2
- Page 1 CP 2... Kaffee-Espresso-Vollautomat Fully Automatic Espresso-Maker Volautomatische koffie- en espressomachine Máquina automática para Café Expresso Máquina de café Espresso- totalmente automática Machine à café/expresso entièrement automatique Gebrauchsanweisung Operating instructions Gebruiksaanwijzing Instrucciones de uso Instruções de serviço Mode d’emploi...
- Page 9 Machine Parts (Fig. 1) Top View (Fig. 2) A Top view (see Fig. 2) Cup rack B Bean container with lid Q Opening for ground coffee with lid (ground coffee filler) C Service cover R Bean-container position setting D Selection dial for steam and hot water Service cover release button Height-adjustable dispenser with outlets...
-
Page 10: Table Of Contents
Dear Customer, Contents Safety Information Before Using for the First Time Please read this user manual carefully, 2.1 Setting Up and Connecting the paying special attention to the safety Coffee Machine notes! Keep the manual in a safe place 2.2 Filling with Water for later reference, and pass it on to 2.3 Switching the Coffee Machine On any new owner. -
Page 11: Safety Information
Safety Information • Only use the coffee machine with water in the system! Fill the water tank with cold water. Do not use hot water, This appliance corresponds to accepted milk or other liquids. Do not exceed the technological standards with regards maximum fill level of 1.5 litres. -
Page 12: Before Using For The First Time
Never open or repair the coffee Before Using for the First machine. Faulty repairs can result in Time considerable hazard to the user. Repairs to electrical appliances must be Setting Up and Connecting the carried out only by qualified service Coffee Machine engineers. -
Page 13: Switching The Coffee Machine On
0 Fill the water tank with fresh cold Switching the Coffee Machine water (Fig. 8). If you switch the coffee machine off Pour only fresh cold water in the water with the "On/Off" key (Fig. 3, h) tank. Never put in other liquids, e.g. after you have finished making coffee, mineral water or milk. -
Page 14: Making Coffee With Beans
Setting and saving the water Filling the Coffee Bean hardness level Container You can set 4 hardness levels. The cof- 0 Turn the bean container to the "Coffee fee machine is factory-set to hardness Beans" position (Fig. 10). The mech- level 3. -
Page 15: Selecting The Coffee Quantity
Selecting the Coffee Quantity Making Ready-ground 0 Repeatedly press the "Coffee Quantity" Coffee key (Fig. 3, c) until the desired coffee This function allows you to brew pre- quantity is indicated. ground coffee, e.g. decaffinated cof- The coffee quantities are indicated as fee. -
Page 16: Selecting The Cup Measure
0 Pour approximately 100 ml cold, Selecting the Cup Measure skimmed or semi-skimmed milk into a 0 Repeatedly press the "Cup Measure" small, narrow jug (max. 0.5 l capacity). key (Fig. 3, d) until the desired cup This must be small enough to fit under symbol is indicated. -
Page 17: Preparing Hot Water
Caution! Danger of burns from the The machine switches off automati- frothing aid! Hold the frothing aid only cally on reaching the max. Cup Mea- by the black seal. sure. The saved measures remain stored when the coffee machine is switched off. -
Page 18: Setting The Coffee Temperature
0 Simultaneously press and hold the Key the Lever for setting grinding texture (Fig. 2, U) and (Fig. 22) to change the for 1 cup of coffee (Fig. 3, b) grinding texture. the "Steam Pre-selector" key (Fig. 3, g) The lever positions have the following 0 While still holding these keys, press the effects: "On/Off"... -
Page 19: Resetting The Coffee Machine
The switch-off time has been factory- Cleaning and Care set to 3 hours. You can change this set- To ensure consistent coffee quality and ting as follows: faultless operation, always keep your Switch the coffee machine off. coffee machine clean. 0 Simultaneously press and hold the Key 13.1 Regular Cleaning for 2 cups of coffee (Fig. -
Page 20: Emptying The Coffee Grounds Container
0 To do this, proceed as follows (Fig. 24): height adjuster right down, and off the bottom. To do this, gently raise the Push the Release catch for removing inside catch. Use warm water to clean grinding ring (Fig. 2, T) forward toward any coffee residues from both parts. -
Page 21: Cleaning The Coffee-Making Unit
0 Dry the coffee-making unit off and 13.4 Cleaning the Coffee-making Unit push the service lever back up to the We advise you to clean the coffee- stop (Fig. 35). making unit regularly (depending on The ejector lever flips in and the cof- how frequently it is used). -
Page 22: Running The Descaling Program
0 Turn the coffee bean container to the should be regularly descaled, every 4-6 "Ground Coffee" position (Fig. 38). months, but no later than when the Wait until the mechanism has set up "Descale" key (Fig. 3, e) indicator and all the lights of the Coffee Quan- flashes. -
Page 23: Ordering Accessories
flashing to constantly on. The program and flushing water stops running out is ready. The descaling process must of the nozzle. not be interrupted. 0 Turn the Selection dial for steam and hot water (Fig. 1, D) back to the You must first descale the hot-water/ position (Fig. -
Page 24: What Do I Do, If
What do I do, if ... • ... the espresso/coffee is too weak? – Not enough ground coffee. Increase • ... coffee-making is interrupted and the amount of ground coffee. the "Fill water tank" indicator (Fig. 3, – The coffee bean container is empty. flashes? Add coffee beans. -
Page 25: Using The Total Cups Counter
If the Key for 2 cups of coffee (Fig. 3, a) • ... the coffee-making unit will not is used to make 2 cups of coffee at the come out? same time, these are counted as 2 cups. – The coffee-making unit is not in the 0 Switch the coffee machine on. -
Page 26: Technical Data
If repairs should become necessary, including replacement of the mains Power consumption: 1290-1400 W cable, please telephone in the first instance our AEG-Electrolux Service This coffee machine complies with the Line. following EU Directives: • 73/23/EEEC of 19.2.1973 "Low Voltage Directive", including Amendment Directive 93/68/EEC. - Page 28 Electrolux Hausgeräte Vertriebs GmbH Muggenhofer Str. 135 D-90429 Nürnberg http://www.electrolux.de © Copyright by Electrolux 822 949 318 – 01 - 0905...
Need help?
Do you have a question about the CP 2 and is the answer not in the manual?
Questions and answers