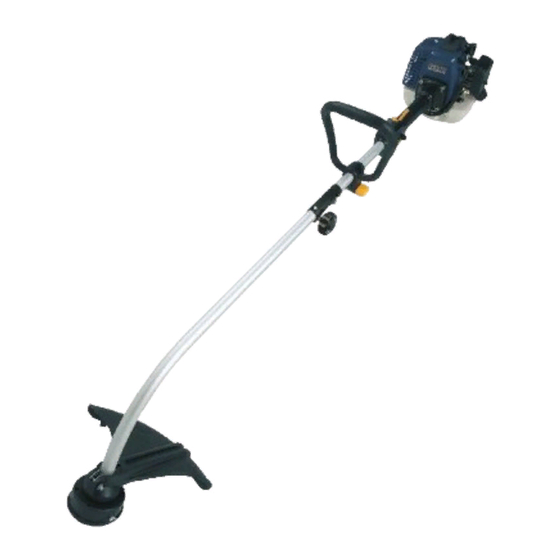
Summary of Contents for GMC GLT25
- Page 1 25cc Petrol Line Trimmer • Melbourne • Perth • Auckland • Hong Kong • Shanghai • Taipei • New York • Verona • London • Paris Black Magenta Code: GLT25 Cyan Yellow Date: 051125 GLT25 051125 ED14 BR Edition: 14...
-
Page 2: Table Of Contents
Assembly Replacement of the cutting line Fueling Starting the line trimmer Stopping the line trimmer Running in the engine Use of the petrol line trimmer Grass cutting Maintenance Storage and maintenance after use Problems Full 2 Years Home Use Warranty... -
Page 3: Dear Customer
Dear Customer If you require any help with your product, whether it is a Warranty claim, spare part or user information, please phone our Help Line for an immediate response. Phone 1300 880 001 in Australia or 0800 445 721 in New Zealand. -
Page 4: Specifications
Specifications Engine: 25cc, 2 stroke Speed: 7000-8500min Cutting diameter (swathe): 400mm Line thickness: Spool type: Bump feed, twin line Fuel tank capacity: 600ml Fuel type: Unleaded Fuel mixture: Unleaded: oil (40:1) Sound pressure values: 111 dB(A) Equivalent spark plugs: NGK BPMR7A CHAMPION CJ7Y Net Weight: 5.3kg... -
Page 5: Additional Safety Rules Petrol Line Trimmers
Unpacking Due to modern mass production techniques, it is unlikely that your petrol line trimmer is faulty or that a part is missing. If you find anything wrong, do not operate the tool until the parts have been replaced or the fault has been rectified. -
Page 6: Know Your Product
Know your product 1. Cutting line spool and assembly 2. Cut off knife 3. Safety guard 4. Secondary handle 5a. Handle upper 5b. Handle lower 6. Ignition switch 7. Fuel tank 8. Throttle lever 9. Recoil starter 10. Primer 11. Spark plug 12. -
Page 7: Assembly
Assembly It is necessary to fit the safety guard (3), join the handles (5a & 5b) and fit the secondary handle (4). Joining the handles 1. Insert the lower section of the handle (5b) into the upper section (5a) lining up the hole in the upper handle with the pin in the lower handle. -
Page 8: Replacement Of The Cutting Line
Replacement of the cutting line 1. Stop the engine. 2. Put the petrol line trimmer on the floor in a way that cutting line and spool assembly (1) is facing up. 3. Open the cutting line and... -
Page 9: Starting The Line Trimmer
• Never smoke or light any fires near the line trimmer or fuels. • Always transport and store fuels in an approved container. • Never place flammable material close the the engine muffler. • Never operate the line trimmer without a properly functioning muffler and spark plug cover installed. -
Page 10: Running In The Engine
Use of the petrol line trimmer This petrol line trimmer is only made to cut grass, small bushes, and shrubs. • Always use the shoulder strap, when using the tool to avoid serious personal injury. -
Page 11: Storage And Maintenance After Use
Do not store in a nylon bag as this can encourage the formation of mould. • At the end of the season, give the petrol line trimmer an overall cleaning and a thorough check. • Do not leave the petrol line trimmer resting on the floor for extended periods as it could cause the shape of the guard to alter, posing a safety risk. -
Page 12: Problems
• Remove the spark plug, put a few drops of oil into the cylinder and then pull the recoil starter 2 to 3 times in order to distribute the oil evenly. Replace the spark plug. Problems Power loss or sudden stopping of the engine •... - Page 16 Carefully read the entire Instruction Manual before using this product. Before returning this product for a Warranty Claim or any other reason Please Call 1300 880 001 (Australia) or 0800 445 721 (New Zealand) When you make your call, please have the following information at hand: •...


Need help?
Do you have a question about the GLT25 and is the answer not in the manual?
Questions and answers