
Related Manuals for Bolt VS-260P


Summary of Contents for Bolt VS-260P
- Page 1 Inspiration strikes. Inspiration strikes. VS-260P TTL AUTOFOCUS FLASH User’s Manual...
- Page 2 Copyright © 2012 Gradus Group. Bolt and other names of Bolt products are trademarks of Gradus Group. Other product and corporate names mentioned herein are trademarks of their respective holders. Introduction...
- Page 3 Introduction Thank you for choosing the Bolt VS-260P TTL Autofocus Flash. This flash unit combines a compact design with versatile features to give you both automatic ease of use and creative lighting control. Among the benefits you’ll enjoy: • Full compatibility with Pentax and Samsung’s TTL metering systems...
- Page 4 Contents...
-
Page 5: Table Of Contents
Contents Overview ..............................6–7 Warnings ..............................8–10 Installing Batteries ........................... 10–11 Mounting the Flash ..........................12–13 Turning on the Flash and Firing a Test ......................14 Taking Photos ..............................15 Using Rear- or Second-Curtain Synchronization ..................16-17 Using Red-Eye Reduction ..........................17 Using Flash Exposure Compensation ...................... -
Page 6: Overview
Overview... -
Page 7: Overview
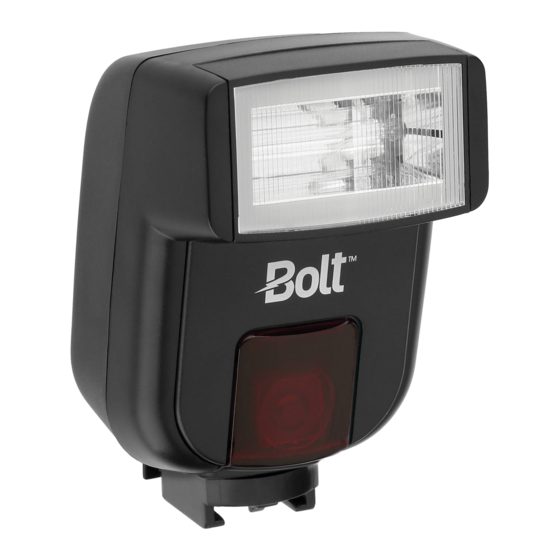
Overview Flash head Battery compartment cover Autofocus-assist light Mounting foot Mounting foot lock Test button / Ready light Power switch Automatic exposure confirmation light Overview... -
Page 8: Warnings
Warnings Before using your VS-260P, please read the following safety notices carefully and thoroughly to ensure safe use, and to help prevent damage to your flash or injury to yourself or others. • Do not fire the flash at close range directly into the eyes of people or animals. This can cause damage to the retina and may even lead to blindness. - Page 9 Take the product to an authorized service center for repair. • Do not drop or otherwise cause a strong physical impact to the VS-260P, as this could cause a malfunction that may cause it to explode or ignite.
-
Page 10: Installing Batteries
• Keep the metal contacts in the battery compartment clean and free of corrosion and dirt. Do not touch them with your fingers. Corrosive elements on the contacts can damage the VS-260P and prevent it from functioning properly. Contacts may be cleaned with isopropyl alcohol on a cotton swab. -
Page 11: Installing Batteries
To install batteries, make sure the VS-260P is turned off and follow these steps: Press on the battery compartment cover and slide it in the direction of the arrow. Insert batteries in the orientations indicated inside the compartment. Replace the battery compartment cover by pressing and sliding it into place, in the opposite direction of the arrow on the cover. -
Page 12: Mounting The Flash
Mounting the Flash To mount the VS-260P on your camera, turn it off and follow these steps: Press both sides of the mounting foot lock in; it will pop out, away from the flash. Slide the mounting foot all the way into your camera’s hot shoe. -
Page 13: Mounting The Flash
Dismounting the VS-260P: Turn the flash off. Press both sides of the mounting foot lock in; it will pop out, away from the flash. Slide the mounting foot out of your camera’s hot shoe. Mounting the Flash... -
Page 14: Turning On The Flash And Firing A Test
Automatic power-saving function: After 3 minutes of inactivity, the flash will automatically enter power- saving mode to conserve battery life. The Ready light will turn off. To reactivate the VS-260P, simply press the Ready light / Test button or your camera’s shutter-release button. During long periods of inactivity, it is recommended that you use the power switch to turn the flash off completely. -
Page 15: Taking Photos
Taking Photos When the VS-260P is mounted on a compatible camera, it will set the appropriate flash level automatically, in conjunction with the camera’s through-the-lens (TTL) metering system. For information about your camera’s flash sync speed range (the shutter speed range your camera will allow you to use when taking flash photos), consult your camera manual. -
Page 16: Using Rear- Or Second-Curtain Synchronization
Using Rear- or Second-Curtain Synchronization When you photograph a moving subject with a slow (1/30 second or longer) shutter speed and a flash, the flash will freeze the moving subject and the long exposure will cause motion blur and light trails to appear in the image, especially in low light. -
Page 17: Using Red-Eye Reduction
To set it to rear- curtain sync, set the switch to the far right position. Using Red-Eye Reduction The VS-260P supports red-eye reduction mode, which is set automatically by your camera. Consult your camera’s manual for more information about this feature. Using Red-Eye Reduction... -
Page 18: Using Flash Exposure Compensation
Using Flash Exposure Compensation You can use flash exposure compensation to adjust the VS-260P’s flash output incrementally, just as you would adjust exposure with the exposure compensation function on your camera. To apply flash exposure compensation, press the flash exposure compensation button on your camera and adjust the flash exposure level up or down with your camera’s controls. -
Page 19: Using The Autofocus-Assist Light
Camera autofocus systems can have difficulty locking on a subject in dim light. When the ambient light level is low, the VS-260P will emit a red autofocus-assist beam when you press your camera’s shutter-release button halfway to autofocus. The camera will then be able to autofocus by locking on the projected light. -
Page 20: Bouncing Your Flash
The VS-260P flash head can be tilted up at 45-, 60-, 75-, and 90-degree angles to the lens. When bouncing your flash, you may need to adjust your exposure settings, since the level of light falling on your subject will be reduced. -
Page 21: Troubleshooting
Troubleshooting Problem Solution The flash is stuck in the camera hot shoe. Make sure that the mounting foot lock is released. The flash is turned on but won’t fire. Make sure that fresh batteries are installed and in the proper orientation. The edges of images look dark. -
Page 22: Specifications
Specifications Type: On-camera TTL automatic flash Compatible cameras: Pentax and Samsung cameras with TTL flash system support. Not compatible with Samsung NX-series cameras. Guide number (at ISO 100): 72 feet / 22 meters Flash coverage: Equivalent to a 35mm lens on a 35mm-format camera Flash duration: 1/2,000–1/40,000 second Flash recycle time: 0.3–10 seconds Power source: 2 AA lithium, Ni-MH, or alkaline batteries... -
Page 23: Warranty
Limited Warranty Bolt warrants that this product is free from defects in material and workmanship for a period of one (1) year from the original purchase date or thirty (30) days after replacement whichever occurs later (the “Warranty Period”). Bolt’s sole and exclusive responsibility with respect to this limited warranty shall be to repair or replace, at its sole discretion, any Bolt product which fails during normal consumer use. - Page 24 www.boltflashes.com Copyright © 2012 Gradus Group.
Need help?
Do you have a question about the VS-260P and is the answer not in the manual?
Questions and answers