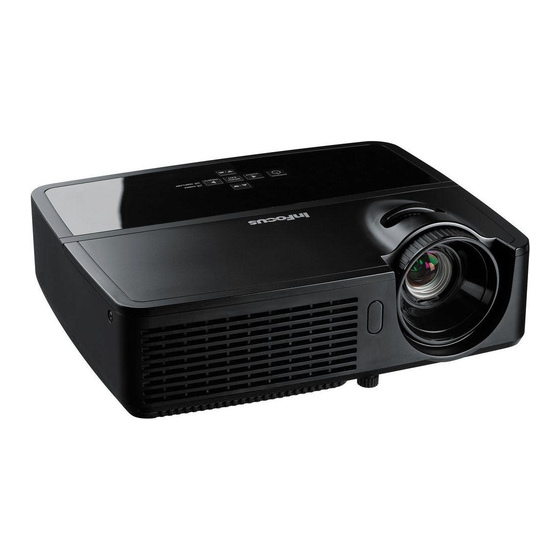
Summary of Contents for InFocus IN112
- Page 1 Regulatory model IN112/IN114/IN116 P/N PA139-4000-00 DISPERINDAG No. 0287/1.824.51/09.03...
-
Page 2: Unpack The Box
Put batteries in the remote The remote uses 2 AAA batteries. Please dispose of batteries in an environmentally proper manner. Buy a Full-Featured Remote and Other Custom Accessories www.infocus.com/store Status Indicator Panel POWER The top of your projector includes TEMP/LAMP... -
Page 3: Connect Source
You can connect more than one source if needed. Connect to: Computer (using VGA) Got an Apple computer? Computer Cable (included) You may need an adapter. For more information, see How-To Guides at www.infocus.com/support/howto Computer Connect to: DVD, VCR Connect video using either a Composite Video cable, an... -
Page 4: Turn On The Projector
Dell Fn+F8 IBM ThinkPad Fn+F7 Toshiba Fn+F5 Fujitsu Fn+F10 Complete laptop activation chart at www.infocus.com/support Important: If there is still no video, restart your computer (fi rst make sure it's connected to the projector and the projector is turned on). -
Page 5: Adjust The Picture
Lift the front of the projector to the desired height. Rotate the foot under the front of the projector. Interactive Screen Size and Distance Calculator www.infocus.com/calculator Keystone Buy a Screen and Other Custom Accessories www.infocus.com/store keystone Ceiling mount? To flip the image, turn on the Ceiling Mount setting in the Basic menu. -
Page 6: Turn Off The Projector
R EAD TH E R E F ER EN CE GU I D E Download it at www.infocus.com/support The Reference Guide is available in multiple languages. It covers advanced setup and operation, including lamp replacement instructions. -
Page 7: Troubleshooting
For lamp replacement instructions, see the Reference Guide, which can be downloaded at www.infocus.com/support Only InFocus genuine lamps are tested for use in this projector. If the projector is overheating POWER TEMP/LAMP Turn the projector off and remove anything that may be blocking the air vents on its sides. - Page 8 — Connect the equipment into an outlet on a circuit different from that to which the receiver is connected. — Consult the dealer or an experienced radio/TV technician for help. Changes or modifications to this equipment that are not expressly approved by InFocus Corp. may void the user’s authority to operate the equipment.


Need help?
Do you have a question about the IN112 and is the answer not in the manual?
Questions and answers