Polycom CX700 User Manual
Microsoft office communications server 2007 r2 edition
Hide thumbs
Also See for CX700:
- Quick start manual (4 pages) ,
- Specifications (2 pages) ,
- Deployment manual (56 pages)

Subscribe to Our Youtube Channel
Related Manuals for Polycom CX700


Summary of Contents for Polycom CX700
-
Page 1: User Guide
User Guide ® for the Polycom CX700 IP Phone ® Microsoft Office Communications Server 2007 R2 Edition May 2009 Edition 1725-31402-001 Rev. B1... - Page 2 As between the parties, Polycom, Inc. retains title to, and ownership of, all proprietary rights with respect to the software contained within its products. The software is protected by United States copyright laws and international treaty provision.
-
Page 3: About This Guide
About This Guide Thank you for choosing the Polycom CX700 IP phone which enables a new era in unified communications currently unavailable with traditional desktop ® phones. Connecting a Polycom CX700 to Microsoft Office Communications Server 2007 R2 allows you to place regular and Voice over Internet Protocol... - Page 4 User Guide Polycom CX700 IP Phone...
-
Page 5: Table Of Contents
Adjusting the Phone Base ........1–7 Features of Your Polycom CX700 IP Phone ......1–7 Before You Use Your Polycom CX700 IP Phone . - Page 6 Restarting Your Phone ......... 3–13 4 Troubleshooting Your Polycom® CX700 IP Phone ..4–1 Power and Startup .
-
Page 7: Getting Started With Your Polycom® Cx700 Ip Phone
This chapter provides basic installation instructions and information for obtaining the best performance with the Polycom CX700 IP phone. The Polycom CX700 IP phone provides a complete phone experience for Microsoft Office Communications Server 2007 R2. The graphic display features flexible navigation using its touch screen capabilities, the navigation wheel just below the screen, or the traditional number keypad. -
Page 8: Parts List
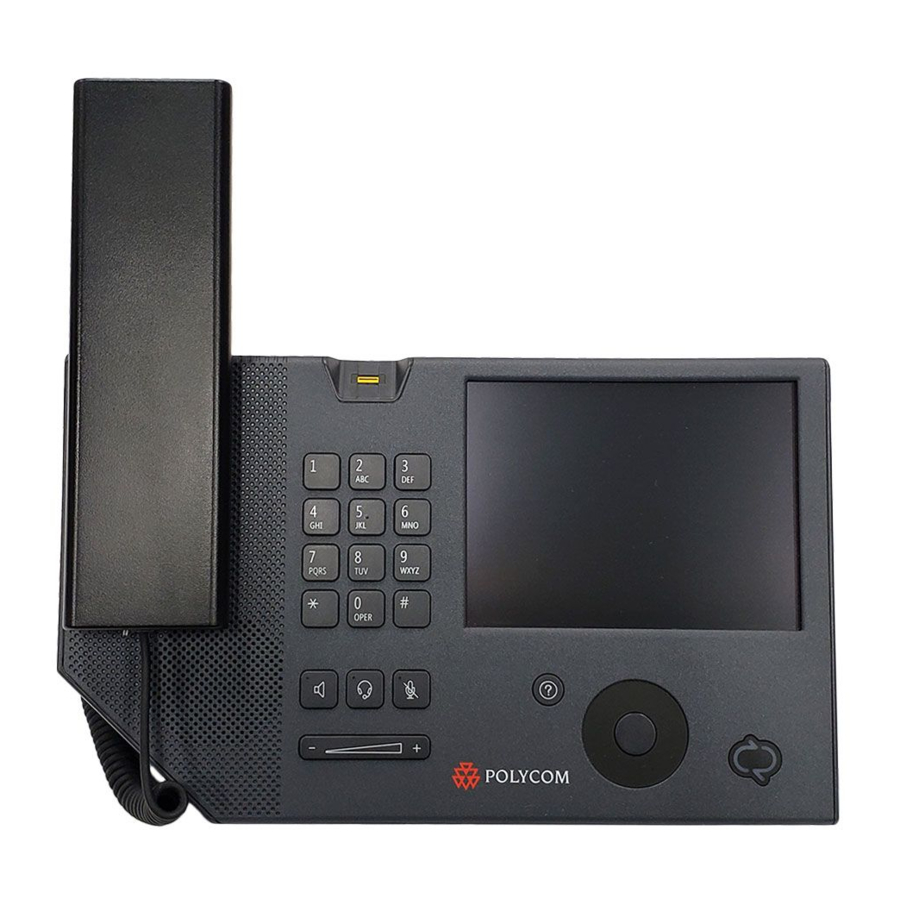
User Guide Polycom CX700 IP Phone Parts List The following components are included in your Polycom CX700 IP phone package: • Polycom CX700 IP phone • handset & handset cord • Network Cable • USB cable 1 - 2... -
Page 9: Assembling Your Polycom Cx700 Ip Phone
Check this list before installation to ensure that you have received each item. If you are missing any items, contact your system administrator. Assembling Your Polycom CX700 IP Phone This section describes how to assemble your Polycom CX700 IP phone: • Connect handset and headset (optional) •... -
Page 10: Connecting The Phone To The Network
AC/DC power adapter. Plug the AC/DC power adapter into the Polycom CX700 IP phone’s power plug, then plug one end of in the country specific power cord into the power adapter and the other end into an available AC outlet. -
Page 11: Connecting To Your Computer Using A Usb Cable
Microsoft Office Live Meeting 2007 and Microsoft Office Communicator 2007 R2 calls. The USB cable is not included in your Polycom CX700 IP phone package, but is Note available as an optional accessory. Contact your system administrator if you want to connect your phone to your computer. - Page 12 The connection between your Polycom CX700 IP phone and your computer is detected (as shown below). 4. Do one of the following: — Select the Sign in on phone instead soft key to log into your Polycom CX700 IP phone. To continue logging in, refer to...
-
Page 13: Adjusting The Phone Base
Adjusting the Phone Base To adjust the base: 1. Push the button on the back of the Polycom CX700 IP phone to adjust the viewing angle. 2. Select an angle that best suits you by moving the base up or down. -
Page 14: Before You Use Your Polycom Cx700 Ip Phone
12. Dial Pad—These 12 keys provide the 10 digits, the 26 alphabetic characters, and special characters available in context-sensitive applications. 13. Fingerprint Reader—Allows you to log on to your Polycom CX 700 IP phone with a swipe of your finger. Before You Use Your Polycom CX700 IP Phone... - Page 15 — Your network domain and username (for example, polycom\user1) — Your password 3. Select Sign In. If you have connected your Polycom CX700 IP phone to your computer, you can log in using Microsoft Office Communicator. Select Advanced, and then select Sign in via PC.
- Page 16 User Guide Polycom CX700 IP Phone 4. Do one of the following steps: Enter a six digit personal identification number (PIN) of your choice using the dial pad, re-enter the same PIN, and then press the OK soft key. For example, enter “123456” twice.
-
Page 17: Usage Guidelines
Getting Started with Your Polycom® CX700 IP Phone Follow the on-screen instructions to register your fingerprint. After completing the PIN or fingerprint registration process, the Contact List screen appears. Usage Guidelines To make a selection on the graphic display, either use your finger or the scroll wheel and the Select key. - Page 18 User Guide Polycom CX700 IP Phone 1 - 12...
-
Page 19: Customizing Your Polycom® Cx700 Ip Phone
CX700 IP Phone You can customize your Polycom CX700 IP phone by adjusting the setting for time and date, display contrast, and ring type, and other features. You can add contacts to the phone’s directory manually or from call lists. You can handle incoming calls from different contacts in different ways. -
Page 20: Date And Time Format
• The touch screen’s calibration You can also view the current phone network settings. You must be logged in to configure the basic settings on your Polycom CX700 IP phone. Date and Time Format The date and time appears on the graphic display of the Polycom CX700 IP phone. -
Page 21: Location And Time Zone
Customizing Your Polycom® CX700 IP Phone To configure the time and date: 1. Press the Settings soft key on the graphic display. 2. Select Date/Time Format, then select your preferred format. 3. Press the OK soft key to save your changes. -
Page 22: Ring Tones
User Guide Polycom CX700 IP Phone 2. Select Location/Time Zone, then select your preferred location and time zone. 3. Press the OK soft key to save your changes. Ring Tones You can select a ring tone for incoming calls. To select a ring tone: 1. -
Page 23: Language Support
The selected language is downloaded to your phone. Locking and Unlocking Your Phone After a period of inactivity, your Polycom CX700 phone will lock. You can also lock your phone yourself, for example, if you are leaving your desk. The inactivity timeout is configured by Microsoft Office Communication Server Note 2007. - Page 24 Press the Forgot PIN soft key. You are prompted to enter the password that you entered when you first logged in (refer to Logging in on Your Polycom CX700 IP Phone on page 1-8). If you press the Cancel soft key, the phone remains locked.
-
Page 25: Adjusting The Volume
Customizing Your Polycom® CX700 IP Phone Adjusting the Volume To adjust the volume on the ringer, handset, and speaker: 1. Press the Settings soft key on the graphic display. 2. Select Volume. 3. Using Up or Down , select your desired level for ringer, handset, and speaker volume. -
Page 26: Changing Your Password
User Guide Polycom CX700 IP Phone 2. Select Brightness. 3. Using Up or Down , select your desired level. 4. Press the OK soft key to save your changes or the Cancel soft key to exit the Brightness screen without making changes. -
Page 27: Changing Your Pin
4. Press the OK soft key to save your changes or the Cancel soft key to exit the Change PIN screen without making changes. For more information on changing your the fingerprint and the fingerprint reader, refer to Logging in on Your Polycom CX700 IP Phone on page 1-8. Switching Users To switch to another user: 1. -
Page 28: Calibration Of Touch Screen
User Guide Polycom CX700 IP Phone Calibration of Touch Screen To calibrate the touch screen: 1. Press the Settings soft key on the graphic display. 2. Select Calibrate Touch Screen. 3. Follow the on-screen instructions to set the calibration. 4. Touch the graphic display a final time to finish the calibration. - Page 29 Customizing Your Polycom® CX700 IP Phone To view the call log: 1. On the left-hand side of the graphic display, select the Call Log soft key, 2. Sort the Call Log screen in one of the following ways: — To view all calls that you have missed, received, or placed, select All, —...
-
Page 30: Managing Contacts
The contact’s presence status • The Contact card, which contains detailed information about the contact Note The following limitations (with respect to contacts) exist on the Polycom CX700 IP phone: • The Microsoft Outlook contact list must contain less than 5000 contacts. -
Page 31: Searching For A Contact
Customizing Your Polycom® CX700 IP Phone Searching For a Contact To search for a particular contact: From the contact screen, search for a contact using the dial pad. >> When a dial pad key is pressed, the entries whose first name starts with a character that matches the letters on the key label will be retrieved. - Page 32 User Guide Polycom CX700 IP Phone 2 - 14...
-
Page 33: Using The Basic Features Of Your Polycom® Cx700 Ip Phone
Polycom CX700 IP Phone Your Polycom CX700 IP phone is designed to be used like a regular phone. You place calls, transfer a call to someone else, or conduct a conference call. At any time, only one active call may be in progress on your phone. The active call is the one that has audio associated with it. -
Page 34: Placing Calls
If you require additional information or assistance with your new phone, contact your system administrator. Placing Calls You can place a call in many ways using your Polycom CX700 IP phone: • Dial the number using the dial pad with the handset off-hook or on-hook. -
Page 35: Answering Calls
To place a call using the contact list: Refer to Placing a Call to a Contact on page 2-12. Answering Calls You can answer a call in three basic ways using your Polycom CX700 IP phone: • using the handset • using the speakerphone •... - Page 36 Only four simultaneous calls can be displayed on the graphic display at any time. Answering Incoming Calls When the incoming call is for the user currently logged into the Polycom CX700 IP phone, the caller name and information will be displayed.
-
Page 37: Ending Calls
Using the Basic Features of Your Polycom® CX700 IP Phone Ending Calls To end a call: Do one of the following steps: — Press the EndCall soft key. — Replace the handset. — Press the Speakerphone key if you are using the speakerphone. -
Page 38: Placing Calls On Hold
User Guide Polycom CX 700 IP Phone During a call if you are using the handset, pressing the Volume key adjusts the handset volume. During a call, if you are using the headset, pressing the Volume key adjusts the headset volume. -
Page 39: Transferring Calls
Using the Basic Features of Your Polycom® CX700 IP Phone Note You can either dial the phone number directly or search for the number in the Contact Directory or Call Lists. For more information, refer to Placing Calls on page... - Page 40 User Guide Polycom CX 700 IP Phone To perform a consultative transfer: 1. During a call, press Transfer soft key. The active call is placed on hold. 2. Press the Consult then Transfer To... soft key. 3. Select the contact to which you want to transfer the call.
-
Page 41: Forwarding Calls
Using the Basic Features of Your Polycom® CX700 IP Phone Forwarding Calls You can configure your phone so that all incoming calls are forwarded to another party (known as static forwarding). You can also forward calls while the phone is ringing (known as dynamic forwarding). -
Page 42: Using Voice Mail
User Guide Polycom CX 700 IP Phone Using Voice Mail Your voice mail is saved in a centralized location and may be accessed from your phone. The presence of new voice mail messages is indicated by a Message Waiting Indicator on the graphic display. - Page 43 Using the Basic Features of Your Polycom® CX700 IP Phone To change your presence status information: 1. Click your presence icon in the upper-left hand area of the graphic display. 2. Choose a presence status from the following table: Icon...
- Page 44 User Guide Polycom CX 700 IP Phone Icon Status Text Description Away The contact is probably not available. This status is displayed for the following reasons: • The contact's computer has been idle for more than the idle time period setting—15 minutes by default.
-
Page 45: Restarting Your Phone
Using the Basic Features of Your Polycom® CX700 IP Phone Restarting Your Phone On rare occasions, you may need to restart your phone to address problems or to force the sign out of a user who is not present to unlock the phone. - Page 46 User Guide Polycom CX 700 IP Phone 3 - 14...
-
Page 47: Troubleshooting Your Polycom® Cx700 Ip Phone
• Audio If you still need assistance, contact your system administrator. You can reset your Polycom CX700 IP phone to factory defaults by using small pin Note on back of device, between the headset and USB interfaces. Your system administrator may require information about your phone. Press the Settings soft key, then select About. -
Page 48: Power And Startup
User Guide Polycom CX700 IP Phone Power and Startup Symptom Problem Corrective Action There are power issues. The Polycom CX700 IP phone Do one of the following steps: has no power. • Verify that no lights appear on the unit when it is powered up. -
Page 49: Controls
Troubleshooting Your Polycom® CX700 IP Phone Controls Symptom Problem Corrective Action The dial pad does not work. The dial pad on the Do one of the following steps: Polycom CX700 IP phone does • Check for a response from other not respond. -
Page 50: Access To Screens And Systems
User Guide Polycom CX700 IP Phone Access to Screens and Systems Symptom Problem Corrective Action There is no response from key The Polycom CX700 IP phone is Do one of the following steps: presses. not in active state. • Press the keys more slowly. - Page 51 Corrective Action I cannot sign-in to the Polycom The Polycom CX700 IP phone is Do one of the following steps: CX700 IP phone. I see the "User not recognized. • Make sure you user name and name or password is invalid"...
-
Page 52: Making And Receiving Calls
User Guide Polycom CX700 IP Phone Making and Receiving Calls Symptom Problem Corrective Action There is no dial tone. Power is not correctly applied to Do one of the following steps: the Polycom CX700 IP phone. • Check that the display is illuminated. - Page 53 Troubleshooting Your Polycom® CX700 IP Phone Symptom Problem Corrective Action The phone does not ring. Ring setting or volume is low. Do one of the following steps: • Adjust the ringing level from the front panel using the volume up/down keys •...
-
Page 54: Displays
User Guide Polycom CX700 IP Phone Displays Symptom Problem Corrective Action There is no display. Power is not correctly applied to Do one of the following steps: the Polycom CX700 IP phone. The display is incorrect. • Check that the display is illuminated. -
Page 55: Audio
Troubleshooting Your Polycom® CX700 IP Phone Audio Symptom Problem Corrective Action There is no audio on the Your Microsoft Office Contact your system administrator to Polycom CX700 handset Communication Server 2007 ensure your account is configured in earpiece. account may not be configured Enterprise Voice mode. - Page 56 User Guide Polycom CX700 IP Phone 4 - 10...
-
Page 57: Safety Notices
Polycom, Inc. Do not remove (or allow anybody else to remove) any product identification, copyright or other notices. - Page 58 Replacement products or parts may be new or reconditioned. Polycom is expected to warrant any replaced or repaired product or part for ninety (90) days from shipment, or the remainder of the initial warranty period, whichever is longer. Products returned to Polycom must be sent prepaid and packaged appropriately for safe shipment, and it is recommended that they be insured or sent by a method that provides for tracking of the package.
- Page 59 WARNING Electrical Safety Failure to properly set up, use, and care for the Polycom CX700 can increase the risk of damage to the Polycom CX700, or possible serious injury. To ensure personal safety, this product must be used with NRTL Listed (UL, CSA, ETL, etc.), and/or CE marked Information Technology equipment.
- Page 60 User Guide Polycom CX700 IP Phone Safety Notices - 4...
-
Page 61: Index
2–7 R2 1–8 ending calls 3–5 network connection, phone 1–4 features parts list 1–2 list of 1–7 phone location 1–8 Polycom CX700 1–7 placing calls 3–2 forwarding calls 3–9 PoE. See Power over Ethernet Index – 1... - Page 62 User Guide Polycom CX700 IP Phone Polycom CX700 adjusting base 1–7 time and date 2–2 adjusting display brightness 2–7 transferring calls 3–7 adjusting volume 3–5 troubleshooting assembling 1–3 audio problems 4–9 call lists, types of 2–10 calling problems 4–6 calls, on hold 3–6 control problems 4–3...
Need help?
Do you have a question about the CX700 and is the answer not in the manual?
Questions and answers