Lowrance HDS-5 Operation Manual
Hide thumbs
Also See for HDS-5:
- Operation manual (131 pages) ,
- Installation instructions manual (29 pages) ,
- Quick start manual (7 pages)
Table of Contents
Advertisement
Advertisement
Table of Contents


Need help?
Do you have a question about the HDS-5 and is the answer not in the manual?
Questions and answers
how to get fish finder on full screen
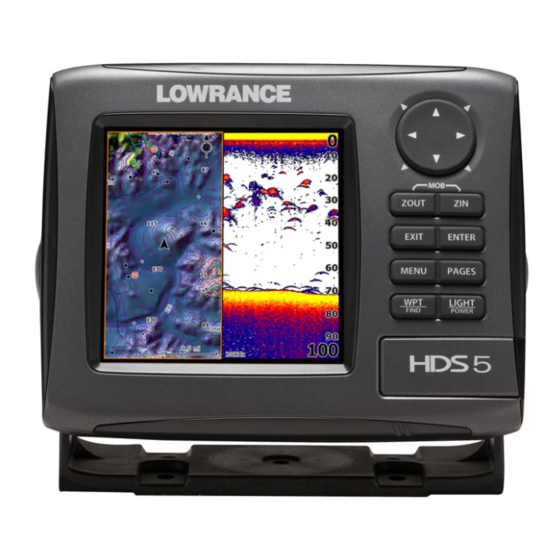
To display the Lowrance HDS-5 fish finder in full screen mode, select the Sonar page without using the Split feature or combo display. This shows the sonar image across the entire screen.
This answer is automatically generated
How do I get my sonar to show the lake
To get the Lowrance HDS-5 sonar to display the lake, you need to use a detailed mapping card. A basemap will not show chart details in the bay or lake. You should use a Navionics "Gold" card or a Lowrance HD Nautic Insight card to see detailed lake maps on the display. Insert the card into the unit to access the detailed lake mapping.
This answer is automatically generated