Table of Contents
Advertisement
Use & Care Guide
Manual de Uso y Cuidado
Guide d'Utilisation et d'Entretien
English / Español / Français
Models/Modelos/Modèles: 795.5101*, 795.5102*
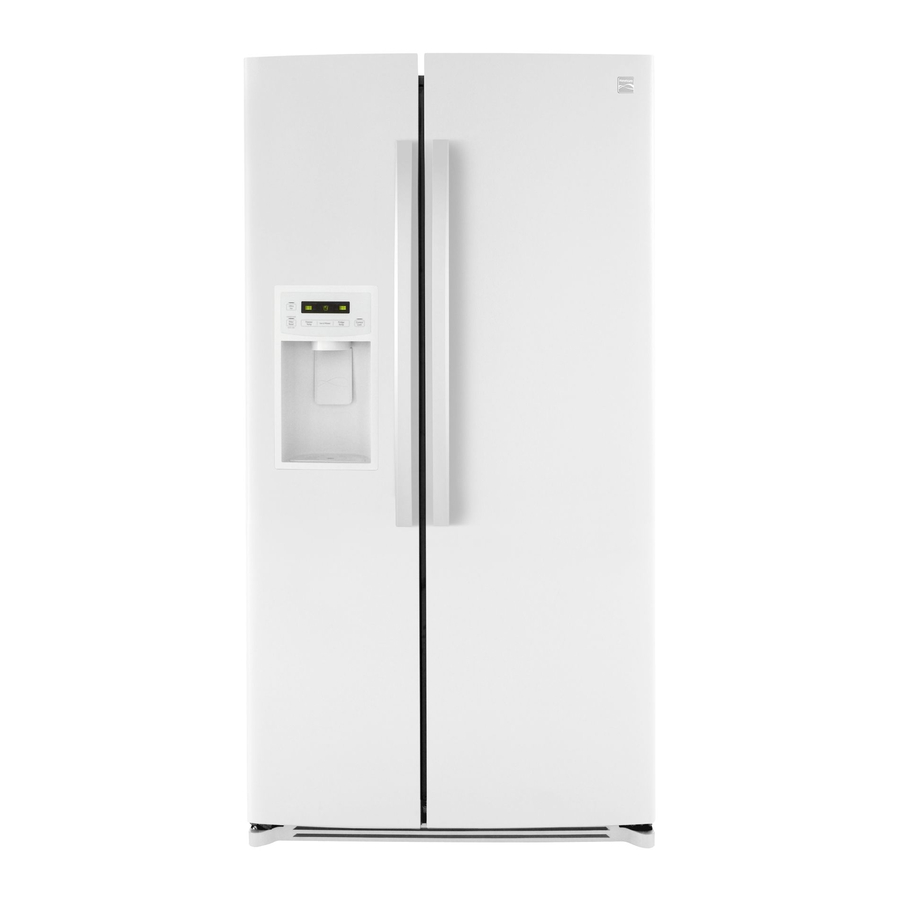
Side-by-Side Refrigerator
Refrigerador de Dos Puertas
Réfrigérateur Côte à Côte
*
= color number, número de color , le numéro de la couleur
P/N
MFL63288303
Sears Brands Management Corporation
Hoffman Estates, IL 60179 U.S.A.
www.kenmore.com
www.sears.com
Sears Canada Inc.
Toronto, Ontario, Canada M5B 2B8
www.sears.ca
Advertisement
Table of Contents

Subscribe to Our Youtube Channel
Related Manuals for Kenmore 795.5101 Series


Summary of Contents for Kenmore 795.5101 Series
- Page 1 Refrigerador de Dos Puertas Réfrigérateur Côte à Côte = color number, número de color , le numéro de la couleur MFL63288303 Sears Brands Management Corporation Hoffman Estates, IL 60179 U.S.A. www.kenmore.com www.sears.com Sears Canada Inc. Toronto, Ontario, Canada M5B 2B8 www.sears.ca...
-
Page 2: Table Of Contents
TABLE OF CONTENTS Freezer Shelf Warranty Filter 23 - 24 Protection Agreements Water Filter Important Safety Instructions Performance Data Sheet Grounding Requirements Care And Cleaning 25 - 26 Refrigerator Installation 7 - 14 General Cleaning Tips Unpacking Your Refrigerator Outside Installation Inside Walls Base Grille Installation... -
Page 3: Warranty
WARRANTY SIDE-BY-SIDE REFRIGERATOR Kenmore Refrigerator Warranty One Year Limited Warranty When installed, operated and maintained according to all instructions supplied with the product, if this appliance fails due ® to a defect in material or workmanship within one year from the date of purchase, call 1-800-4-MY-HOME to arrange for free repair. -
Page 4: Protection Agreements
Congratulations on making a smart purchase.Your new Once you purchase the Agreement, a simple phone call is Kenmore product is designed and manufactured for years all that it takes for you to schedule service. You can call of dependable operation. But like all products, it may anytime day or night, or schedule a service appointment require preventive maintenance or repair from time to time. -
Page 5: Important Safety Instructions
IMPORTANT SAFETY INSTRUCTIONS This guide contains many important safety messages. Always read and obey. This is the safety alert symbol. It alerts you to safety messages that inform you of hazards that can kill or hurt you or others, or cause damage to the product. All safety messages will be preceded by the safety alert symbol and the hazard signal word DANGER, WARNING, or CAUTION. -
Page 6: Grounding Requirements
This appliance is not intended for use by persons (including children) with reduced physical, sensory or mental capabilities, or lack of experience and knowledge, unless they have been given supervision or instruction concerning use of the appliance by a person responsible for their safety. Children should be supervised to ensure that they do not play with the appliance. -
Page 7: Refrigerator Installation
REFRIGERATOR INSTALLATION INSTALLATION 1. Avoid placing unit near heat sources, direct sunlight or Excessive Weight Hazard moisture. Use two or more people to move and install the 2. To minimize noise and vibration, the refrigerator refrigerator. MUST be installed on a solidly constructed floor. Failure to do so can result in back or other injury. -
Page 8: Leveling The Refrigerator Door
REFRIGERATOR INSTALLATION REFRIGERATOR INSTALLATION LEVELING THE REFRIGERATOR DOOR HANDLE REMOVAL (TYPE 1) (Identify your handle type) Place level on refrigerator shelf as shown below. NOTE: It is ALWAYS recommended to remove the refrigerator doors when it is necessary to move the refrigerator through a narrow opening. -
Page 9: Handle Removal
REFRIGERATOR INSTALLATION REFRIGERATOR INSTALLATION HANDLE REMOVAL (TYPE 2) WARNING • Grasp the handle tigthtly with both hands and slide the Electric Shock Hazard handle up (this may require some force). • Disconnect electrical supply to the refrigerator • The keyhole slots on the back of the handle allow before installing. - Page 10 REFRIGERATOR INSTALLATION Removing the left (freezer) door with water line Reinstalling the right (refrigerator) door connection. • Pull up the water feed tube while pressing area (Figure 1) as shown in the figure below. • NOTE: If a tube end is deformed or abraded, trim the part away.
-
Page 11: Door Alignment
REFRIGERATOR INSTALLATION DOOR ALIGNMENT Type 2 Adjusting tools: wrench ” (8 mm) and wrench ¾” (19 mm) Before adjust the doors, remove the base grille. See BASE GRILLE INSTALLATION for reference. Height difference First select your adjusting tool, it could vary. Keeper nut Type 1 Wrench... -
Page 12: Connecting The Water Line
REFRIGERATOR INSTALLATION WHAT YOU WILL NEED CONNECTING THE WATER LINE Copper Tubing, ¼” (6.35 mm) outer NOTE: Water line installation is needed when the diameter to connect the refrigerator Automatic Icemaker and/or Water Dispenser features to the water supply. Be sure both are available on your product. -
Page 13: Installation Instructions
REFRIGERATOR INSTALLATION INSTALLATION INSTRUCTIONS 5. TIGHTEN THE PIPE CLAMP Install the shutoff valve on the nearest frequently used Tighten the clamp screws until the sealing washer drinking water line. begins to swell. NOTE: Do not overtighten or you may crush 1. - Page 14 REFRIGERATOR INSTALLATION 8. FLUSH OUT THE TUBING ¼” (6.35 mm) Tubing Turn the main water supply on Tubing Clamp and flush out the tubing until the water is clear. Shut the water off at the water ¼” (6.35 mm) Back of Compression valve after about one quart of refrigerator...
-
Page 15: Refrigerator Features
REFRIGERATOR FEATURES Use this page to become more familiar with the parts and features. Note: This guide covers several different models.The refrigerator you have purchased may have some or all of the items listed below. The locations of the features shown below may not match your model. Freezer Door Rack Refrigerator Lamp Automatic Icemaker... -
Page 16: Using Your Refrigerator
USING YOUR REFRIGERATOR ENSURING PROPER AIR CIRCULATION NEXT In order to ensure proper temperatures, air must flow 1. Clean your refrigerator thoroughly and wipe off dust between the refrigerator and freezer sections. As shown accumulated during shipping. in the illustration below, cool air enters through the 2. - Page 17 USING YOUR REFRIGERATOR Display Off Mode Throw away the first few batches of ice to allow the water line to clear. The display lights up and stays lit when the refrigerator Be sure nothing interferes with the sweep of the feeler is plugged in for 20 seconds.
-
Page 18: Control Panel Features
USING YOUR REFRIGERATOR ADJUSTING CONTROL SETTINGS ULTRA ICE Give the refrigerator time to cool down completely Press this button once to activate increased ice making before making final adjustments. It is best to wait 24 function. The ULTRA ICE icon on the display panel will hours before doing this. -
Page 19: Food Storage Guide
USING YOUR REFRIGERATOR STORING FROZEN FOOD FOOD STORAGE GUIDE NOTE: For further information about preparing food for Wrap or store food in the refrigerator in airtight and freezing or food storage times, check a freezer guide or moisture-proof material unless otherwise noted. This a reliable cookbook. -
Page 20: Water And Ice Dispenser
USING YOUR REFRIGERATOR WATER AND ICE DISPENSER Do not put your hands into the water and ice dispenser opening. Doing so may cause an injury to your hand. Your refrigerator has a mechanism that can dispense cool water and ice cubes without opening the door. •... -
Page 21: Ice Storage Bin
USING YOUR REFRIGERATOR ICE STORAGE BIN DOOR RACK AND SUPPORT The ice bin stores the ice cubes made by the icemaker. Your refrigerator and freezer features racks which can If you need to remove the ice storage bin, do so as follows: easily be arranged for packaged products. -
Page 22: Snack Pan
USING YOUR REFRIGERATOR You can control the amount of humidity in the moisture- • Fixed shelf Lightly lift up the front part of shelf pull the shelf sealed crispers. Adjust the control to any setting towards you , then take it out while lifting the rear part between “VEGETABLES”... -
Page 23: Filter
FILTER WATER FILTER Installing the water filter 1. Remove the red cap from the filter. Filter Reset: When the Filter Reset icon turns on, you • have to change the water filter. Press the Filter Reset 2. Hold the filter as shown in the figure below. The Unlock button for 3 seconds to turn the icon off . -
Page 24: Performance Data Sheet
FILTER Performance Data Sheet Models Number ADQ72910902 Use with replacement cartridge ADQ72910902 CAUTION ® To purchase a replacement filter, visit your local Sears store or call 1-800-4-MYHOME . Visit us on the web at www.sears.com Product distributed in the United Estates by Sears Brands Management Corporation Hoffman Estates, IL 60179... -
Page 25: Care And Cleaning
CARE AND CLEANING DOOR LINERS AND GASKETS Do not use cleaning waxes, concentrated detergent, bleaches, or cleaners containing petroleum on plastic refrigerator parts. Use a clean sponge or soft cloth and a mild detergent in warm water. Wash, rinse and dry all surfaces thoroughly. PLASTIC PARTS (covers and panels) Explosion Hazard Do not use window sprays, abrasive cleaners, or... -
Page 26: Power Interruptions
CARE AND CLEANING WHEN YOU MOVE To change the refrigerator and freezer lamp: 1. Unplug the refrigerator. 2. Remove the cover lamp by pressing upward on bottom When you are moving your refrigerator to a new home, and rotating outward follow these steps to prepare it for the move. -
Page 27: Troubleshooting Guide
TROUBLESHOOTING GUIDE UNDERSTANDING SOUNDS YOU MAY • The defrost timer will click when the automatic defrost cycle begins and ends. The thermostat control (or HEAR refrigerator control, depending on the model) will also Your new refrigerator may make sounds that your old click when cycling on and off. - Page 28 TROUBLESHOOTING GUIDE LAMPS DO NOT WORK Check if... Then... Light bulb has burned out. Replace with an appliance bulb of the same wattage, size and shape available at your local hardware store. (See the LAMP REPLACEMENT section.) Turn the temperature control to the OFF position and unplug the refrigerator prior to replacement.
- Page 29 TROUBLESHOOTING GUIDE DOORS WILL NOT CLOSE COMPLETELY Check if... Then... See the REFRIGERATOR INSTALLATION AND The refrigerator is not level. DOOR ALIGNMENT section to level refrigerator. Food packages are blocking the door open. Rearrange food containers to clear door and door shelves.
- Page 30 TROUBLESHOOTING GUIDE TEMPERATURE IS TOO WARM OR THERE IS INTERIOR MOISTURE BUILDUP (CONTINUED) Check if... Then... The doors are opened often. When the door is opened, warm humid air is allowed into the refrigerator. The more the door is opened, the faster the humidity builds up, and the more warm air the refrigerator must cool.
- Page 31 TROUBLESHOOTING GUIDE ICE HAS OFF-TASTE OR ODOR Check if... Then... Discard first few batches of ice to avoid discolored or The icemaker was recently installed. off-flavored ice. The ice has been stored for too long. Throw away old ice and make new supply. The food has not been wrapped tightly in Rewrap foods since odors may migrate to the ice if food either compartment.
Need help?
Do you have a question about the 795.5101 Series and is the answer not in the manual?
Questions and answers
What cubic size is the fridge???
The cubic size of the Kenmore 795.5101 Series fridge is not provided in the given context.
This answer is automatically generated
the correct water filter for 795.5101side by side
The correct water filter for the Kenmore 795.5101 side-by-side refrigerator is ADQ72910902.
This answer is automatically generated