Kenwood DPX405BT Quick Start Manual
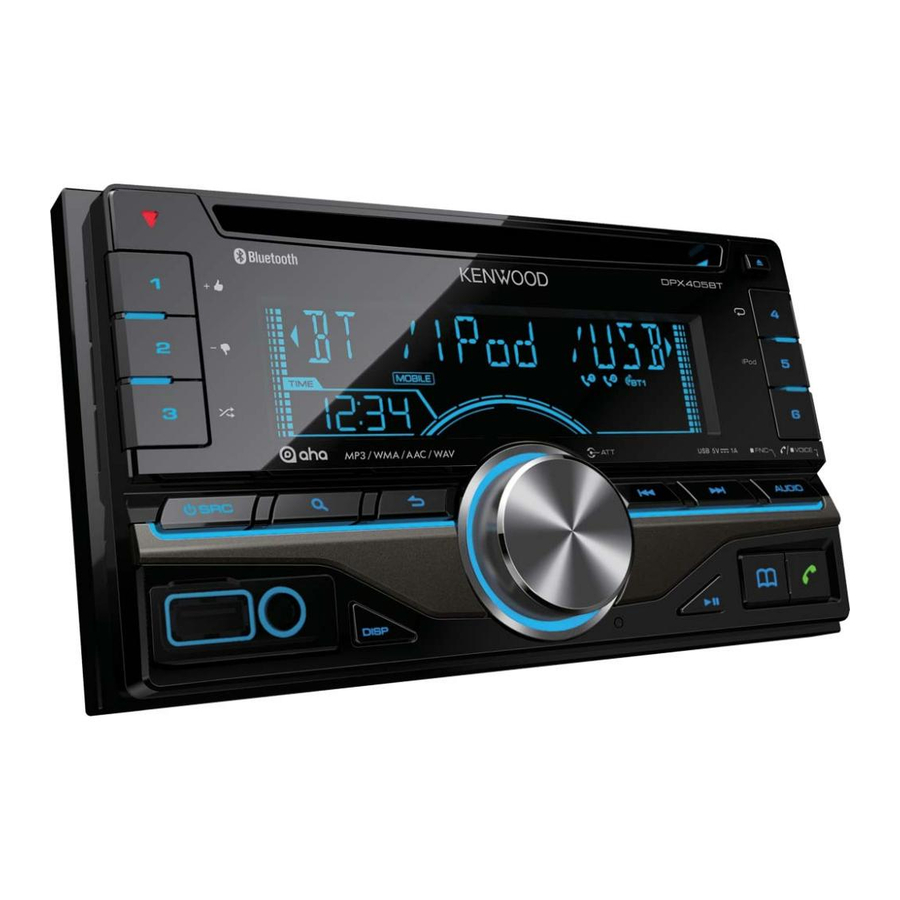
Dual din sized cd receiver
Hide thumbs
Also See for DPX405BT:
- Manual (98 pages) ,
- Quick start manual (60 pages) ,
- Service manual (64 pages)
Table of Contents
Advertisement
Advertisement
Table of Contents

Related Manuals for Kenwood DPX405BT


Summary of Contents for Kenwood DPX405BT
-
Page 1: Quick Start Guide
DPX405BT DPX305U DUAL DIN SIZED CD RECEIVER Quick Start Guide RECEPTEUR CD FORMAT DUAL DIN Guide de démarrage rapide DUALER DIN-GENORMTER CD-RECEIVER Kurzanleitung CD-ONTVANGER VAN DUBBEL DIN-FORMAAT Snelstartgids © 2012 JVC KENWOOD Corporation B59-2160-00/00 (EW) -
Page 2: Table Of Contents
Contents About the Quick Start Guide About the Quick Start Guide..........2 This Quick Start Guide describes basic functions of this unit. Before use ................. 3 For functions not described in this Guide, refer to the Preparations/ Basic Operations ......... 4 Instruction Manual stored in the enclosed CD-ROM. -
Page 3: Before Use
• If you experience problems during installation, consult your Kenwood dealer. • When you purchase optional accessories, check with your Kenwood dealer to make sure that they work with your model and in your area. • Characters that conform to ISO 8859-5 or ISO 8859-1 can be displayed. -
Page 4: Preparations/ Basic Operations
“USB” or “iPod” Turn the [Control knob] to select “YES”, and then aha (Function of DPX405BT) “AHA” press the [Control knob] knob. Bluetooth audio (Function of DPX405BT) “BT AUDIO” The demonstration mode can also be canceled in “CD” the Function setting mode. -
Page 5: Playing Music (Cd/Usb/Ipod)
Playing Music (CD/USB/iPod) [ 0 ] Disc slot [ 4 ] [ ¢ ] [SRC] USB terminal [ L ] Control knob Playing Disc Music Search Insert a disc in the Disc slot. Searching for the song you want to play. When it is inserted, the source is switched Press the [ ] button. -
Page 6: Listening To The Radio
Listening to the Radio [1] – [3] [4] – [6] [SRC] [ 4 ] [ ¢ ] Selecting a Tuner source Station preset memory Press the [SRC] button to select “TUNER”. Press and hold the button ([1] to [6]) to assign the selected station. -
Page 7: Hands-Free Phoning
(pairing). Select “DPX4**BT” (for Press the [ 7 ] button. DPX405BT) from the list of found units. Turn the [Control knob] to select the name, and If “PAIRING PASS ****** (Bluetooth device name) then press the [Control knob]. -
Page 8: Installation Accessories
• Make sure to ground the unit to a negative 12V DC power supply. • Do not install the unit in a spot exposed to direct (DPX405BT only) sunlight or excessive heat or humidity. Also avoid places with too much dust or the possibility of water splashing. -
Page 9: Connecting Wires To Terminals
• Reception may become poor if there are metal The default connection for the wiring harness is objects near the Bluetooth antenna. (DPX405BT only) described in 1 below. If the ISO connector pins are set as described in 2, make the connection as illustrated. -
Page 10: Connecting Wires To Terminals
Connecting Wires to Terminals Microphone input (DPX405BT only) Microphone (Accessory4) Antenna Cord Connector Function Guide FM/AM antenna input (JASO) Pin Numbers for Cable Colour Functions ISO Connectors External Power Connector Yellow Battery Blue/White Power Control Orange/White Dimmer Ignition (ACC) Black... - Page 11 CONT Brown (Mute control wire) Connect to the terminal that is grounded when MUTE either the telephone rings or during conversation. To connect the Kenwood navigation system, ⁄ consult your navigation manual. Light Blue/Yellow (Steering remote control wire) To use the steering wheel remote control feature,...
-
Page 12: Installing The Trim Plate/Installation
Installing the trim plate/ Removing the Unit Installation Removing the trim plate Engage the catch pins on the extraction key Installing the trim plate (Accessory 3) and remove the two locks on the Attach Accessory 2 to the unit. lower level. Lower the frame and pull it forward as shown in the figure. -
Page 13: Installing The Microphone Unit
DPX405BT only Installing the Microphone unit Removing the Unit Remove the trim plate by referring to the removal Check the installation position of the microphone procedure in the section <Removing the trim (Accessory 4). plate>. Remove oil and other dirt from the installation Insert the two extraction keys (Accessory 3) deeply surface. -
Page 14: Appendix
• iPhone Bu ürün 28300 sayılı Resmi Gazete’de yayımlanan Atik Elektrikli For information on the compatibility with iPod/iPhone ve Elektronik Eşyalarin Kontrolü Yönetmeliğe uygun olarak software, visit www.kenwood.com/cs/ce/ipod/. üretilmiştir. Eski Elektrik ve Elektronik Ekipmanların İmha Edilmesi Hakkında Bilgi (ayrı atık toplama sistemlerini kullanan ülkeleri için uygulanabilir) - Page 15 • The Bluetooth word mark and logos are owned by the Bluetooth • IOS is a trademark or registered trademark of Cisco in the U.S. and SIG, Inc. and any use of such marks by JVC KENWOOD Corporation other countries and is used under license.
Need help?
Do you have a question about the DPX405BT and is the answer not in the manual?
Questions and answers