Subscribe to Our Youtube Channel
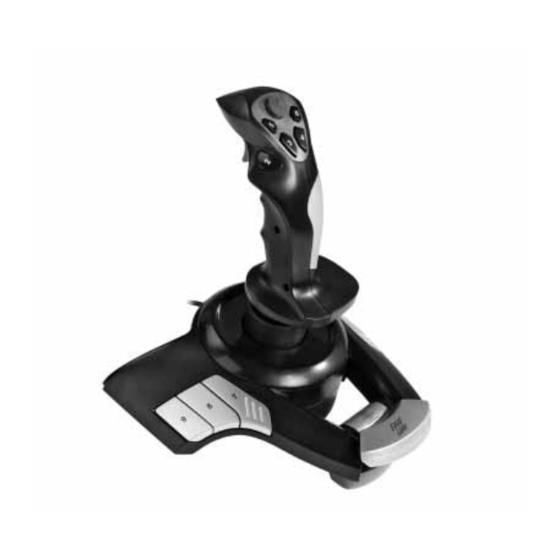
Summary of Contents for Hama Easy Line Firejet Pro
- Page 1 00021017bda 03.11.2005 13:04 Uhr Seite 2 www.hama.de EasyLine by Hama GmbH & Co KG Postfach 80 86651 Monheim/Germany Tel. + 49 (0) 90 91 / 5 02-0 Fax + 49 (0) 90 91 / 5 02-2 74 hama@hama.de www.hama.de 00021017-11.05...
- Page 2 00021017bda 03.11.2005 13:04 Uhr Seite 1 00021017 Firejet Pro USB Joystick...
- Page 3 Taste 5 für Taste 7: auf dem Bildschirm angezeigt -> Auf „Set“ vor Taste 3 klicken („Set“ wird Steuerungsprogramm „Hama PC-Vibra Joystick hervorgehoben angezeigt), Taste 5 auf dem Outlandish“ wird automatisch erkannt -> Joystick drücken, und die Ziffer im dritten Eigenschaften grünen Kreis wird geändert von 3 in 5.
- Page 4 00021017bda 03.11.2005 13:04 Uhr Seite 3 3) Keyboard Map-Einstellung testen: B. DirectX Version ist zu niedrig, DirectX Version 7.0 oder höher wird benötigt. A. Auf Menütaste „Keyboard map“ klicken, um die C. Möglicherweise muss der PC neu gestartet Testoberfläche aufzurufen werden.
- Page 5 00021017bda 03.11.2005 13:04 Uhr Seite 4 Position der Funktionstasten 8-Wege Coolie-Hat (Richtungssteuerung) Auf/Ab-Steuerungsachse (Y-Achse) Rechts/Links-Twist Funktion (RZ-Achse) Rechts/Links-Steuerungsachse (X-Achse) Schubkontrolle (Z-Achse)
- Page 6 “Set” in the front of button 5, press button 7 on the Driving system as PC indicates->PC will find joystick, the digital inside the third green out ”Hama PC-Vibra Joystick Outlandish” circle will turn from 5 to 7 and thus the function driving program automatically->Attribute is achieved.
- Page 7 00021017bda 03.11.2005 13:04 Uhr Seite 6 Click “Set” button in the front of button 7, after 4) After inserting flight joystick, no driving program dialogue block is shoot, click F5 on the can be found: keyboard and press ENTER for confirmation, F5 While installing Driver last time and the will be displayed inside the white block in the Windows requires to specify some file’s path, it...
- Page 8 00021017bda 03.11.2005 13:04 Uhr Seite 7 Button Function Layout 8-Way-Coolie-Hat (Directional Control (POV)) UP/Down Control Axis (Y axis) Right/Left Twist function (RZ axis) Right/Left Control Axis (X axis) Thrust control (Z axis)


Need help?
Do you have a question about the Easy Line Firejet Pro and is the answer not in the manual?
Questions and answers