Advertisement
Table of Contents
- 1 Electric Oven
- 2 Instructions for Use
- 3 Electrical Connection
- 4 Grounding Instructions
- 5 Conversion Table
- 6 Description of the Appliance
- 7 Important Warnings
- 8 Summary Table
- 9 Using the Controls
- 10 Using the Oven
- 11 General Tips
- 12 Thermostat Knob
- 13 Cleaning and Maintenance
- 14 Limited Warranty
- Download this manual
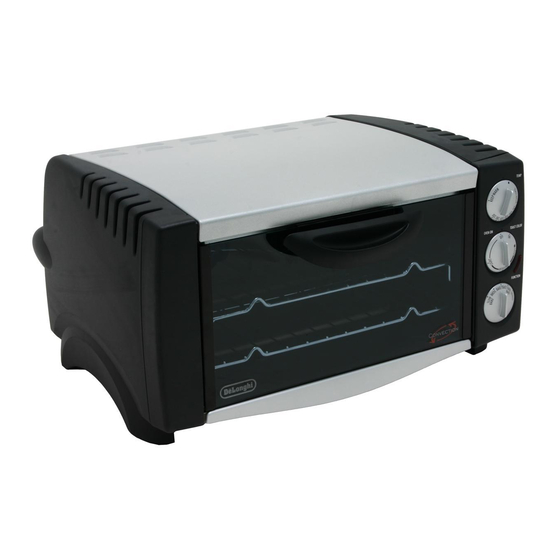
ELECTRIC OVEN
FOUR ÉLECTRIQUE
HORNO ELÉCTRICO
EO-1200.1 EO-1251
Register this product on-line and receive a free trial issue of Cook's Illustrated.
Visit www.delonghiregistration.com.
Visit www.delonghi.com for a list of service centers near you.
Enregistrez ce produit en ligne et recevez un numéro gratuit de Cook's Illustrated.
Visitez www.delonghiregistration.com.
Visitez www.delonghi.com pour y voir une liste des centres de réparation proches de chez
vous.
Registre este producto en línea y reciba un ejemplar gratis de Cook's Illustrated.
Visite www.delonghiregistration.com.
Visite www.delonghi.com para ver la lista de centros de servicios cercanos a usted.
Instructions for use
Keep these instructions
Mode d'emploi
Conservez cette notice
Instrucciones para el uso
Repase y guarde estas instrucciones
Lea cuidadosamente este instructivo antes de usar su aparato.
ELECTRICAL SPECIFICATIONS: CARACTÉRISTIQUES ÉLECTRIQUES: CARACTERISTICAS
ELECTRICAS:
120V~60Hz 1400W
Advertisement
Table of Contents


Need help?
Do you have a question about the EO-1200.1 and is the answer not in the manual?
Questions and answers
Do you sell the sell the thermostat knob for a delonghi part # EO-1200.1B electric oven?