Table of Contents
Advertisement
Quick Links
Advertisement
Table of Contents

Related Manuals for Krups Toaster


Summary of Contents for Krups Toaster
- Page 1 Toaster www.krups.com Instruction for use Modo de empleo Mode d’emploi...
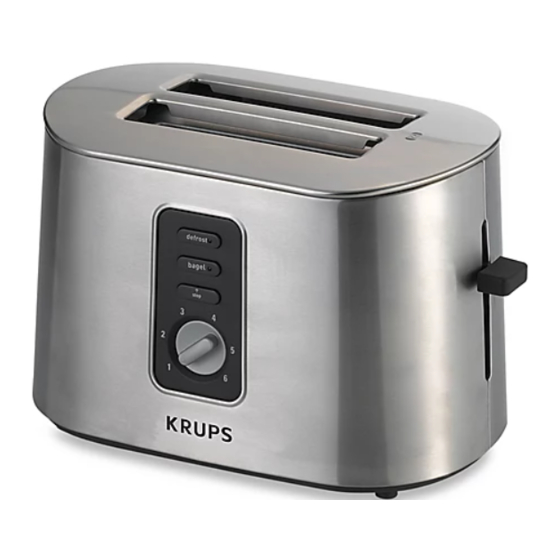
- Page 2 PARTS AND FEATURES A Control lever with HIGH-LIFT position B STOP button C Browning selection button, 6 levels (1 to 6) D Removable crumb tray E BAGEL button F DEFROST button...
-
Page 3: Important Safeguards
Do not touch the metal parts or hot surfaces of the appliance when it is working. Do not try to toast bread that may melt (with icing) or drip in the toaster and do not toast crusts as this may damage the appliance or cause a fire. - Page 4 DO NOT Do not immerse toaster in water or run water into the toaster. Do not operate toaster under or around any flammable materials, such as curtains, or under cabinets. Do not place the toaster in the dishwasher. Do not cover toast chambers when in use.
-
Page 5: Safety Instructions
English Do not use abrasive cleaners, metallic ustensils or scouring pads. SAFETY INSTRUCTIONS For your safety, this appliance complies with applicable technical rules and norms. Check that the main voltage corresponds to the voltage indicated on the appliance (alternating voltage only). Use a stable work surface, away from any contact with water and never in a built-in kitchen alcove. -
Page 6: Before First Use
Clean the toaster with a damp cloth. Place it on a stable surface. Unwind the power cord completely. Never operate with cord partially unrolled. Plug the toaster into the wall outlet. Maxi. Turn dial to maximum browning setting without inserting any bread. -
Page 7: Toasting Bread
If you are toasting one slice of bread, set the browning control to a lower setting. Use caution when warming or toasting sugar coated or filled items (such as toaster pastries). Always set the browning control to the lowest setting. - Page 8 To remove smaller-sized breads after the toasting cycle. HI-LIFT Push lever up in the high position and remove toast. Never insert anything into toaster especially when plugged in. STOP/EJECT Press the stop button at any time to stop the toasting cycle.
- Page 9 Press the defrost button. The defrost function will take longer to toast than settings 1-6 as the toaster will automatically defrost the bread before toasting. The toasting chamber automatically lifts the toast and lever once the toasting cycle is complete.
- Page 10 The toasting chamber automatically lifts once toasting cycle is complete. CLEANING Unplug the toaster from the wall outlet and allow the toaster to cool completely, approximately 10 minutes. Clean the toaster with a damp cloth. A removable crumb tray is provided for easy cleaning. Pull out the tray completely and discard the crumbs.
-
Page 11: Limited Warranty
English LIMITED WARRANTY This Krups’ product is warranted for 1 year from the date of purchase against defects in material and workmanship. During this period, the Krups’ product that, upon inspection by Krups, is proved defective, will be repaired or replaced, at Krups’ option, without charge to the customer. If a replacement product is sent, it will carry the remaining warranty of the original product.
Need help?
Do you have a question about the Toaster and is the answer not in the manual?
Questions and answers