Advertisement
Quick Links
Advertisement

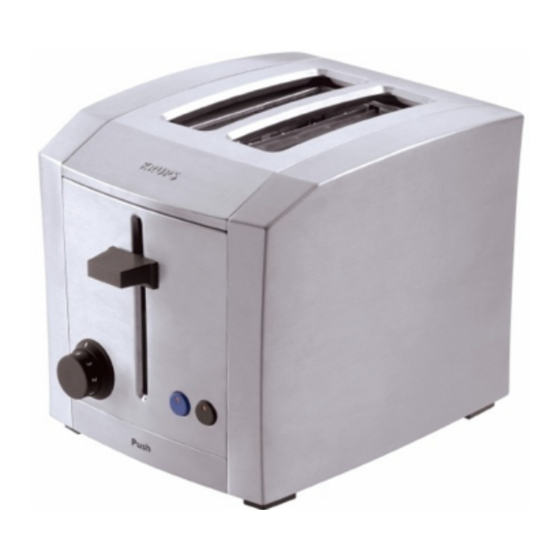
Summary of Contents for Krups TT930050
- Page 2 DESCRIPTION DESCRIPCIÓN A Control lever with HIGH-LIFT A Levier de commande avec A Palanca de mando con función position fonction HI-LIFT HI-LIFT B Browning selection knob, B Bouton de réglage 7 positions B Botón de ajuste 7 posiciones 7 positions ( 1 to 6 and DEFROST 1 à...
-
Page 3: Important Safeguards
fit into a polarized outlet only one way. If the plug does not fit fully into the outlet, reverse the plug. If it still does not fit, contact the KRUPS Consumer Service Department. -
Page 4: Safety Instructions
Because of the diversity of applicable norms, if this appliance is used in a country other than the country it was bought in, please contact the an authorized KRUPS service center. Use a stable work surface, away from any contact with water and never in a built-in kitchen alcove. - Page 5 English BEFORE FIRST USE Remove toaster from packaging. Clean the toaster with a damp cloth. Unwind the power cord completely. Never operate with cord partially unrolled. Plug the toaster into the wall outlet. Turn dial to maximum browning setting without inserting any bread. Press lever for 3 sequential toasting sessions to remove “new”...
- Page 6 TOASTING BREAD Helpful hints Differences in moisture levels from one bread to another can result in varying toasting times and browning levels. Below are some general recommendations: Slightly dry bread should be toasted on a lower setting. Very fresh bread or whole wheat bread should be toasted on a slightly darker setting. Breads with uneven surfaces, such as English muffins, may require a daker setting.
- Page 7 English HI-LIFT To remove smaller-sized breads after the toasting cycle. Push lever up in the high position and remove toast. Never insert anything into toaster especially when plugged in. STOP/EJECT Press the stop button at any time to stop the toasting cycle. Stop The toasting chamber automatically lifts the toast and lever.
- Page 8 The defrost fonction will take longer to toast than settings 1-6 as the toaster will automatically defrost the bread before toasting. The toasting chamber automatically lifts the toast and lever once the toasting cycle is complete. BAGEL To toast the bagel on the inside and warm it on the outside, use the Bagel button.
- Page 9 English The toasting chamber automatically lifts once toasting cycle is complete. CLEANING Unplug the toaster from the wall outlet and allow the toaster to cool completely, approximately 10 minutes. Clean the toaster with a damp cloth. A removable crumb tray is provided for easy cleaning. To open crumb tray, press on it once and remove.
- Page 10 DO NOT Do not immerse toaster in water or run water into the toaster. Do not operate toaster under or around any flammable materials. Do not place the toaster in the dishwasher. Do not cover toast chambers when in use. Do not insert objects into the toaster.
-
Page 11: Limited Warranty
Do not use abrasive cleaners, metallic ustensils or scouring pads. LIMITED WARRANTY This Krups product is warranted for 1 year from the date of purchase against defects in material and workmanship. During this period, the Krups product that, upon inspection by Krups, is proved defective, will be repaired or replaced, at Krups' option, without charge to the customer.


Need help?
Do you have a question about the TT930050 and is the answer not in the manual?
Questions and answers