Table of Contents
Advertisement
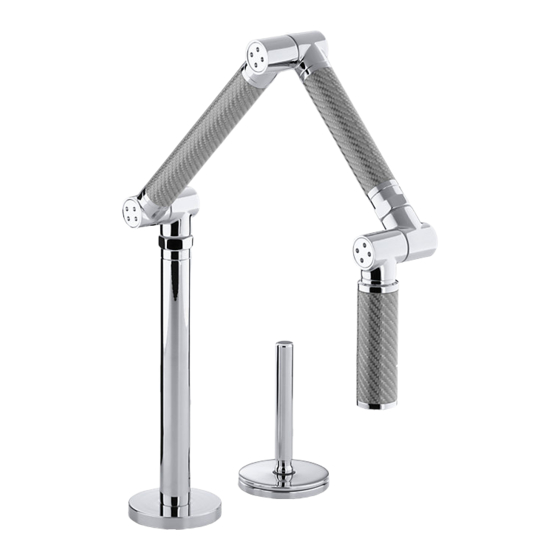
K-6227A
Karbon™ Kitchen Sink Tap
Installation and User Guide
IMPORTANT
INSTALLER:
This product manual is the property of the customer and must
be retained with the product for maintenance and operational
purposes.
1109784-A2-A
1
Advertisement
Table of Contents

Related Manuals for Kohler Karbon K-6227A


Summary of Contents for Kohler Karbon K-6227A
- Page 1 K-6227A Karbon™ Kitchen Sink Tap Installation and User Guide IMPORTANT INSTALLER: This product manual is the property of the customer and must be retained with the product for maintenance and operational purposes. 1109784-A2-A...
- Page 2 IMPORTANT INfORMATION Due to the non-standard diameter of the remote valve (51 mm), the remote valve cannot be installed through a standard 35 mm tap hole in a sink. Choose a sink without tap holes then install the tap and remote valve through the countertop.
- Page 3 INSTAllATION Locate the remote valve within Valve Hole 203 mm of the spout. Refer to the countertop manufacturer for drilling of the holes. Ø 51 mm Ø 35 mm 203 mm Max Spout Hole Apply silicone sealant to the underside of the concealing plate.
- Page 4 Insert the tap through the mounting hole. Partially thread the screws into the ring. 1109784-A2-A...
- Page 5 Fit the fibre and metal washers onto the threaded shank Install the ring leaving approximately 6 mm between the ring and the Fibre Washer countertop. 6 mm Ring Metal Washer Turn the ring until the screws are to the front and the back. Tighten the screws securely and evenly. 1109784-A2-A...
- Page 6 Apply silicone sealant to the underside Remote Valve of the remote valve. Install the remote valve through the hole in the countertop. Cold Before tightening the remote valve, make sure that the cold water supply is on the left hand side. Partially thread the screws into the ring.
- Page 7 Countertop 10. Slide the washer onto the remote valve threaded shank. Install the ring leaving approximately 6 mm between the ring and the countertop. Washer Ring 6 mm Ring 11. Turn the ring until the screws are to the front and the back. Tighten the screws securely and evenly.
- Page 8 12. Connect the inlet hose to the spout Spout Connection connection. Inlet Hose 13. Connect and tighten the supply hoses. Note! If the sink installation requires that you coil the supply hoses, maintain a 76 mm diameter inside the coil. Ø...
- Page 9 15. Remove the aerator. 16. Flush the lines. 17. Reinstall the aerator. 1109784-A2-A...
- Page 10 SPARe PARTS 1088909 1071700** 1090946** Setscrew Handle Spout 1088909 1054201 Setscrew Spring 1054197** Ball Joint 1088910 1071701 O-Ring Friction Cup 1071702** 1090945** Disk Tube 1071704** 1071689** 1090943 1071703 Concealing Plate 1021051 Tube Spring Bearing Check Valve 42043 O-Ring 1095310 1088910 1090949** Check Valve 1018336**...
- Page 11 dIMeNSIONS 52 mm 337 mm Max 102 mm 203 mm 227 mm 176 mm 110 mm Ø 67 mm Ø 67 mm 64 mm 64 mm 2" 1-1/4" 590 mm All dimensions in mm 1109784-A2-A...
- Page 12 Failure to comply with these cleaning instructions may void Kohler’s warranty obligations. CuSTOMeR CARe Kohler Co. warrants its tapware manufactured after January 1, 2006, to be leak and drip free during normal residential use for as long as the original consumer purchaser owns his/her home. *If the tapware should leak or drip during normal use, Kohler will, free of charge, mail to the purchaser the cartridge necessary to put the tapware in good working condition.
Need help?
Do you have a question about the Karbon K-6227A and is the answer not in the manual?
Questions and answers
Hello Kohler Karbon K-6227A I need to replace checking valve I can t not unscrew the part! to put the new one How I’m supposed to do any idea ? I don’t want to damage it ! I don’t think they is kohler dealer repair in Albuquerque thank you