Advertisement
Advertisement
Table of Contents

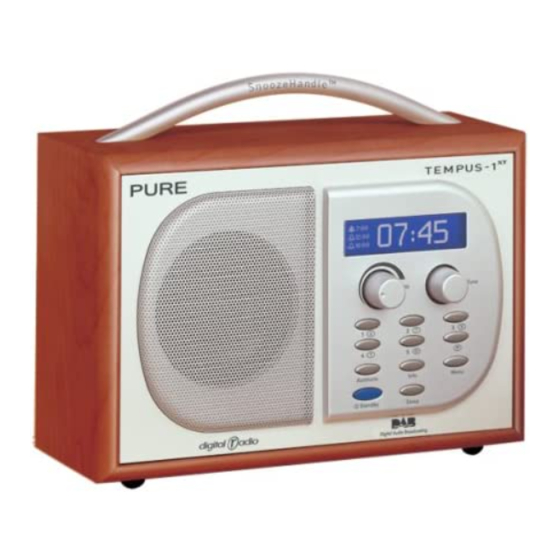
Summary of Contents for PURE Tempus-1XT
-
Page 2: Warranty Information
Please return your warranty card or visit www.pure.com/register to register your product with us. Should you have a problem with your unit please contact your supplier or contact PURE Support at the address shown on the rear of this manual. -
Page 3: Controls And Connectors
Controls and Connectors Autotune – press and hold for around two seconds to scan the full range of Front panel digital frequencies in Band III. Press and release to scan UK only Band III. Standby - press to switch between standby mode and power on Sleep - press and repeat to set TEMPUS-1 to enter standby in 15, 30, 45, 60 or 90 minutes... -
Page 4: Quick Start
Quick start This section provides information on how to set up and start using your radio. Fully extend the aerial, connect the mains adapter and plug in to your power supply. Press the Standby button to switch the unit on. The screen lights up and a progress bar indicates the progress of an autotune to find the stations available. -
Page 5: Setting Alarms
Using your TEMPUS-1 Setting alarms TEMPUS-1 has three alarms which switch TEMPUS-1 on (if in standby mode) and tune to the station you have chosen or sound a tone. To set or change an alarm: 1. Press the Menu button and push the Tune knob to select the Alarm settings option. 2. -
Page 6: Cancelling Alarms
Cancelling alarms When a radio or tone alarm goes off you have three options: Snooze Tap the SnoozeHandle to snooze the alarm for the period set (the default is 8 minutes). The radio or tone mutes and you see the snooze icon on the screen. The alarm will repeat when the snooze period has elapsed. - Page 7 Recording from your TEMPUS-1 You can record from your TEMPUS-1 using the Stereo Out or Digital Out sockets. You can also set a record timer to automatically switch your unit on and tune to a particular station at a time of your choosing – this may be useful if you have a MiniDisc recorder or similar with a synchro-record facility and you use the Digital Out socket.
-
Page 8: Setup Options
Setup options Press the Menu button, turn the Tune knob and push to select one of the following setup options. Station order Changes the order in which stations appear as you scroll through the station list. Turn the Tune knob to scroll through the following options and push to select one: Alphanumeric Displays all stations in alphanumeric order. -
Page 9: Audio Settings
Audio settings Digit al output The Digital Output setting controls the Digital Out socket on the rear of your radio. Select one of the following options: On - if you want continuous output to an amplifier or recorder. Off/Timer - if you want to connect to a recorder with a synchro-record feature. DRC value DRC (Dynamic Range Control) value makes the quieter sounds in a broadcast easier to hear. -
Page 10: Hints And Tips
Hints and tips This section provides information on advanced DAB features and offers advice if you are having problems with your radio. ‹‹ ›› ) Secondary services Secondary services accompany some stations, providing extra information or alternative content and may only be broadcast at certain times. At the time of writing not many secondary services are available. -
Page 11: Resetting Your Radio
Resetting your radio Resetting your radio removes all presets, stored stations and favourite station settings and resets all options to defaults. To select the reset option: To select the reset option: 1. Press and hold the Menu button for more than two seconds. The display will show ‘Press Tune to confirm reset’. Release the Menu button. - Page 12 PURE Digital, Imagination Technologies Ltd., Imagination House, Home Park Estate, Kings Langley, Herts, WD4 8LZ, UK +44 (0)1923 277477 support +44 (0)1923 270188 support@pure.com +44 (0)1923 277488 sales sales@pure.com 12L20...


Need help?
Do you have a question about the Tempus-1XT and is the answer not in the manual?
Questions and answers