Table of Contents
Advertisement
Quick Links
IMPORTANT SAFETY INFORMATION: Always read this manual first before attempting to service this fireplace. For your
safety, always comply with all warnings and safety instructions contained in this manual to prevent personal injury or prop-
erty damage.
Dimplex North America Limited
1367 Industrial Road Cambridge ON Canada N1R 7G8
1-888-346-7539 www.dimplex.com
In keeping with our policy of continuous product development, we reserve the right to make changes without notice.
© 2012 Dimplex North America Limited
Service Manual
Model
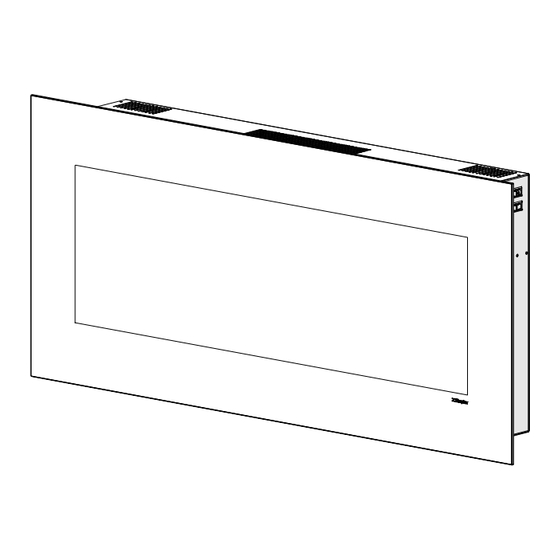
DWF1203
Part Number
6908490100
REV
PCN
DATE
00
-
7-AUG-12
7400580000R00
Advertisement
Table of Contents

Summary of Contents for Dimplex DWF1203
- Page 1 Dimplex North America Limited 1367 Industrial Road Cambridge ON Canada N1R 7G8 7-AUG-12 1-888-346-7539 www.dimplex.com In keeping with our policy of continuous product development, we reserve the right to make changes without notice. © 2012 Dimplex North America Limited 7400580000R00...
-
Page 2: Table Of Contents
NOTE: Procedures and techniques that are considered important enough to emphasize. CAUTION: Procedures and techniques which, if not carefully followed, will result in damage to the equipment. WARNINg: Procedures and techniques which, if not carefully followed, will expose the user to the risk of fire, serious injury, or death. www.dimplex.com... -
Page 3: Operation
Install one (1) 12-Volt (A23) battery in the battery CAUTION: If you need to continuously reset the heater, holder. disconnect power and call Dimplex customer service at Close the battery cover 1-888-DIMPLEX (1-888-346-7539). Battery must be recycled or disposed of properly. -
Page 4: Maintenance
Fireplace Surface Cleaning Use only a damp cloth to clean painted surfaces of the fireplace. Do not use abrasive cleaners. Servicing Except for installation and cleaning described in this manual, an authorized service representative should perform any other servicing. www.dimplex.com... -
Page 5: Exploded Parts Diagram
ExPLODED PARTS DIAgRAM REPLACEMENT PARTS LIST 3-Position Switch ..... . 2800070700RP Heater Assembly (with Cutout) ... . 2200490800RP Remote Control Receiver . -
Page 6: Wiring Diagram
WIRINg DIAgRAM www.dimplex.com... -
Page 7: Switch Replacement
SWITCh REPLACEMENT On the right end, with Figure 5 the switches, remove the Tools Required: Philips head screwdriver seven (7) screws around the Flat head screwdriver outside of the end panel. Needle-nose pliers (Figure 5) WARNINg: If the fireplace was operating prior to ser- Lay unit on its back and re- vicing, allow at least 10 minutes for light bulbs and heating move the remaining nine (9) -
Page 8: Flame Panel Replacement
(i.e. cloth, cardboard, thick plastic) to avoid scratching your work surface. Lay unit on its back and remove the remaining nine (9) On the right end, with the switches, remove the seven screws from the end panel. www.dimplex.com... -
Page 9: Heater Assembly Replacement
(7) screws around the outside of the end panel. (Figure Figure 7 Heater Screws Lay unit on its back and remove the remaining nine (9) screws from the end panel. Remove the end panel being careful not to add any strain to the wires connecting to the switches. -
Page 10: Circuit Board Replacement
Remove both sets of the three (3) end panel screws standoffs; or using wire cutters and cutting the stand- and the five (5) front screws that hold the Media Tray in www.dimplex.com... -
Page 11: Flicker Motor Replacement
! NOTE: Ensure that the flicker rod is not bent and the Figure 8 bushing in the center of the flicker rod is completely set in the support bracket. The bushing must be properly aligned for it to go all the way down into the bracket. Re-assemble the remainder of the fireplace in reverse order from the instructions above. -
Page 12: Led Light Strip Replacement
! NOTE: Be sure that the flanges on the end panel are Remount the LED light strip bracket onto the firebox. positioned on the interior of the outside panel of the fire- Re-assemble the remainder of the fireplace in reverse place. order from the instructions above. www.dimplex.com... - Page 13 CAUTION: Ensure that the remote control wire antenna is placed so that it is not caught between any of the screws or sheets of metal. ! NOTE: Be sure that the flanges on the end panel are positioned on the interior of the outside panel of the fire- place.
-
Page 14: Troubleshooting Guide
Flame not bright or flame not Loose wiring Check wiring connections visible Defective LED light strip Replace LED light strip Log set dim, not glowing Defective LED Log Driver Board Replace LED Log Driver Board Flame Shudder Defective flicker motor Replace flicker motor www.dimplex.com... - Page 15 PROBLEM CAUSE SOLUTION heater Heater is not turning Off Improper operation Refer to Operation Section Defective Heater On/Off Switch Defective Heater On/Off Switch Defective Remote Control Receiver Replace Remote Control Receiver. Initialize to Re- mote Control. Heater is not turning On Improper operation Refer to Operation Section Loose wiring...


Need help?
Do you have a question about the DWF1203 and is the answer not in the manual?
Questions and answers