Table of Contents
Advertisement
This .pdf document is bookmarked
Operating Instructions and Parts Manual
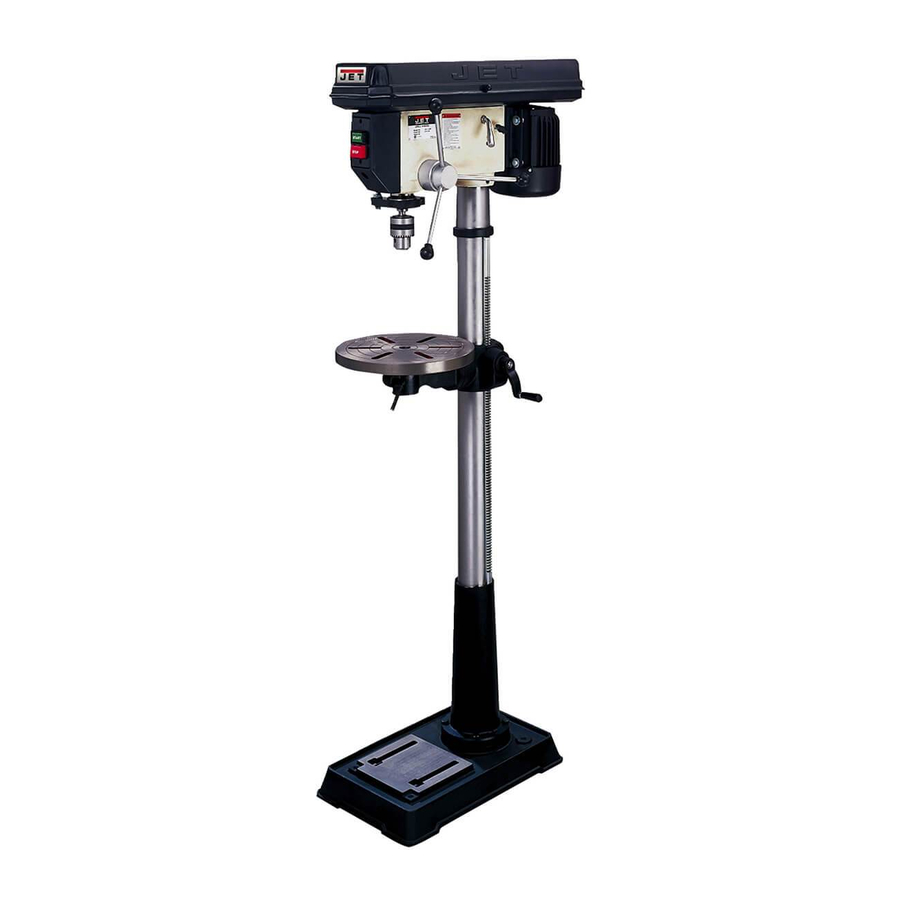
17-inch Drill Press
Model JDP-17MF
WALTER MEIER (Manufacturing) Inc.
427 New Sanford Road
LaVergne, Tennessee 37086
Part No. M-354169
Ph.: 800-274-6848
Revision C2 04/2010
www.waltermeier.com
Copyright © 2010 Walter Meier (Manufacturing) Inc.
Advertisement
Table of Contents

Subscribe to Our Youtube Channel
Related Manuals for Jet JDP-17MF


Summary of Contents for Jet JDP-17MF
- Page 1 This .pdf document is bookmarked Operating Instructions and Parts Manual 17-inch Drill Press Model JDP-17MF WALTER MEIER (Manufacturing) Inc. 427 New Sanford Road LaVergne, Tennessee 37086 Part No. M-354169 Ph.: 800-274-6848 Revision C2 04/2010 www.waltermeier.com Copyright © 2010 Walter Meier (Manufacturing) Inc.
-
Page 2: Warranty And Service
Walter Meier is consistently adding new products to the line. For complete, up-to-date product information, check with your local Walter Meier distributor, or visit waltermeier.com. WARRANTY JET products carry a limited warranty which varies in duration based upon the product (MW = Metalworking, WW = Woodworking). WHAT IS COVERED? This warranty covers any defects in workmanship or materials subject to the exceptions stated below. -
Page 3: Table Of Contents
On-Off Switch Padlock ........................8 Introduction ............................9 Specifications .............................9 Unpacking ............................10 Contents of the Shipping Container ....................10 Before Assembly ........................... 10 Assembly ............................11 Replacement Parts ........................... 17 JDP-17MF Drill Press Assembly ..................... 18 Parts List ............................19 Electrical Connections ........................22... -
Page 4: Warning
Warning Wear eye protection. Always keep guards in place and in proper operating condition. Do not operate the machine without the guards for any reason. Support workpiece adequately at all times during operation; maintain control of work at all times. This drill press is designed and intended for use by properly trained and experienced personnel only. - Page 5 USE RECOMMENDED ACCESSORIES. The use of accessories and attachments not recommended by JET may cause hazards or risk of injury to persons. NEVER STAND ON A MACHINE. Serious injury could occur if the machine is tipped. CHECK DAMAGED PARTS. Before further use of the machine, a guard or other part that is...
-
Page 6: Grounding Instructions
Grounding Instructions Caution: This tool must be grounded while in use to protect the operator from electric shock. In the event of a malfunction or breakdown, grounding provides a path of least resistance for electric current to reduce the risk of electric shock. This tool is equipped with an electric cord having an equipment-grounding conductor and a grounding plug. - Page 7 1. Disconnect the machine from the power source. 2. This JET drill press is supplied with four motor leads that are connected for 115V operation, as shown in Figure A. Reconnect these four motor leads for 230V operation, as shown in Figure B.
-
Page 8: On-Off Switch Padlock
To safeguard your machine from unauthorized operation and to avoid accidental starting by young children, the use of a padlock is highly recommended. A padlock (stock no. 709012-A) is available from your local authorized JET distributor or by calling Walter Meier (Manufacturing) Inc., at 800-274-6848. To lock out an on-off switch: 1. -
Page 9: Introduction
Introduction This manual is provided by Walter Meier (Manufacturing) Inc., covering the safe operation and maintenance procedures for a JET Model JDP-17MF Drill Press. This manual contains instructions on installation, safety precautions, general operating procedures, maintenance instructions and parts breakdown. This machine has been designed and constructed to provide years of trouble free operation if used in accordance with instructions set forth in this manual. -
Page 10: Unpacking
1. Remove the contents from the shipping container. 2. Compare the contents of the shipping container with the list found above. Report any shortages or damage to your JET distributor. 3. Clean all rust protected surfaces with kerosene or a light solvent. Do not use lacquer thinner, paint thinner, or gasoline. -
Page 11: Assembly
Assembly 1. Place the base (A, Figure 1) on a level floor. 2. With a 17mm wrench attach the column assembly (B, Figure 1) to the base (A, Figure 1) with four M10 x 40 hex cap bolts (C, Figure 1). Tighten firmly. 3. - Page 12 12. Install three down feed handles (B, Figure 4) into the down feed hub (C, Figure 4). 13. Raise table to approximately seven inches below spindle assembly, and lock the table in place. 14. Place a piece of scrap wood on the table. 15.
- Page 13 Adjusting the Depth Stop To drill multiple holes at the same preset depth, use the depth stop: 1. Use a pencil to mark the depth the bit will drill into the workpiece (A, Figure 7). 2. With the drill bit in the chuck, lower down feed handle to advance bit to your mark,see Figure 7.
- Page 14 Return Spring Adjustment The return spring is adjusted at the factory and should need further adjustment. adjustment is deemed necessary: 1. Unplug the machine from the power source. 2. Loosen two jam nuts (A, Figure 9). Do not remove. 3. Firmly hold the coil spring cover (B, Figure 4.
- Page 15 Basic Operation Always use a back-up piece of scrap wood to cover the table. This protects both the table and the drill bit. Place material to be drilled in such as way as to come into contact with the left side of the column.
- Page 16 Troubleshooting Trouble Probable Cause Remedy Drill press unplugged from wall, or Check all plug connections. motor. Drill press will not Fuse blown, or circuit breaker tripped. Replace fuse, or reset circuit breaker. start. Cord damaged. Replace cord. Starting capacitor bad. Replace starting capacitor.
-
Page 17: Replacement Parts
Trouble Probable Cause Remedy Bent drill bit Replace drill bit. Excessive drill bit Worn spindle bearings. Replace spindle bearings. runout or wobble. Bit, or chuck not properly installed. Reinstall the bit, or chuck properly. Quill returns too Spring has improper tension. Adjust return spring tension slowly, or too fast. -
Page 18: Jdp-17Mf Drill Press Assembly
JDP-17MF Drill Press Assembly... -
Page 19: Parts List
Parts List Index No. Part No. Description Size 1 ....10600111 ....Base ....................1 2A.... 12909001A1 ....Column and Holder Assy..............1 3 ....TS-1525021 ....Set Screw ............M10x12 ...... 1 5 ....TS-1491061 ....Hex Cap Bolt ............M10x40 ...... 4 6 ....10700605A1 ....Bracket ....................1 7 .... - Page 20 Index No. Part No. Description Size 66 .... BB-6205Z ....Ball Bearing..................2 67 .... 10706705 ....Collar ....................1 68 .... 10706802 ....Retaining Ring ..................2 69 .... 10606904 ....Pulley Set Nut ..................1 70 .... 10607018 ....Spindle Pulley ..................1 71 ....
- Page 21 Index No. Part No. Description Size 616 ..TS-1504051 ....Hex Socket Cap Screw ........M8x25......1 617 ..10761701 ....Set Ring ..................... 1 618 ..10661801 ....Circular Nut ..................1 634 ..TS-1551081 ....Lock Washer ............M12 ......1 700 ..TS-152704 ....Hex Wrench .............3MM ......1 701 ..
-
Page 22: Electrical Connections
Electrical Connections JDP-17MF ELECTRICAL SCHEMATIC - 115V STARTING CAPACITOR 200MFD 125 VAC ON / OFF SWITCH BLACK BLACK WHITE WHITE GREEN GREEN GROUND LAMP SWITCH BLACK BLACK WHITE BLACK LAMP JDP-17MF ELECTRICAL SCHEMATIC - 230V STARTING CAPACITOR 200MFD 125 VAC... - Page 24 WALTER MEIER (Manufacturing) Inc. 427 New Sanford Road LaVergne, Tennessee 37086 Phone: 800-274-6848 www.waltermeier.com...
Need help?
Do you have a question about the JDP-17MF and is the answer not in the manual?
Questions and answers