Sans Digital TOWERRAID TR5UT+(B) Quick Installation Manual
Hide thumbs
Also See for TOWERRAID TR5UT+(B):
- Detailed user's manual (48 pages) ,
- User manual (47 pages)
Advertisement
TOWERRAID
TR5UT+
QUICK INSTALLATION GUIDE
v1.0
Connection Diagram
FRONT
BACK
1
2
3
4
5
PC Link
1
2
3
4
5
POWER
Power ON/OFF: Push the power button located on the front panel to power on/off the unit.
RAID Setup
1. Select the desired RAID mode by setting the RAID switch on the back of the unit.
CLEAN LARGE CLONE
R0
R1/10
R3
R5
2. Turn on the 'Power' switch while holding down the 'Reset' switch for 5 secs to
complete RAID setup.
/10
R3
R5
Power switch
PC Link
POWER
NOTE: All hard drive data will be erased during RAID setup.
NOTE: Hot-spare is supported for RAID 1, 1+0, 5, and Clone. Please see Detailed User's
Manual for further instructions.
Page 3
(
B
)
Package Contents
Item
TR5UT+B / TR5UT+ ................................................................... 1
Removable Tray ..................................................................... 5
Power Cord ............................................................................ 1
USB 3.0 Cable ......................................................................... 1
eSATA Cable .......................................................................... 1
2 Port eSATA PCIe Adaptor .................................................. 1
Screws ..................................................................................... 1 set
Quick Installation Guide ........................................................ 1
CD Manual ............................................................................. 1
Please contact Sans Digital for missing or damaged items.
Installing PCIe Adapter Card to a Computer
Unplug AC power from computer before installation.
Insert the PCIe Card into an available PCIe slot (x1 /
x4 / x8 / x16) on your computer (Step 1) and secure
with screw (Step 2). Both PCIe 1.0 & 2.0 are compat-
ible, where 2.0 provides optimal performance.
Note: Please refer to CD for driver installation.
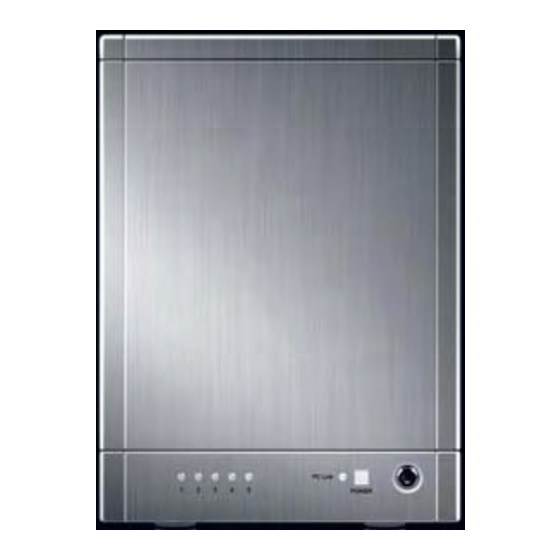
LED Indicators
PC Link
1
2
3
4
5
POWER
3
2
1
Optional RAID Monitoring Utility
COMPUTER REAR PANEL
The unit is embedded with hardware RAID, where no additional software is required.
Optional RAID monitoring utility is available for additional features such as email
notification and firmware update. Please refer to the CD manual for details on RAID
and advanced features.
SPANNING
A1
A10
A1
A2
A11
A2
A3
A12
A3
A4
A13
A4
A5
A6
A7
DISK 0
DISK 1
DISK 0
RAID 0
A1
A2
A1
A3
A4
A2
A5
A6
A3
A4
A7
A8
Reset switch
DISK 0
DISK 1
DISK 0
RAID system should not be use as a substitute for your data backups. A data backup
strategy should be implemented to fully protect your data assets.
Quantity
PC Link
1
2
3
4
5
POWER
QUICK
INSTALLATION
GUIDE
PCI-E Card
PCI-Express Slots
1. Power LED - Lights when unit is powered on.
2. PC Link LED - Lights when unit is connected
to computer.
3. HDD LEDs - Green: HDD is installed.
Blinking green: HDD is being accessed.
Red: Error. Flashing red: Rebuilding.
JBOD
RAID 5
A
B1
A1
A2
A3
p
B2
B1
B2
B
B3
p
C
B3
C1
C2
C3
p
B4
D
D1
D2
D3
p
B5
DISK 1
DISK 0
DISK 1
DISK 2
DISK 3
RAID 1
RAID (1+0)
A1
A1
A1
A2
A2
A2
A3
A3
A4
A4
A3
A5
A5
A6
A6
A4
A7
A7
A8
A8
DISK 1
DISK 0
DISK 1
DISK 2
DISK 3
Hard Drive Installation
1. Open the front hard drive panel of the unit.
2. Remove the hard drive trays by pushing the tray tab to the right and releasing the tray
handle.
PC Link
PC Link
1
2
3
4
5
POWER
1
2
3
4
5
POWER
3. Install each hard drive by placing them into the hard drive trays and securing them on
both sides with the included screws.
4. Place the trays back into the unit and lock them in place by pushing the tray handles in.
5. Close the front hard drive panel.
Other Sans Digital Products
• 5-Bay IDE / SATA Hard Drive Organizing Rack
• Designed with a 4.7" cooling fan and a hollow aluminum frame for
efficient heat dissipation.
• Designed with an ON/OFF power switch, which controls the power of
hard drives, when a 20-pin or 24-pin ATX power supply is connected.
• Expandable to 10-bay by stacking an additional unit on top and
HDDRACK5
HDDRACK5
securing it with a tool-less screw.
• 4-Bay External RAID Enclosure
• Access 4 hard drives while using only one cable.
• Provides RAID 5 protection with over 200MB/s in performance.
• Bundled with dual-port eSATA 6Gb/s PCIe 2.0 x1 RAID controller card.
• Supports JBOD and RAID modes on Linux, MAC and Windows;
supporting Windows 7 and Snow Leopard.
TR4M+B / TR4M+
• Available in black and silver finish.
• 5-Bay External RAID Enclosure
• Access 5 hard drives while using only one cable.
• Provides RAID 5 protection with over 200MB/s in performance.
• Bundled with dual-port eSATA 6Gb/s PCIe 2.0 x1 RAID controller card.
• Supports JBOD and RAID modes on Linux, MAC and Windows;
supporting Windows 7 and Snow Leopard.
TR5M+B / TR5M+
• Available in black and silver finish.
• 8-Bay External RAID Enclosure
• Two eSATA cables supporting up to 8 hard drives using Port Multiplier.
• Provides RAID 5 protection with over 200MB/s in performance.
• upports JBOD and RAID modes on Linux, MAC and Windows;
supporting Windows 7 and Snow Leopard.
• Bundled with dual-port eSATA 6Gb/s PCIe 2.0 x1 RAID controller card.
TR8M+B / TR8M+
• Available in black and silver finish.
T:
1.800.980.1988
F:
1.626.322.3878
E:
INFO@SANSDIGITAL.COM
W:
WWW.SANSDIGITAL.COM
PC Link
1
2
3
4
5
POWER
PC Link
1
2
3
4
5
POWER
Advertisement
Table of Contents


Need help?
Do you have a question about the TOWERRAID TR5UT+(B) and is the answer not in the manual?
Questions and answers