Table of Contents
Advertisement
Available languages
Available languages
Advertisement
Table of Contents

Related Manuals for Kicker DX250.1


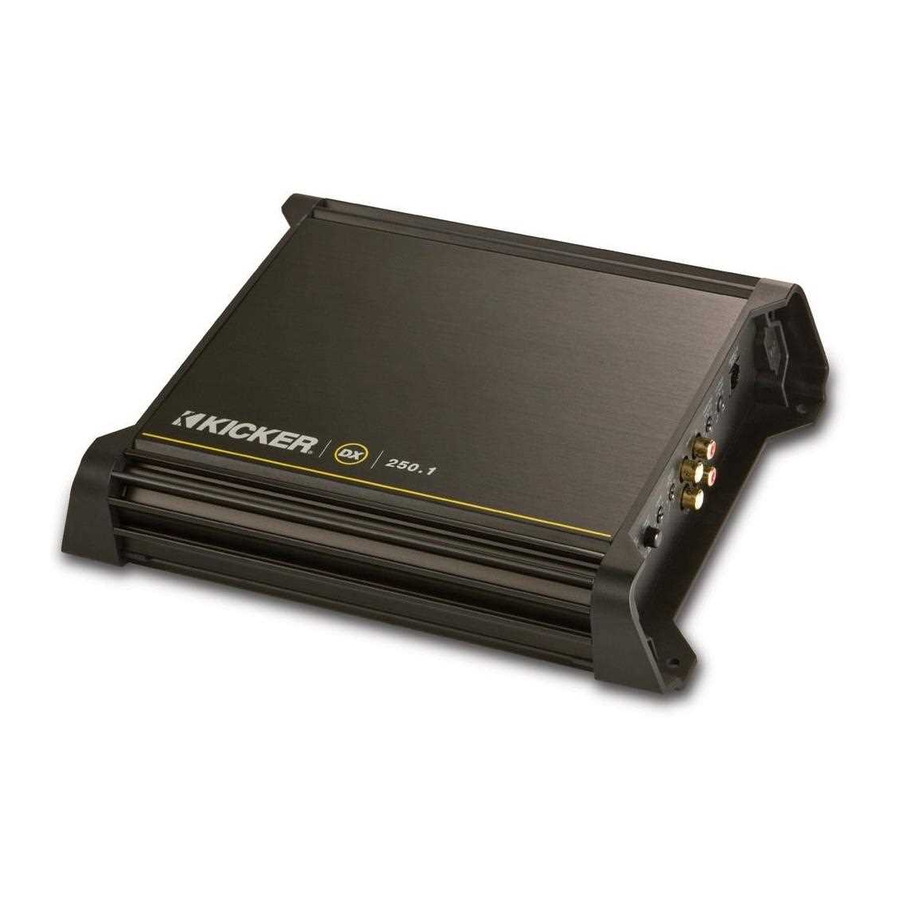
Summary of Contents for Kicker DX250.1
- Page 1 DX AMPLIFIER DX250.1 DX500.1 DX1000.1 English Version Versión Español Amplificador del la Serie DX.1 Deutsche Version Verstärker der DX.1-Serie Version Francaise Amplificateur de série DX.1 2011 DX Mono Amps RevI.indd 1 2011 DX Mono Amps RevI.indd 1 11/3/2010 1:29:20 PM...
-
Page 2: Installation
High Level: 250mV–10V Remote Bass Yes (not included) Pro Tip: To get the best performance from your new KICKER Amplifi er and extend the warranty by 1 year, use genuine KICKER accessories and wiring. INSTALLATION Mounting: Choose a structurally sound location to mount your KICKER amplifi er. Make sure there are no items behind the area where the screws will be driven. -
Page 3: Mono Operation
A high-level signal can be run from the source unit’s speaker outputs to the stereo RCA input on the end panel of the amplifi er using the KICKER ZISL as shown (make sure you set the DX amplifi... -
Page 4: Operation
Bass Boost Control: The variable bass boost control on the side of the amplifi er is designed to give you increased output, 0–12dB, at 40Hz (For the DX250.1, use the Bass Boost switch to toggle between 0 or +9dB). The setting for this control is subjective. If you turn it up, you must readjust the input gain control to avoid clipping the amplifi... -
Page 5: Troubleshooting
There is a Power Protection LED on the side power panel of your Kicker DX series amplifi er. Depending on the state of the amplifi er and the vehicle’s charging system, the LED will glow either Red or Green. When the green LED is lit this indicates the amplifi... - Page 6 The KICKER Coaxial and Component speakers are rated at four ohms (some DC Resistances may be as low as 3 ohms) and work with any amplifi er designed to operate at a four ohm load. If you want to use two KICKER Coaxial or Component speakers on a single channel of your amplifi...
-
Page 7: Instalación
Remoto Bajo Si ( vende por separado Nota: Para obtener el mejor rendimiento de sus nuevos amplifi cadores KICKER, le recomendamos que use accesorios y cableado KICKER auténticos. INSTALACIÓN Montaje: Escoja un lugar estructuralmente sólido para montar el amplifi cador KICKER. Asegúrese de que no haya nada por detrás de dónde van a entrar los tornillos. - Page 8 RCA del panel de extremo del amplifi cador o simplifi car la instalación mediante un ZISL KICKER como se muestra a continuación.
- Page 9 0 a 12 dB a 40 Hz (Seleccionable 0dB/9dB con DX250.1). La confi guración de este control es subjetiva. Si usted lo sube, debe volver a ajustar el control de amplifi...
-
Page 10: Resolución De Problemas
Hay un indicador luminoso LED de protección de alimentación en el panel lateral de su amplifi cador Kicker de la serie DX. Dependiendo del estado del amplifi cador y del sistema de carga eléctrica del vehículo, el indicador luminoso LED brilla de color rojo o verde. - Page 11 CC pueden llegar a 3Ω) y funcionan con cualquier unidad fuente o amplifi cador diseñado para funcionar con 4Ω de carga. Si desea utilizar dos altavoces de componente o coaxiales de KICKER en un solo canal de su amplifi cador, conéctelos en serie. Esto mejora la calidad del sonido, reduce la distorsión armónica total y disminuye la carga térmica en la unidad fuente o amplifi...
- Page 12 Fern Bass Ja ( ) Ja separat erhältlich Hinweis: Um das Maximum aus Ihrem neuen KICKER-Verstärker herauszuholen, sollten Sie echtes KICKER- Zubehör und KICKER-Kabel verwenden. INSTALLATION Befestigung: Wählen Sie für die Installation des KICKER-Verstärkers eine strukturell stabile Stelle. Vergewissern Sie sich, dass sich hinter der Einschraubposition der Schrauben nichts befi ndet. Wählen Sie eine Stelle, die mindestens 10 cm Lüftungsfreiraum für den Verstärker bietet.
-
Page 13: Mono-Betrieb
Hochpegel-Lautsprecherausgängen am Autoradio und verbinden Sie das Kabel mit den RCA-Eingängen an der Endplatte des Verstärkers, oder Vereinfachung der Installation, indem Sie ein KICKER ZISL wie unten gezeigt. Alternativ können Sie Ihre Quelle Einheit Cinch-Ausgänge zum DX Verstärker Cinch-Eingänge anschließen. -
Page 14: Betrieb
Bass-Boost-Regler: Der variable Bass-Boost-Regler an der Oberseite des Verstärkers ermöglicht einen verstärkten Bass von 0–12 dB bei 40 Hz (wählbar 0–9dB bei 40Hz mit DX250.1). Die Einstellung dieses Reglers erfolgt nach subjektivem Geschmack. Wenn Sie ihn höher einstellen, müssen Sie zurückgehen und den Eingangsverstärkungsregler anpassen, um ein Clipping zu vermeiden. -
Page 15: Problembehebung
Sicherungen, schlechte oder fehlerhafte Verkabelung, inkorrekte Einstellung des Crossover- Schalters und der Verstärkungsregler etc. An der Seite Ihres Verstärkers der Kicker DX-Serie befi ndet sich eine Stromschutz-LED. Je nach Betriebsstatus Ihres Verstärkers und des Ladesystems des Fahrzeugs leuchtet die LED rot oder grün auf. - Page 16 4 Ohm (manche Gleichspannungs-Widerstände können auch nur 3 Ohm betragen) und können mit jedem Verstärker zusammenarbeiten, der auf 4 Ohm ausgelegt ist. Wenn Sie zwei KICKER Koaxial- oder Komponentenlautsprecher an einem Kanal Ihres Lautsprechers verwenden wollen, müssen Sie diese in Reihe schalten.
- Page 17 Oui ( ) Oui vendu séparément Remarque : Pour optimiser les performances de votre nouvel amplifi cateur KICKER, il est conseillé d’utiliser des accessoires et des câbles KICKER d’origine. INSTALLATION Montage: Choisissez un emplacement de structure saine pour monter votre amplifi cateur KICKER. Assurez- vous que l’arrière de l’emplacement où...
- Page 18 fi l aux entrées RCA sur le panneau d’extrémité de l’amplifi cateur, ou de simplifi er l’installation avec une ZISL KICKER, comme indiqué ci-dessous. Alternativement, vous pouvez connecter les sorties de votre unité source RCA aux entrées de l’amplifi cateur DX RCA. Réglez le commutateur de niveau d’entrée sur le panneau d’extrémité...
- Page 19 0 à 12 dB à 40Hz (Sélectionnables 0–9dB @ 40Hz avec DX250.1). Le réglage de cette commande est subjectif. Si vous l’utilisez, vous devez revenir à la commande de gain d’entrée et la régler pour éviter la distorsion par écrêtage du signal de l’amplifi cateur.
-
Page 20: En Cas De Difficulté
fi ltre, etc. Une DEL de protection électrique est située sur le panneau latéral de votre amplifi cateur Kicker série DX. Selon l’état de l’amplifi cateur et du système de charge du véhicule, la DEL est éclairée en rouge ou vert. - Page 21 L’amélioration des graves indique que le haut-parleur était déphasé. Bruit de fond ? Les amplifi cateurs KICKER ont été étudiés pour être entièrement compatibles avec les unités de tête de tous les fabricants. Certaines unités de tête peuvent exiger une mise à la masse supplémentaire pour éviter toute interférence avec le signal audio.
- Page 22 ELECTRONICS LIMITED WARRANTY KICKER warrants this product to be free from defects in material and workmanship under normal use for a period of THREE (3) MONTHS from date of original purchase with receipt. When purchased from an Authorized KICKER Dealer it is warranted for TWO (2) YEARS from date of original purchase with receipt.
-
Page 23: International Warranty
Sea precavido cuando controle el volumen. La frase “combustible para vivir la vida Livin’ Loud™ a todo volumen” se refi ere al entusiasmo por la vida que la marca KICKER de estéreos de automóvil representa y a la recomendación a nuestros clientes de que vivan lo mejor posible (“a todo volumen”) en todo sentido. - Page 24 ©2010 Stillwater Designs 2011 DX Mono Amps RevI.indd 24 2011 DX Mono Amps RevI.indd 24 11/3/2010 1:29:35 PM 11/3/2010 1:29:35 PM...
Need help?
Do you have a question about the DX250.1 and is the answer not in the manual?
Questions and answers