Table of Contents
Advertisement
Advertisement
Table of Contents

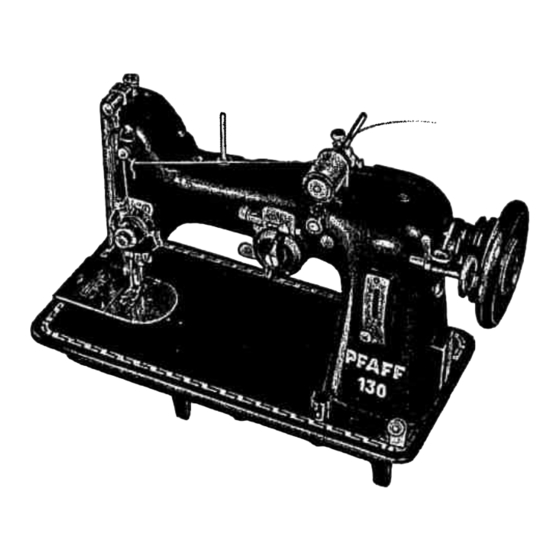
Summary of Contents for Pfaff 130-6
- Page 1 INSTRUCTION BOOK PFAFF 130-6...
- Page 4 Fig. 3 Fig. 2...
- Page 6 ‘4 Fig. 5 Fig. 4...
- Page 8 To protect presser foot and feed, never operate machine without placing fabric under the presser foot. With the cloth inserted and the presser foot lowered, turn the balance wheel toward you. At the same time, give a slight pressure with your knee against the knee control—or against the foot control on some portable models.
- Page 9 This is Fig. 11 It will (G), (Fig. 12), is Fig. 12 H (Fig. 12) is (Fig. 13) will lint still Ill, it will...
- Page 11 NO ATTACHMENTS ARE NEEDED for all normal sewing most types of fancy sewing. The PFAFF comes equip ped with hinged presser foot. 44088 (Fig. 14), which is used for these purposes. This should remain on your machine most of the time. To remove it,...
- Page 14 Fig. 22 An additional ornamental seam, parallel to the edging, adds a handsome effect. (Fig. 23). 21. Applique work Trace the design on both fabrics, with the cloth to be appliqued extending 1/16th inch beyond the edge of the design. Place the cutting on the fabric so that it corre Fig.
- Page 16 in Fig. 32, 41746, is This (Fig. 27). By (flg. Even hems are sewn by using hemming foot, Na. 41246, (Fig. 28), or with the larger hemming foot, No. 41248, (Fig. 29), with the machine set for straight zigzag stitch. With light ensian and medium-si zed zigzag stitches, the rolled edge of the fabric remains even and smooth.
- Page 17 25. Embreidering and darning Remove the presser foot and lower the feed. Raise the presser bar, place wire clamp (A) with its bent end around the shank of foot screw (13); and with the short end into hole (C) of the face plate. (Fig. 33). By lowering the presser bar lever, the thread tension is re-established.
- Page 19 Fig 37 Fig 36...
- Page 21 2. Timing of Ihe Hook Set zigzag dial on Position (widest stitch). Loosen ‘the two lack-screws of the hook and take off base, stop. Turn hand wheel until needle bar is on extreme left, and at the lowest point. Bring the point of the hook around to the needle.
- Page 22 13. To egUlcite pressure of the presser foot 14. Adjusting the tension of the threod controller spring 15. The needle 16. To lower the feed 17. Sewing on buttons 18. Buttonholes 19. Ornamental seams 20. Overedged hems 21. Applique work 22.


Need help?
Do you have a question about the 130-6 and is the answer not in the manual?
Questions and answers