Advertisement
Quick Links
Advertisement

Related Manuals for Hoover FUTURA S3509


Summary of Contents for Hoover FUTURA S3509
- Page 1 HOOVER. Owner's Manual _LJ"_LJr_/3_,_ Cleaner Review this manual before operating cleaner...
- Page 2 Fill in and retain The HOOVER vacuum cleaner you have just purchased is designed for carpet and floor cleaning and has cleaning tool== for other tasks. The model and serial number are located on the bottom of the cleaner. For your personal records, please enter the COMPLETE model and serial number In the spaces provided and retain this information.
- Page 3 Do not use with damaged cord or plug. if appliance is not working as it should_,hasbeen .d, roppedjd,_. ,_ed, left outdoors, or drop.pedinto water, taKe it to a Hoover Pactory _ervice L;enter or Authorized Hoover Warranty Service Dealer (Depot). •...
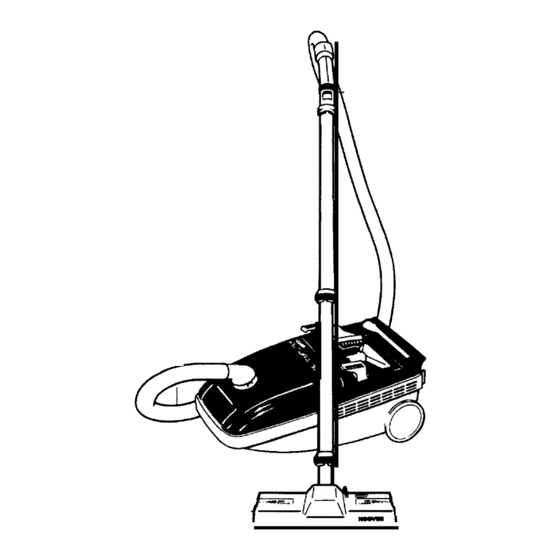
- Page 4 The assembled cleaner will look Unpacking like the drawing below. Unpack cleaner from carton and identify the parts shown. Remove and dispose of cardboard pacldngo A Canister cleaner B. Rug and floor nozzle C. Paper bag (Instaibd In canister) D. Extension wands and hose 17 16 15...
- Page 5 Deluxe wheeled rug and floor nozzle ( Some models have a deluxe rug and floor nozzle without wheels). Lig htwelg ht hose Spring latch on metal wands: locks extension wands together or locks wand to nozzle or tool. Plastic latch ring on plastic wands: see item #7. Extension wands: used with rug and floor nozzle.
- Page 6 How to assemble 1 .Connect hose With hose toward front of cleaner, push hose connector into opening in bag lid. To disconnect hose, depress buttons on hose connector and pull up. 2, Attach wands, tools and nozzle To attach hose to an extension wand or tool, turn plastic latch ring on hand grip until outer slot lines up with inner slot.
- Page 7 How to use To reduce the risk of electric shock, this appliance has a polarized plug (one blade is wider than the other). This plug will fit in a polarized outlet only one way. If the plug does not fit fully in the outlet, reverse the plug. If it still does not fit, contact a qualified electrician...
- Page 8 Check bag indicator (Available on some models) The indicator will begin to show red as bag fills with dirt. There are three conditions that will cause the indicator to become completely red: 1. The bag is full; change the bag. 2.
- Page 9 The wall/floor brush is available at a nominal cost rom your Authorized Hoover Dealer (Depot), a Hoover Factory Service Center )r by writing to The Hoover Company, North Canton, Ohio 44720. 1. Crevice tool may be used in...
- Page 10 For models with metal wands, attach tools to wand by pushing button projection on tool into spring latch on wand. Depress center of latch to remove. Storing cleaner The cleaning tools are conveniently stored on top of the cleaner, as shown.
- Page 11 When the cleaner is used to remove material of this nature, change the bag often. What bags to buy Use HOOVER bag type S with this cleaner. To assure that your HOOVER cleaner Hoover® operates at peak performance,...
- Page 12 OPENING SEAL 4. Push rear edge of bag into bag 3. Form new bag into a box-like shape. Slide bag collar firmly into cavity below seal. holder. Clear bag opening by pushing the pierced paper through opening toward bag interior. Do not tear off paper.
- Page 13 See your nearest Hoover Factory Service Center or Authorized Warranty Service Dealer (Depot) for new brushes. Lubrication The motor is equipped with two bearings...
- Page 14 Do not send your cleaner to The Hoover Company in North Canton for service as this will only result in a delay. complete Always identify your cleaner by the model number when requesting...
- Page 15 HOOVER and_ are registered trademarks THE HOOVER COMPANY, NORTH CANTON, OHIO 44720 R2 1 1-93 $3509/1 I/I 5/1 9 Litho USA 56513-303...
Need help?
Do you have a question about the FUTURA S3509 and is the answer not in the manual?
Questions and answers