Table of Contents
Advertisement
Quick Links
ProSeal Instructions for All Olympus XA style Cameras
Please read these instructions completely before you start.
Knowledge will increase your
confidence, and like most jobs, this is better done right the first time. I've tried to keep things
as easy and logical as possible while still providing a great amount of detail for you. Sealing your
camera is one of the best ways to restore it to like-new performance, and these are excellent
cameras. You have been given this set of instructions for any of several reasons. You should
have already read and understood the general directions which accompany my light seal kits.
You may need: (1) a safe surface to work on—cardboard, fiberboard, newspaper or anything else
handy—it is important to protect the surface beneath you. (2) Solvent. Naphtha (cigarette
lighter fluid) or denatured alcohol are my two favorites. (3) 2 or 3 paper towels. (4) some
toothpicks or your bamboo tool—a wooden cuticle stick is also handy. (5) a safety razor blade,
hobby knife, or small scissors and a metal straightedge. (6) a small screwdriver (7) a pair of
tweezers.
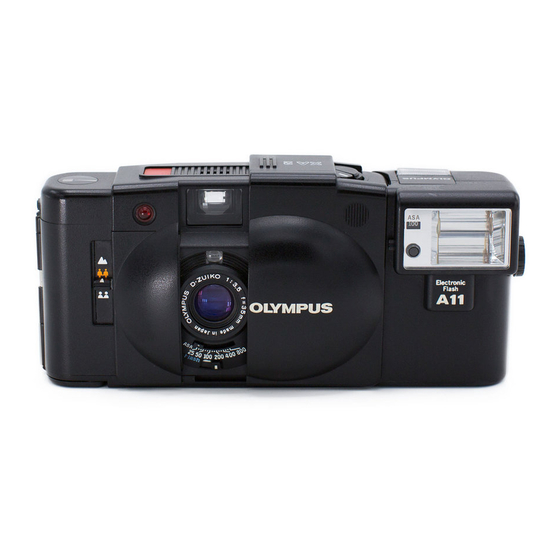
Now, let's discuss the differences between the different XA styles.
Please
understand it is not uncommon to find variations of light seal design or application within the
same style. The images below represent what I've observed as the most commonly occurring
light seal architecture within each XA model style or group:
~~XA Model~~
~~XA1 and XA2 Models~~
Advertisement
Table of Contents

Related Manuals for Olympus XA1


Summary of Contents for Olympus XA1
- Page 1 ProSeal Instructions for All Olympus XA style Cameras Please read these instructions completely before you start. Knowledge will increase your confidence, and like most jobs, this is better done right the first time. I’ve tried to keep things as easy and logical as possible while still providing a great amount of detail for you. Sealing your camera is one of the best ways to restore it to like-new performance, and these are excellent cameras.
- Page 2 Please note the latch end seal is the same for all XA styles. ~~What Kind Of Seal Material Should I Use?~~ The Olympus XA cameras were designed with very close and precise tolerances. It is important to respect those tolerances when choosing a seal material. You may use 1mm self-adhesive fabric, 1mm self-adhesive foam, but please do not exceed a thickness of 1mm with any style of material in the XA, XA1 or XA2.
- Page 3 To the left, a visual example of how I remove the pressure plate in the first series XA models. Gentle pressure until you feel a “click.” It will replace in the opposite fashion. Now, if you have model XA, XA1 or XA2 and you want to go one step further and remove the film door entirely, here’s how I do that: First, look at the bottom plate of your camera…...
- Page 4 much skin contact or contact with eyes, and don’t drink it. After you clean the old seal from the film door, you’ll need to also clean the old foam off at the latch end seal. This is done the same way. I run a toothpick or bamboo skewer through this channel, and sometimes I will use tweezers to lift old material away, too.
- Page 5 trim the strip so it stops at the reset lever. Repeat this procedure for the part of the slot starting at the film frame reset and extending to the hinge end. If needed or desired, repeat this procedure for the bottom rail slot. Now, with a blunted toothpick trace the seal’s length, pressing it gently down into its slot to seat it.
- Page 6 Once the latch end piece is totally dry (30 minutes or so), press it against the film door to seal For those of you with first series XA models (XA, XA1 or XA2), you may now replace your pressure plate. First I slide the left hand slot beneath its retaining button and next I carefully position the opening over the other retaining button and push gently downward from the top until I hear or feel it click into place.
- Page 7 ~~Let’s measure the hinge end to body gap~~ XA, XA1 and XA2 models shown in this demonstration How do we know what the actual thickness of the gap is in a camera? How do we measure that accurately so we’ll know just which seal material will work best for us? Here’s a method I’ve used for several years.
Need help?
Do you have a question about the XA1 and is the answer not in the manual?
Questions and answers