Advertisement
...2-4
.... 4-5
)ns ............. 5=6
............... 6
....................
7
Adjusting
Your Oven
(some models) ............ 8
General
Care & Cleaning
......... 8-10
........................
11
Warranty
.........................
Back Page
READ AND
SAVE THESE
INSTRUCTIONS
p/n 316417024
rev A (0605)
Advertisement

Related Manuals for Frigidaire FEF326FBF


Summary of Contents for Frigidaire FEF326FBF
-
Page 1: Table Of Contents
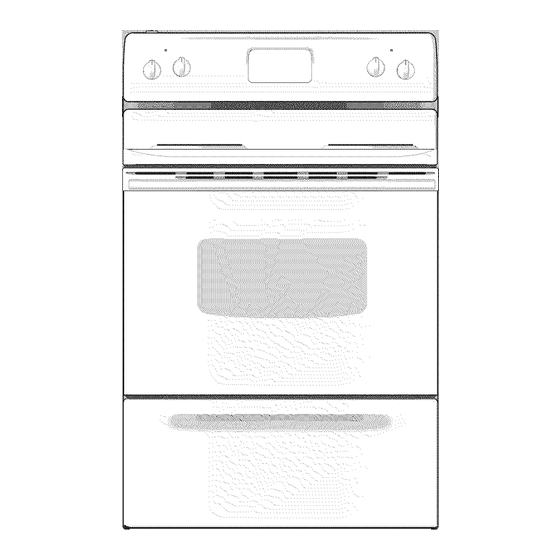
...2-4 ..4-5 )ns ..... 5=6 Controls ....6 ng Oven Controls ....Adjusting Your Oven Temperature (some models) .... 8 General Care & Cleaning ..8-10 Before You Call Solutions to Common Problems ......Warranty ......Back Page READ AND SAVE THESE INSTRUCTIONS p/n 316417024... - Page 2 Welcome & Congratulations Congratulations on your purchase of a new range! At Electrolux Home Products, we are very proud of our product and are completely committed to providing you with the best service possible. Your satisfaction is our number one priority. We know you'll enjoy your new range and Thank You for choosing our product.
- Page 3 * Wear Proper Apparel--Loose-fitting or hanging garments should never be worn while using the appliance. Do not let clothing or other flammable materials contact hot surfaces. • All ranges can tip. * Do Not Use Water or Flour on Grease Fires--Smother the fire o injury to persons could result.
- Page 4 IMPORTANT INSTRUCTIONS FOR USING YOUR IMPORTANT INSTRUCTIONS FOR CLEANING OVEN YOUR RANGE ,, Use Care When Opening Oven Door or Warmer Drawer (if Clean the range regularly to keep all parts free of grease that equipped)--Stand to the side of the range when opening the door could catch fire.
- Page 5 Before Setting Oven Controis Arranging Oven Racks Rack positions To bake on a single rack, place the rack on position 2 or 3. To bake on 2 racks, place the racks on positions 1 & 3. Recomended Rack Positions for Broilinq, Baking &...
-
Page 6: Controls
Note:Thetimeofdaymustfirstbesetinorder t ooperate theoven. Changing the Temperature Display Mode (some models) The electronic oven control temperature display mode was factory preset to display (Fahrenheit) °F oven tempertaures. Note: Oven cooking temperatures may be set from 170°F to 550°F (77°C to 287°C). To change the Temperature Display Mode to °C (Celsius) or from °C to °F (do not use Bake or Broil while changing... -
Page 7: Ng Oven Controls
Setting Oven Controls Note: The time of day must first be set in order te operate the oven. Change the Temperature for Baking To Set or The oven can be programmed to bake at any temperature heating to the selected temperature. When the from 170°F to 500°F. - Page 8 Adjusting You,'O...e,. me,..pe,'.t.,,'e .omorno Your new oven has been factory calibrated and tested to ensure an accurate baking temperature. For the first few uses, follow your recipe times and temperature recommendations carefully, if you feel your oven is too hot or too cool from your baking experience, the oven temperature may be adjusted to your liking.
- Page 9 (Cleaning Chart cont!d) Surfaces How to Clean Oven Racks Remove racks• See "Removing & Replacing Oven Racks" under Before Setting Oven Controls• Use a mild, abrasive cleaner, following the cleaner's recommendations• Rinse with clean water & let dry. After cleaning the racks, rub the sides of the racks with wax paper or a cloth containing a small amount of baby oil or salad oil (this will make the racks glide easier into the oven rack positions)•...
- Page 10 Cleaning Oven Bottom The bake element is designed to be gently tilted up using your hand from the front of The baking the bake element. This will allow easier access to the oven bottom for cleaning. Be element careful not to raise the element more than 4 or 5 inches from the resting position. may be tilted about 4 or 5 Cleaning...
-
Page 11: Before You Call
Solutions to Common Problems Before you call for service, review the following list. It may save you time & expense. The list includes common occurrences (shown in bold) that are not the result of defective workmanship or materials in this appliance. The possible corrections to these problems are provided with the problem... - Page 12 Your appliance is covered by a one year limited warranty. For one year from your original date of purchase, Electrolux will pay all costs for repairing or replacing any parts of this appliance that prove to be defective in materials or workmanship when such appliance is installed,...
Need help?
Do you have a question about the FEF326FBF and is the answer not in the manual?
Questions and answers