Table of Contents
Advertisement
Part No. 70262C
(11/03)
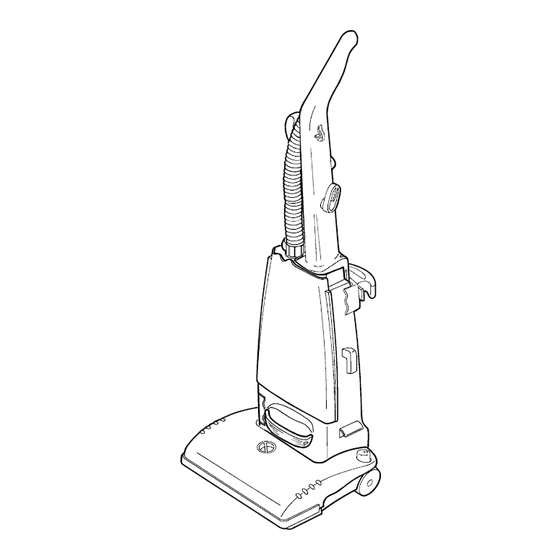
Upright Vacuum Cleaner
4320 – 4370 Series
4440 – 4470 Series
IMPORTANT
Do not return this product to the store.
For assembly problems or questions
contact: Eurekaʼs Customer Service
Division toll free at 1-800-282-2886*,
8 a.m. to 7:30 p.m., (CST), Monday -
Friday and 10 a.m. to 6:30 p.m. Saturday.
*En Mexico llame al 5670-6169
www.eureka.com
P LE AS E RE TAIN
We suggest you record the model, type and serial
numbers below. They are located on the silver rating
plate on your cleaner. For prompt and complete
service information, always refer to these numbers
when inquiring about service.
Model & Type___________________________
Serial No.______________________________
It is also important to keep your receipt as proof of
date of purchase.
©2003 White Consolidated Ltd.
Household Type
Ownerʼs Guide
Printed in U.S.A.
Advertisement
Table of Contents

Related Manuals for Eureka 4320-4370 Series


Summary of Contents for Eureka 4320-4370 Series
-
Page 1: Upright Vacuum Cleaner
4440 – 4470 Series IMPORTANT Do not return this product to the store. For assembly problems or questions contact: Eurekaʼs Customer Service Division toll free at 1-800-282-2886*, 8 a.m. to 7:30 p.m., (CST), Monday - Friday and 10 a.m. to 6:30 p.m. Saturday. -
Page 2: Table Of Contents
• Use only as described in this manual. Use only manufacturerʼs recommended attachments. • Do not use with damaged cord or plug. If vacuum cleaner is not working as it should, has been dropped, damaged, left outdoors, or dropped into water, return it to a service center before using. -
Page 3: General Information
The instructions in this booklet serve as a guide to routine maintenance. For additional service information telephone our toll free number for the nearest Eureka Authorized Warranty Station. You should know the model, type and serial numbers when you call: If you prefer, you can write to: The Eureka Company, Service Division, 807 North Main Street, Bloomington, Illinois 61701, USA. - Page 4 Step B Attach Handle CAUTION: Do not catch cord under handle. Groove 4. From rear of cleaner, align handle with groove and slide onto cleaner. If necessary, use thumb and finger pressure to slide handle into position. 5. Once handle is in place, check that the hose adapter tab is completely secure under the ledge of the handle.
-
Page 5: How To Use
6. After 30 minute cool down period, plug the cleaner in and push the switch pedal. The cleaner should turn on. 7. If the cleaner still does not operate, take it to any Eureka Authorized Service Center for repair. Cord Retainer... -
Page 6: Accessories
NOTE: Do not place cleaner on furniture or steps as the brush roll may cause damage. Place cleaner on floor with the handle in storage position while using accessories. Always work with the cleaner below you, pulling hose from side of cleaner; not the back or the front of the cleaner. -
Page 7: How To Replace Brush Roll Belt
6. Place belt around brush roll pulley. 7. Align left end cap with square in base. Push end cap into place; see left side view. Use GENUINE EUREKA replacement belt, 54312. Look for the GENUINE EUREKA product symbol. Motor Pulley Belt... -
Page 8: Dust Bag
How to Check and Clear Hose Blockages Low suction or poor pickup may be due to a blockage in the vacuum cleaner. 1. Remove hose and check suction at end of hose - if little or no suction, check disposable dust bag. - Page 9 Filter Frame plus filter (depending on your vacuum model)
-
Page 10: The Eureka Company
The Eureka Company Will Do The Eureka Company will, at its option, repair or replace a defective cleaner or cleaner part that is covered by this warranty. As a matter of warranty policy, the Eureka Company will not refund the consumerʼs purchase price. -
Page 11: Light Bulb
(continued) How To Change Light Bulb NOTE: Turn off the power switch and disconnect the electrical cord before changing light bulb. 1. Lower handle. Remove two screws from lens cover. 2. Pull lens cover from cleaner. 3. Pull light bulb and socket toward front. 4.
Need help?
Do you have a question about the 4320-4370 Series and is the answer not in the manual?
Questions and answers