Advertisement
Available languages
Available languages
Quick Links
Operator's
Manual
CRRFTSMRN
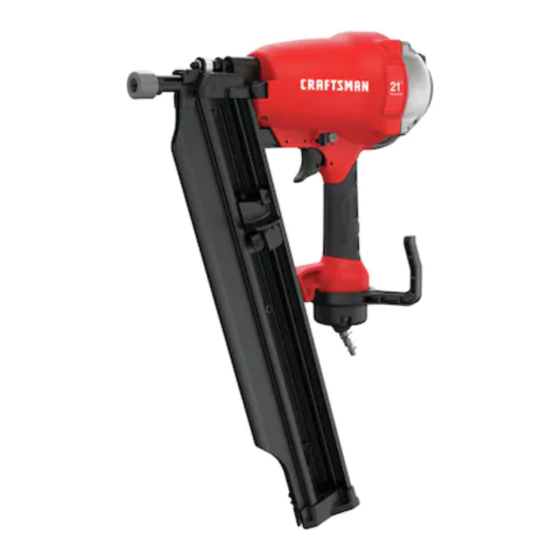
2 - 3112 " Length
FULL HEAD ANGLE FRAMING NAILER
Model No. 351.184360
CAUTION:
Read and follow all Safety
Rules and Operating
Instructions
before First
Use of this Product.
• Safety
• Operation
• Maintenance
• Parts List
• Espa_ol
Sears, Roebuck and Co., Hoffman Estates, IL 60179 U.S.A.
www.sea rs.com/craftsma n
17356.01 Draft (08/26/02)
Advertisement

Related Manuals for Craftsman 351.184360


Summary of Contents for Craftsman 351.184360
- Page 1 Operator's Manual CRRFTSMRN 2 - 3112 " Length FULL HEAD ANGLE FRAMING NAILER Model No. 351.184360 • Safety CAUTION: • Operation Read and follow all Safety • Maintenance Rules and Operating Instructions before First • Parts List Use of this Product. •...
-
Page 2: Specifications
DESCRIPTION EspaSol ........10-14 The Craftsman Full Head Framing Nailer drives nails from .113" to .131" diameter and from 2" to 3'/2" long. Magazine is angled at 21 ° for nailing in tight spots such as when toenailing. High strength magnesium body and aluminum components are... - Page 3 Afilter-regulator-lubricator system isrequired and should b e • Different workpiece materials anddifferent fastener lengths located a sclose totool a spossible (see Figure 1 ,page 3 ). will r equire d ifferent operating pressure. Adistance oflessthan15feetisrecommended. • Besureallconnections inairsupply s ystem aresealed to Keep airfilter clean.
- Page 4 The tool c analso beoperated byholding t rigger depressed TRIGGER LOCK andpushing contact tripagainst workpiece. This operating The tool is equipped with a safety switch that prevents operation procedure provides rapid-fire fastener driving. Never oper- of the tool. The switch is located inside the trigger assembly atetool u nless c ontact tripisincontact with workpiece.
-
Page 5: Safety Mechanism
° Leave trigger untouched while pushing contact trip into workpiece. Tool must not fire. ° Pull trigger while contact trip is clear of work and pointed Refer to Figure 7 (page 8). away from operator and others. Tool must not fire. LUBRICATION °... - Page 6 SYMPTOM POSSIBLE CAUSE(S) CORRECTIVE ACTION Trigger cap leaks air 1. O-ring damaged 1. Check and replace damaged O-ring (Fig. 7, No. 38) 2. O-rings damaged 2. Check and replace damaged O-rings (Fig. 7, Nos. 27, 29, 30, 32, 33, 36 and 38) Cap leaks air 1.
- Page 7 NOTES...
- Page 8 Model 351.184360 Figure 7 - Replacement Parts Illustration 2----_ 10__ 56-----__ 57_-:_,.- 58 j_" 60/_ 61_" _"" 44...
- Page 9 PART PART DESCRIPTION QTY. DESCRIPTION QTY. 08045.00 5-0.8 x 20mm Socket Head Bolt 17437.00 Spring 17415.00 17438.00 Throttle Switch Bushing 17418.00 Deflector 06088.00 4-0.7 xl0mm Socket Head Bolt 01097.00 6-1.0 x 35mm Socket Head Bolt 17439.00 Guide STD851006 6mm Flat Washer* 17440.00 Ram Guide 17417.00...
- Page 10 Identificaci6n de Problemas ......La clavadora de armadura de cabeza completa Craftsman clava clavos de 0,113" a 0,131" de didtmetro y de 2" a 372" de Iongitud. El dep6sito viene en un Angulo de 21° para clavar en espacios estre- chos tales como cuando se hacen clavaduras oblicuas.
- Page 11 LINEA DE SUMINISTRO DE AIRE Mantenga limpio el fiitro de aire. Un filtro sucio reduce la pre- si6n de aire que se suministra al clavador y provoca Refi@rase a la Figura 1 (pagina 11). reducci6n de la potencia y la eficiencia. La herramienta de aire opera con aire comprimido a pre-...
- Page 12 La herramienta tambien se puede operar manteniendo BLOQUEO DEL GATILLO gatillo presionado y empujando el disparador de contacto con- El bloqueo viene equipado con un interrupter de seguridad tra la pieza de trabajo. Este procedimiento de operaci6n per- evita la operaci6n de la herramienta.
- Page 13 No toque el gatillo mientras empuja el disparador de contacto en la pieza de trabajo. La herramienta no se debe disparar. Apriete el gatillo mientras el disparador de contacto est6. fuera Refi@ase a la Figura 7 (pagina del trabajo y apuntando alejandose del operador y de los...
- Page 14 MEDIDAS CORRECTIVAS SINTOMA CAUSA(S) POSIBLE(S) La tapa del gatillo tiene 1. Anillo O dahado 1. Verifique y reemplace el anillo O da_ado fugas de aire (Fig. 7, No. 38) 2. Los anillos O estan dahados 2. Revise y cambie los anillos O dahados (Fig.
- Page 15 NOTAS...
- Page 16 Your Home For repair-in your home-of all major brand appliances, lawn and garden equipment, or heating and cooling systems, no matter who made it, no matter who sold it! For the replacement parts, accessories owner's manuals that you need to do-it-yourself. For Sears professional installation of home appliances...
Need help?
Do you have a question about the 351.184360 and is the answer not in the manual?
Questions and answers