Table of Contents
Advertisement
owner's manual
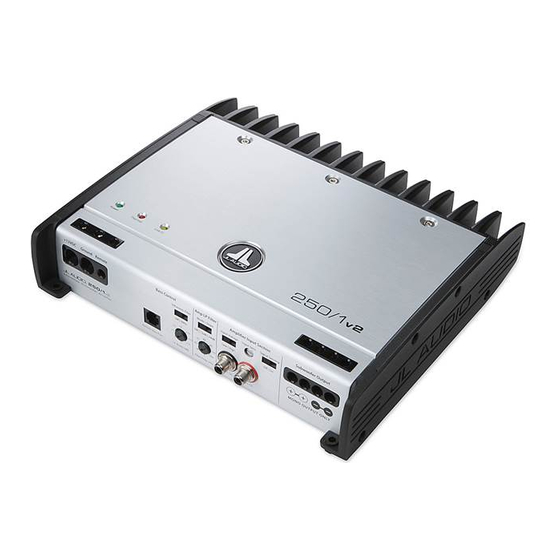
monoblock subwoofer amplifier
Thank you for purchasing a JL Audio amplifier for
your automotive sound system.
Your amplifier has been designed and manufactured to exacting
standards in order to ensure years of musical enjoyment in your vehicle.
For maximum performance and extended warranty
coverage, we highly recommend that you have your new amplifier
installed by an authorized JL Audio dealer. Your authorized
dealer has the training, expertise and installation equipment to ensure
optimum performance from this product. Should you
decide to install the amplifier yourself, please take the time
to read this manual thoroughly so as to familiarize yourself
with its installation requirements and setup procedures.
If you have any questions regarding the instructions in this
manual or any aspect of your amplifier's operation, please contact your
authorized JL Audio dealer for assistance. If you need further assistance,
please call the JL Audio Technical Support Department
at (954) 443-1100 during business hours.
Advertisement
Table of Contents

Summary of Contents for JL Audio 250/1v2
- Page 1 If you have any questions regarding the instructions in this manual or any aspect of your amplifier’s operation, please contact your authorized JL Audio dealer for assistance. If you need further assistance, please call the JL Audio Technical Support Department...
-
Page 2: Installation Applications
Your JL Audio amplifier employs an which does not interfere with your vehicle’s safety such high sound pressure levels when connected Do not attempt to “bridge” the outputs of this... -
Page 3: Product Description
The surface of the sheet metal should speakers or tweeters. Every aspect of its hardware (use of the JL Audio ECS master be sanded at the contact point to create a clean, operation has been optimized for low-frequency ground lug, XB-MGLU is recommended). - Page 4 “Signal Sensing” switch in the “Amplifier position. This should only be done if there is to mono for the internal amplifier section. JL Audio ECS Speaker Wire to RCA adaptor Input Section”. The 250/1v2’s “Remote” no conventional turn-on lead connected to the (XB-CLRAIC2-SW).
-
Page 5: Crossover Controls
30 Hz. This filter is designed to conserve amplifier power and protect external active crossover. subwoofer systems without audibly affecting the sub-bass output. With ported enclosures, the use of the infrasonic filter is highly 8 | JL Audio - 250/1 Owner’s Manual... - Page 6 You will notice that there are two top of the amplifier. These are as follows: that it may be sent in to JL Audio for service. supply allows the amplifier to produce “+” positive connections and two “–” negative...
- Page 7 05 . . . . . . . . . . . . . . . . . . . . . . . . . . . . 4 3 JL Audio amplifier will always deliver the to measure one channel.
- Page 8 Check the output of the amplifier. Using the procedure explained in is driving a load between 1.5 - 4Ω. JL Audio monoblock amplifiers have two “+” positive connections and two the previous check item (after plugging the input cables back “–”...
- Page 9 Use this diagram to document your amplifier’s switch and control positions. 16 | JL Audio - 250/1 Owner’s Manual...
- Page 10 18 | JL Audio - 250/1 Owner’s Manual...
- Page 11 - amPliFiers (usa) JL AUDIO warrants this product to be free of defects in materials and workmanship for a period of ninety (90) days from the original date of purchase. The warranty term is extended to two (2) years if installation is performed or approved by an authorized JL AUDIO dealer (proof of installation or approval required on purchase receipt).


Need help?
Do you have a question about the 250/1v2 and is the answer not in the manual?
Questions and answers