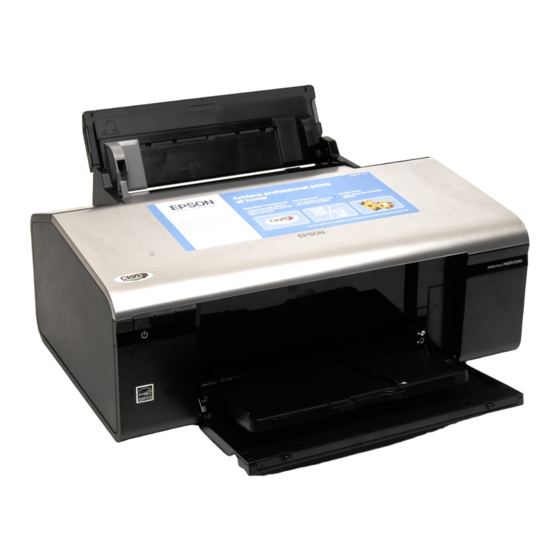
Epson Stylus Photo R290 Instructional Manual
Continuous ink system for printer
Hide thumbs
Also See for Stylus Photo R290:
- Start here (4 pages) ,
- Specifications (2 pages) ,
- Service manual (129 pages)
Advertisement
Instructional Manual Continuous Ink System for use in Epson Stylus Photo R290 Printer
Before using this product, please read and follow the instructions carefully.
Conduct Parts Check:
1. Accessories
a. Continuous Ink System (1)
c. T shape Adhesive Pad (1) & square adhesive pad (2) d. Plastic tube (1)
Fig. 1-1
2. Set-Up Continuous Ink System (CIS)
a. Before installation, lay out all your parts in front of your printer .
b. Check your system for any leakage, and make sure your tubing system is tightly connected and straight.
c. Place the CIS ink tank on the same horizontal level as printer, The ink tank has two chambers per color, the front
chamber is to hold the ink and the rear chamber is to control the flowing pressure.
contains only a small amount of inks(as little as possible). The ink should reside in the front chamber.
tank plugs are tightly closed, tilt the ink tank forward to make the majority of the ink flow into the front chamber if the
rear chamber has some excess ink. (Fig. 2-1 through Fig. 2-3).
d. Place the CIS on the right hand side of the printer as shown (Fig.2-4),
e. Hold down the ink tank with one hand and unplug the original air stoppers as shown (Fig.2-5), make sure to save
these for later use.
f. Install the Air Breather wider part into the ink reservoir tank, making a snug fit (Fig.2-6).
Caution: Make sure not to push the breathers too tight as it could crack the tank. Also when removing the air breathers
from the tank use caution to avoid cracking.
Fig 2-1
Fig.2-4
3. Cartridge Installation
a. Unplug the printer power.
b. Use the screwdriver to remove the cartridge carrier cover. (Fig 3-1).
c. Then move the cartridge compartment to the left hand side of printer. (Fig. 3-2).
d. Ensuring that the colors correspond, push the cartridges all the way down in compartment just as you would do with
the original cartridges (Fig.3-3).
e. Then move the cartridge compartment to the right hand side of printer. (Fig. 3-4).
b. Air breather plugs (6) & Syringe (1) &Screwdriver (1)
Fig. 1-2
Fig 2-2
Fig.2-5
Fig.1-3
It is important that the rear chamber
and keep it at the same level as the printer.
Fig 2-3
Fig.2-6
Make sure the ink
2008-8-14 13:38 PM
Advertisement
Table of Contents

Related Manuals for Epson Stylus Photo R290


Summary of Contents for Epson Stylus Photo R290
- Page 1 Check your system for any leakage, and make sure your tubing system is tightly connected and straight. c. Place the CIS ink tank on the same horizontal level as printer, The ink tank has two chambers per color, the front chamber is to hold the ink and the rear chamber is to control the flowing pressure.
- Page 2 Adjust tubing between cartridge compartment and tube guide to correct length; allowing enough room for the cartridge to move back and forth freely ,making sure the tubes are not twisted and are straight (Fig.4-2). e. Insert the plastic tube into the sensor slot for the cover on the printer as shown (fig. 4-3). Fig 4-1 d.
- Page 3 2. When you are printing do not move the ink tank up or down. Keep it stable and at the same level as the printer. 3. Store at 15-35 degrees Celsius.
- Page 4 If the ink tank is full of ink computer shows a message “Replace Cartridge”, That the cartridges are empty. The printer keeps track of how much ink is being used and thinks that the cartridge should be empty so you will have to reset the cartridges chips.
Need help?
Do you have a question about the Stylus Photo R290 and is the answer not in the manual?
Questions and answers