Table of Contents
Advertisement
Quick Links
Advertisement
Table of Contents

Summary of Contents for Franke FFPD100 SERIES
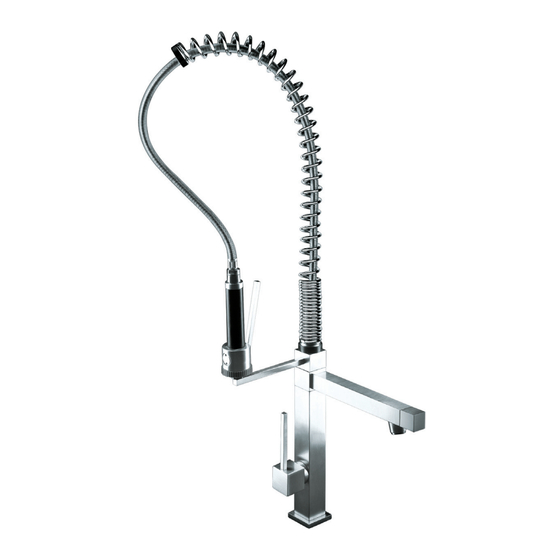
- Page 1 FFPD100 SERIES Swivelling spout faucet with spray head Installation guide...
- Page 2 TECHNICAL DATA · Minimum working pressure 0,5 bar · Maximum working pressure 5 bar · Recommended working pressure 3 bar (in case of water pressure higher than 5 bar it is recommended to install pressure reducers) · Maximum working temperature 70°C G 01648 G 01735 G 28734.XX...
- Page 3 Faucet installation Please remove all components from package and inspect prior to installation (see itemized table and picture). NOTE: Call us immediately if you see inconsistencies. (1-800-626-5771) or visit www.frankeksd.com TABLE OF CONTENTS Faucet Wall fastening set Wall flange (over the sink) Wall flange (under the sink) Fastening set (rubber washer, triangular flange, metal washer, nut) Non-return valves...
- Page 4 2. Remove all mounting hardware from protecting plastic bag. 3. Place the large O-ring over the faucet shank and place the faucet into the desired location. NOTE: the rubber O-ring should be sitting on top of the countertop and between the faucet body.
- Page 5 7. The body can be fixed both onto the wall and on surface: . 1. Screw the fixing rail onto the single lever body. 2. Insert it completely in the given plate. 3. Place the single lever body into the sink hole made at a certain distance from the wall.
- Page 6 Standard maintenance and trouble shooting Cleaning of the spray head Any deposits which may accumulate on the nozzle can be removed by simply running a finger over the rubber extrusions and then running the water for a few seconds. In extreme cases this step may have to be repeated.
- Page 7 Replacing the Headvalve 1. Shut off the water supply to the faucet. 2. Open the faucet briefly to relief any pressure inside the faucet. 3. Move the faucet knob to the “OFF” position. 4. Use a the provided allen key to loosen the set screw which is accessible from the back of the handle.
- Page 8 Limited lifetime warranty Franke Consumer Products, Inc., Kitchen Systems Division extends the following warranty to the origi- nal purchaser of its faucets effective January 1, 2003. All faucets installed in a private residence will carry a limited lifetime warranty on all mechanical parts to be free of manufacturing defects in material and workmanship under normal usage.


Need help?
Do you have a question about the FFPD100 SERIES and is the answer not in the manual?
Questions and answers