
Related Manuals for Zanussi ZRT623W


Summary of Contents for Zanussi ZRT623W
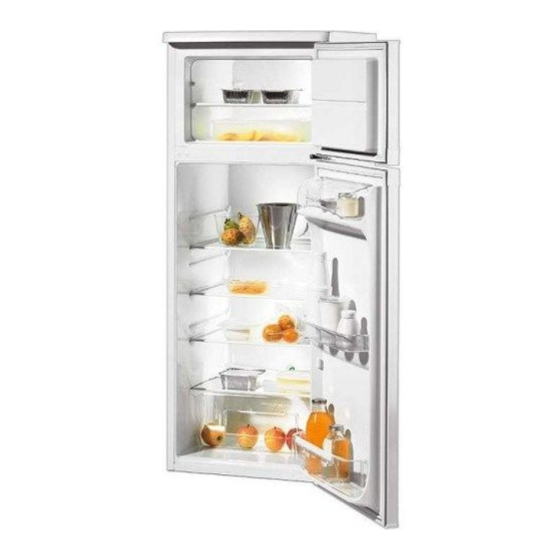
- Page 1 User manual Fridge Freezer ZRT623W...
-
Page 2: Table Of Contents
Contents Safety information _ _ _ _ _ _ _ _ _ _ _ _ _ _ _ _ _ _ 2 Care and cleaning _ _ _ _ _ _ _ _ _ _ _ _ _ _ _ _ _ _ 6 Operation _ _ _ _ _ _ _ _ _ _ _ _ _ _ _ _ _ _ _ _ _ _ 4 What to do if…... - Page 3 2. Make sure that the power plug is not squashed or Care and cleaning damaged by the back of the appliance. A squashed • Before maintenance, switch off the appliance and dis- or damaged power plug may overheat and cause a connect the mains plug from the mains socket.
-
Page 4: Operation
Environment Protection insulation foam contains flammable gases: the appliance shall be disposed according to the applicable regulations This appliance does not contain gasses which could to obtain from your local authorities. Avoid damaging the damage the ozone layer, in either its refrigerant cir- cooling unit, especially at the rear near the heat exchang- cuit or insulation materials. -
Page 5: Helpful Hints And Tips
Thawing Positioning the door shelves Deep-frozen or frozen food, prior to being used, can be thawed in the refrigerator compartment or at room temper- To permit storage of food ature, depending on the time available for this operation. packages of various sizes, Small pieces may even be cooked still frozen, directly the door shelves can be from the freezer: in this case, cooking will take longer. -
Page 6: Care And Cleaning
Hints for freezing • water ices, if consumed immediately after removal from the freezer compartment, can possibly cause the skin to To help you make the most of the freezing process, here be freeze burnt; are some important hints: • it is advisable to show the freezing in date on each in- •... -
Page 7: What To Do If
6. Set the temperature regulator to obtain the maximum coldness and run the appliance for two or three hours using this setting. 7. Reload the previously removed food into the compart- ment. Important! Never use sharp metal tools to scrape off frost from the evaporator as you could damage it. - Page 8 Problem Possible cause Solution The compressor operates contin- The temperature is not set correctly. Set a higher temperature. ually. The door is not closed correctly. Refer to "Closing the door". The door has been opened too fre- Do not keep the door open longer than quently.
-
Page 9: Technical Data
1. Remove the screw 4. Install the lamp cover. from the lamp cov- 5. Tighten the screw to the lamp cover. 6. Connect the plug to the mains socket. 2. Remove the lamp 7. Open the door. Make sure that the light comes on. cover (refer to the Closing the door illustration). - Page 10 Levelling 1. Fit the spacers into the holes. Make sure When placing the appli- that the arrow (A) is ance ensure that it stands positioned as shown level. This can be achieved in the picture. by two adjustable feet at 2.
- Page 11 1. Remove the plug from 3. Remove the doors by 4. On the opposite side, re- 5. Unscrew both adjustable the power socket. pulling them slightly and move the hole covers. feet and the screws of the 2. Open the door of the remove the hinge.
-
Page 12: Environmental Concerns
Electrical Connection Brown: Live Caution! Any electrical work required to install this Blue: Neutral appliance should be carried out by a qualified electrician or competent person. As the colours of the wires in the mains lead of this appli- Warning! This appliance must be earthed. ance may not correspond with the coloured markings The manufacturer declines any liability should these identifying the terminals in your plug, proceed as follows:... - Page 16 www.zanussi.com/shop...
Need help?
Do you have a question about the ZRT623W and is the answer not in the manual?
Questions and answers