Advertisement
Quick Links
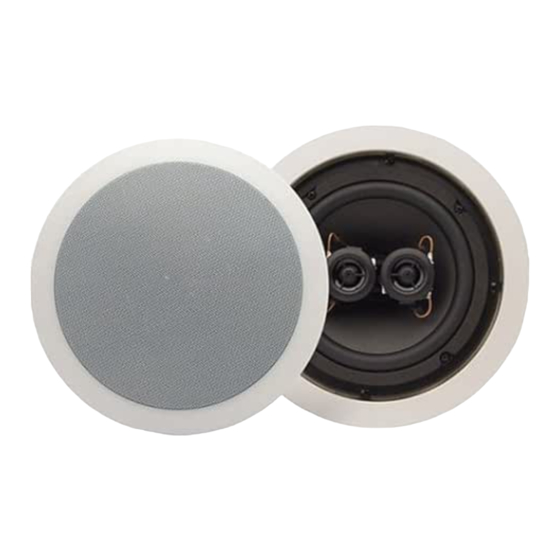
AS7c
6.5" 2-Way In-Ceiling Dual Mono Speaker
Congratulations on your purchase of the
AudioSource AS7c In-Ceiling Speaker System.
This product is designed to reproduce both chan-
nels of the audio portion of your home entertain-
ment environment as a mono signal with accuracy
and detail that will satisfy the most discriminating
listener.
Please read this Installation Manual to ensure the
proper installation and performance of your AS7c
speaker.
Preparing for your Installation
Gather the necessary tools for your installation.
You will need the following tools:
1) A Keyhole or Drywall Saw
2) A Phillips Screwdriver
3) Masking Tape
4) A Pencil
5) A Bubble or Laser Level
6) A Tape Measure
7) A Stud Finder (recommended)
8) Your AS7c speaker
Placement
Plan your speaker placement carefully. Make certain
that electrical, plumbing and any other services will not
interfere within the ceiling where you plan to place your
speakers. The AS7c speaker can be mounted in the
walls or in the ceiling, but are typically used in ceilings.
The speaker should be located so that it provides even
coverage at your listening position. Caution should be
taken not to place the speaker less than 1 foot from a
boundary surface, such as a wall or corner to prevent
uneven reflections of the audio signal. (See Fig. 1)
New Construction
If you are installing your speaker in new construction
before the finished walls go up, Phoenix Gold offers a
New Construction Bracket, part NCBC6 that provides
a stable frame that can be fastened to the wall studs or
ceiling joists on 16" or 24" centers. This allows the
sheetrock or other surface covering to be installed and
cleanly leave the opening for the AS7c speaker.
AS7c
Existing Construction
In most modern buildings the ceiling joists are positioned
on 16" centers, providing a space between the joists of
approximately 14
". The AS7c speaker requires a
3/8
mounting hole 7 3/4" in diameter. Also, you should
allow an extra
" clearance in all directions behind the
3/4
ceiling surface to allow room for the doglegs that retain
the frame to the ceiling surface to swing into position.
Use a stud finder to locate the joists behind the ceiling
surface. Also, you should now check for obstructions like
cross bracing in front of and behind the desired speaker
location.
AS7c
Speakers
Figure 1
11.5'
20'
16'
Advertisement

Related Manuals for AudioSource AS7C


Summary of Contents for AudioSource AS7C
- Page 1 AS7c 6.5” 2-Way In-Ceiling Dual Mono Speaker Congratulations on your purchase of the AudioSource AS7c In-Ceiling Speaker System. This product is designed to reproduce both chan- nels of the audio portion of your home entertain- ment environment as a mono signal with accuracy and detail that will satisfy the most discriminating listener.
-
Page 2: Installing The Speakers
of sound into the otherwise large and resonant cavity of After selection of the mounting location, mark the hole to the uninsulated ceiling. be cut out. A template is provided in the speaker box. Locate and align the template, then mark with pencil on It is now time to connect the speaker wire to the AS7c. - Page 3 Tighten all four of the mounting screws in the same Removing the AS7c Speaker manner until the speaker is properly aligned and held tight to the wall surface. Caution: Do not over tighten! Should it ever become necessary to remove the AS7c speaker from the ceiling, simply remove the grill and turn Painting the Speaker the four mounting screws counter-clockwise until you...
- Page 4 AudioSource, or damage that is attributable to Acts of God. It does not cover costs of transportation to AudioSource or damage in transit. The customer should return their defective product, freight prepaid and insured, to AudioSource only after receiving a Return Authorization.
Need help?
Do you have a question about the AS7C and is the answer not in the manual?
Questions and answers