Epson 710 SERIES Start Here Manual
Hide thumbs
Also See for 710 SERIES:
- Quick manual (56 pages) ,
- Network installation manual (36 pages) ,
- Start here (4 pages)
Table of Contents
Advertisement
Quick Links
Start Here
1
Unpack
(Included for
Canada only)
If anything is missing, contact Epson as described on the back.
Caution:
Do not open ink cartridge packages until you are ready to install the ink.
Cartridges are vacuum packed to maintain reliability.
Canada only: For French speakers, remove sticker(s) from the backing sheet and
place over the corresponding text on the control panel.
Remove all protective materials including from inside the paper cassette.
1
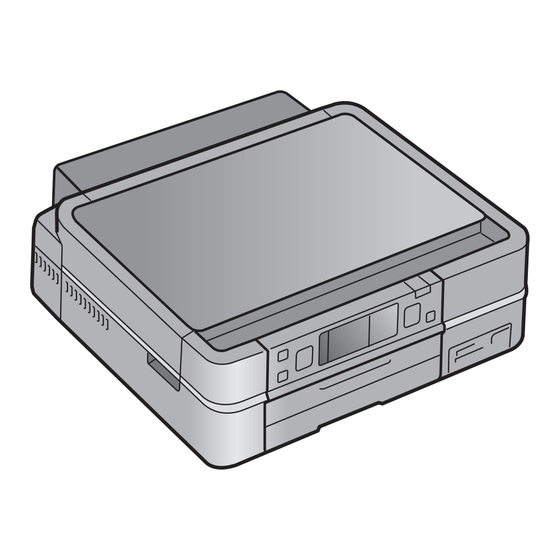
Lift the scanner and remove the transportation lock.
2
Store the transportation lock as shown.
3
Close the scanner.
*411702700*
*411702700*
Series
Power cord
Advertisement
Table of Contents

Related Manuals for Epson 710 SERIES


Summary of Contents for Epson 710 SERIES
- Page 1 Series Start Here Unpack (Included for Power cord Canada only) If anything is missing, contact Epson as described on the back. Caution: Do not open ink cartridge packages until you are ready to install the ink. Cartridges are vacuum packed to maintain reliability. Canada only: For French speakers, remove sticker(s) from the backing sheet and place over the corresponding text on the control panel.
-
Page 2: Select Language
Turn on and adjust Connect the power cable. C aution: Do not connect to your computer yet. On button, then raise the control panel. Press the To lower the control panel, press the Unlock button. Caution: To avoid damaging your Artisan 710 Series, always press the Unlock button to lower the control panel. -
Page 3: Load Paper
Unpack the ink cartridges. Remove only the yellow tape from each cartridge. C aution: Don’t remove any other seals or the cartridges may leak. 4 I nsert the cartridges in the holder for each color. Press each cartridge down until it clicks. Lower the scanner. - Page 4 Slide the edge guides against the paper. Lower the photo tray. Squeeze the edge guides and slide them out. Then insert 4 x 6-inch or 5 x 7-inch photo paper with the glossy or printable side face-down. N ote: Make sure the paper fits under the edge guide. Slide the edge guides against the paper.
-
Page 5: Usb Connection
Choose your connection Network (wireless or wired) See your Network Installation Guide. You can’t install your software as described below. USB connection Make sure you have a USB cable (not included). Then follow the steps below. USB connection Follow these steps to connect the Artisan 710 Series directly to your computer using a USB cable (not included). - Page 6 When prompted, connect a USB cable. Use any open USB port on your computer. Note: If installation doesn’t continue after a moment, make sure you securely connected the USB cable and turned on the Artisan 710 Series. Follow the on-screen instructions to install the rest of the software and register your Artisan 710 Series.
- Page 7 When you see this screen, click Add Printer. Follow the steps on the right side of the screen to add the Artisan 710 Series. Click Next again, if necessary. Follow the on-screen instructions to install the rest of the software and register your Artisan 710 Series.
-
Page 8: Genuine Epson Paper
Need paper and ink? Try Epson premium papers with Claria ink for better than photo lab quality ® results. For the right supplies at the right time, you can purchase them at Epson Supplies Central at www.epson.com/ink3 (U.S. sales) or www.epson.ca (Canadian sales).
Need help?
Do you have a question about the 710 SERIES and is the answer not in the manual?
Questions and answers